WRAPPED STICK ART

IMG_0662.JPG

I love this project because everyone in the family can contribute in some way. It is perfect for a snow day spent at home, or a long afternoon in the summer when you’ve got nothing but time on your hands .

In this particular instance, a large wind storm left us this beautiful branch smack in the middle of the yard. The kids and looked at each other and we knew exactly what to do.

First, we dried out the stick for a few days in the basement where it is dry and hot. This also gets rid of any little bugs that might be hanging out inside.

I threw a big drop cloth on the floor and gathered up our materials. We used yarn, fabric scraps, wire, beads, feathers and anything else the children gathered from our art cabinet.

There really weren’t any directions involved. This was entirely about the process, and it happened to turn out to be so beautiful, that it now lives in our living room. The amazing thing about this stick project is that it has been ongoing for a few years. Whenever we find some fabric, interesting yarn or a bead that we love, one of the children pulls the branch out an adds on to it. There have been many new stick projects started over the years, but for some reason, this one was really magical. Sometimes, I wonder if it has anything to do with the tree that dropped it in our yard.…

How do you use gifts from Mother Earth in your art space?

IMG_0661.JPG
IMG_0663.JPG

I hope you found this post helpful.  If you want to hear more from me, please be sure to subscribe to my blog and join the conversation over on Instagram.  

-LIzzie 

HOW TO DECORATE YOUR OWN PEG PEOPLE

My little one is turning six today, and one of her favorite things is to pretend. She loves to play with her favorite little peg people from Grimm’s Wooden Toys, Grapat, and Teeny Weeny Toys. She also loves to make her own people. We keep blank, unfinished peg dolls in our art cabinet along with lots of loose scraps for creating and new peg people are born into her collection weekly.

Today I am heading into her Kindergarten class to share her love peg people and dollhouse play with her classmates. We are going to read a favorite book of ours, This Is My Dollhouse, by Giselle Potter. I adore this book because it explores the joy and creativity involved in creating your own play materials. It also explores friendships and feelings, which I love.

After the book, the children will have the opportunity to create their own peg doll. I scoured the art supplies that I already had on hand and created the tinker trays you see here. I encourage you to use what you already have, but I have also listed all of the materials that we used at the bottom of this post.

This project was inspired by my wonderful and brilliant friend, Bar Rucci. You can see her post here. Also, Sloane’s birthday party was held at our favorite local art studio, Oh Canary Art, where the children decorated dollhouses. You can read all about that party on my friend Natalie’s blog.

Doll House

Peg People

Kwik Stix

Elmer’s Glue Pen

Tissue Paper Squares

Chenille Stems

Wool Roving

Fabric

Washi Tape

Pony Beads

Buttons

Kid Scissors

Have you done a project with your child’s class? How did it go? -Lizzie


IMG_0647.JPG
IMG_0640.jpg
IMG_0642.JPG
IMG_0646.JPG

SIMPLE ART- NOT CRAFT- ACTIVITY FOR CHILDREN

When you think of art with children, you probably think about a “craft”. With crafting, there are specific instructions, materials, and a desired outcome. There is a certain age range for a project and there is a beginning, middle and an end.

When I think about art for children, I think about the process. I think about materials that offer a range of experiences, and how children in different stages in their development will interact with the materials.

On most afternoons in our home, I set out a snack and a simple invitation to create. When the children arrive after school (often with friends in tow), I like to create an atmosphere where they can relax and unwind from a long day. Even if it is only for a few moments before we all rush off to the next thing, I want them to feel a moment of calm and connection . This simple activity takes only moments to set up, but provides hours of creating for a large age range of children. It is not messy and can be “grazed” on, as the children see fit. There are no directions. The children interact with the materials and create in any way they want.

HOW TO SET UP:

First roll out your butcher paper and cover the table. Tape it down for stability. Next, Find a large tray or book and trace rectangles onto the paper. Why? Sometimes a defined space is more welcoming for children to dive into than a large blank slate. It also just makes for a unique, open ended canvas for creating. Set out your paints and oil pastels and a jar of water and brushes. Keep a towel handy for any spills. Prime your paints by pouring water directly onto the tempra cakes. Allow your child to experiment with the materials. You do not need to give instructions or micro manage the work they are creating. In fact, claim a rectangle for yourself and get lost in the oil pastel. They are so satisfying to rub across the paper. Let your child discover the paint-resist on their own. You do not need to rush in and show them. They joy is in the discovery!

PRO TIPS:

  • Teach your child to swish their brush five times around the paint cake in order to get a rich and vibrant swash of paint.

  • Prime your paints by pouring water directly onto the cake prior to use

  • Put on some chill background music to set the mood. We love John Mayer, Amos Lee, Elizabeth Mitchell, Jack Johnson, and Ray LaMontagne.

  • Let your child work at his own pace. He might work for a few moments and wander away, then return again in a little while.

  • Use materials you already own. You can adapt this activity multiple ways to fit your needs. This does not need to be complicated to be engaging.


Read more posts like this one below:

I hope you found this post helpful.  If you want to hear more from me, please be sure to join the conversation over on Instagram.  

-Lizzie 


HOW TO ENCOURAGE BLOCK PLAY AT HOME

IMG_0226 (1).jpg

I love when we all chat about blocks. They are my absolute favorite item for PLAY. Lots of you are purchasing them for your home and classroom. They are certainly an investment, and I want to make sure that your children are actually using them.

Below you will find a simple guide to encouraging block play at home or in your classroom.  Three simple steps.  If you decide to follow them, let me know what works and what does not.  

BLOCK PLAY SIMPLIFIED:

  1. Edit Your Space

  2. Organize The Materials

  3. Hang Out With Your Blocks

EDIT YOUR SPACE:  

Walk out of the room where your blocks live and then walk back in.  What is the first thing you feel when you walk into the room? Is there a designated space for block play? How is that space defined? Is the flooring sturdy and even or is it covered in a lumpy, uneven carpet? 

My first bit of advice is to move some things around to make a designated area for building.  There are two reasons for this.  One, it shows your child that you value block play.  By creating a physical space designed for building, you are helping your child to focus on creating without distraction from his or her thoughts.  Think of it like this.. Do you have a designated space where you work? Maybe a desk or a table that holds your computer, important documents, and some reference books? It's easier than just plopping down in the middle of a chaotic, messy room and pulling out your computer, right? Same thing with building and playing.  

This space does not have to be large, just make sure it's big enough for your child to move around and build without getting in her own way.  If there are little siblings in the picture, it might help to put this space in an area that is protected from unsteady toddlers or speed crawlers.  Maybe you could put a small block shelf in your child's bedroom or perhaps in an area of the house that his little sibling cannot access.  (My sister put her block area in an enclosed pen to keep the little ones out and the builders building! Genius.).

ORGANIZE YOUR MATERIALS:

Screen Shot 2017-12-28 at 2.50.20 PM.png


How do you store your blocks? Are they all dumped into a bin, stuffed behind the trucks and puzzles? You are not alone. I think most homes have an abandoned pile of wooden blocks somewhere in the playroom. I want you to  pull them out and sort them by shape.  Your child can help you or you can grab a coffee and go it alone while listening to an awesome podcast.  I'd go the podcast route, but that's me.  

Once you have them sorted by shape, decide on a shelving system.  My father-in-law built us a custom shelf to house our blocks (love him so much).  You can use a shelf designed for blocks like this one, or use one that you already have.  Better yet, check out your local Facebook swap sites for an IKEA hand me down.  However you decide to obtain a shelf, just get one.  Trust me, it makes all the difference in the world in how your child will use the blocks.  

When you have your shelf in place, lay out the blocks according to shape and size.  You can organize them in a manner that makes sense for you and your child.   I try to make sure the larger, heavier blocks are on the bottom, but I'm not sure it really matters.  The most important thing is that each shape is visually represented and can be easily accessed by the child.  

HANG OUT WITH YOUR BLOCKS:

Huh? Yup. Just do it. (read on)

The hard part is over and all the really great learning and engagement is about to happen.  Invite your child into the space that you have created.  Show her how you've arranged the materials.  Ask her what she might build? Will it be a house for stuffed animals or a parking garage for her race cars?  Will she build flat or will her building be tall? 

With reluctant builders, I might 'pre-build.'  That means I might lay out a very simple structure and ask the child how he can add to it. Then follow his lead.  He adds a rectangle, you do the same.  Try to mirror their block building behavior.  Once they get going, you can slowly step back and let them go.  Remain interested, but do your own thing.  You want to encourage independent play.  

When I notice my children haven't been building a lot, I do one thing and it works EVERY TIME.  I sit in our block area.  I just sit there quietly and read on my phone or read a book to them.  They usually want to go wherever I am.  If I am in our block area, that's where they will be.  If those blocks are organized and displayed in an inviting fashion, they can't resist them.  And that, my friends, that's where the magic happens.  

IMG_0225.jpg

LANGUAGE PROMPTS TO ENCOURAGE BLOCK PLAY:

  • Which shapes will you use first?

  • How can you use these squares to make a long, flat line? How can you use them to make a tall, standing up line?

  • Which blocks would make a sturdy base for your building?

  • How can you make a house for your lovey? Will it be tall or will it be down low? Will it have a roof or a door or will it be open?

  • Can you make a pattern using the blocks?

  • Which block do you like? What do you like about it? How can you use it in a building?

MORE TIPS TO ENCOURAGE BLOCK PLAY:

  • Snap photos of your child's block building on your phone. Print them out and bind them together with a binder ring and a hole puncher.

  • Hang the photos around the block area to inspire your child.

  • Add a small basket of people and a small basket of cars to the block area. See how it changes the play.

  • Encourage your child to make signs for his or her buildings with a basket containing small pencil and papers. Just remind them not to write on the blocks.

IMG_0224.jpg

I could write about the benefits of block play and how to encourage block play for hours and hours.  Do you want to pick my brain? I want to know WHAT you all need help with when using blocks in your home or classroom.  Join the conversation over on Instagram, where I will be answering all of your questions.

WHERE TO BUY UNIT BLOCKS:

Our collection has been built over the course of ten years. Some of ours are from my own childhood. We’ve also added at birthdays and holidays. Wooden blocks are expensive and I do not recommend that you buy a whole ton at once. Your child will be overwhelmed, and you will be out a lot of money .

Here is a link to a great starter set of wooden unit blocks: CLICK HERE


Has Your Child Stopped Napping? Quiet Time Solved.

IMG_0175.JPG

Do your young children have down time? I mean REAL down time. Time to be bored, time to make up aimless games and stories?  Do they have the opportunity to spend time alone? Truly alone, not alone with an iPad.  Do they have quiet time carved out for them as part of the day? Mine do. And yours can too. You and your children deserve some down time.  I am going to help you get it.  

Why My Family Needs Consistent Quiet time:

I rely on this quiet, independent playtime everyday because I need it. I crave it.  So do my kids.  Without a little while each day to just sit still, I go all crazy and moody.  And if I go crazy, my whole house turns into a zoo. A wild, untamed, unhappy zoo.

It's no secret that I am not good at the constant go-go-go.  It stresses me out and I become an impatient yeller.  (My neighbors can vouch for this. They see me yelling and hustling children in and out the my car.  ALL. THE. TIME.) For our family, the antidote to the crazy is taking a few moments of quiet time.  Chilling out.  Yes, you can teach your kids the art of chilling out.  It  takes commitment, consistency, and a little bit of creativity. 

We all need a break.  I’m going to tell you how we carve out a break almost every day. I really believe all children can learn to have quiet time.  I have heard many people talk about how their first-borns are too needy, or their boys too active.  They worry that without a screen in front of them, or an adult to play with, their children cannot chill. They can. I promise. It will take some work on your end, but it's worth it.

My Family's Quiet Time Rules:

1.    You are alone (not with your sister or brother, and DEFINITELY not with me.)

2.    You are playing, reading, creating, or sleeping.

3.    Your time is self-directed.

Of course, those guidelines look very different for a four year old, seven year old and ten year old. 

Four Year Old Quiet Time:

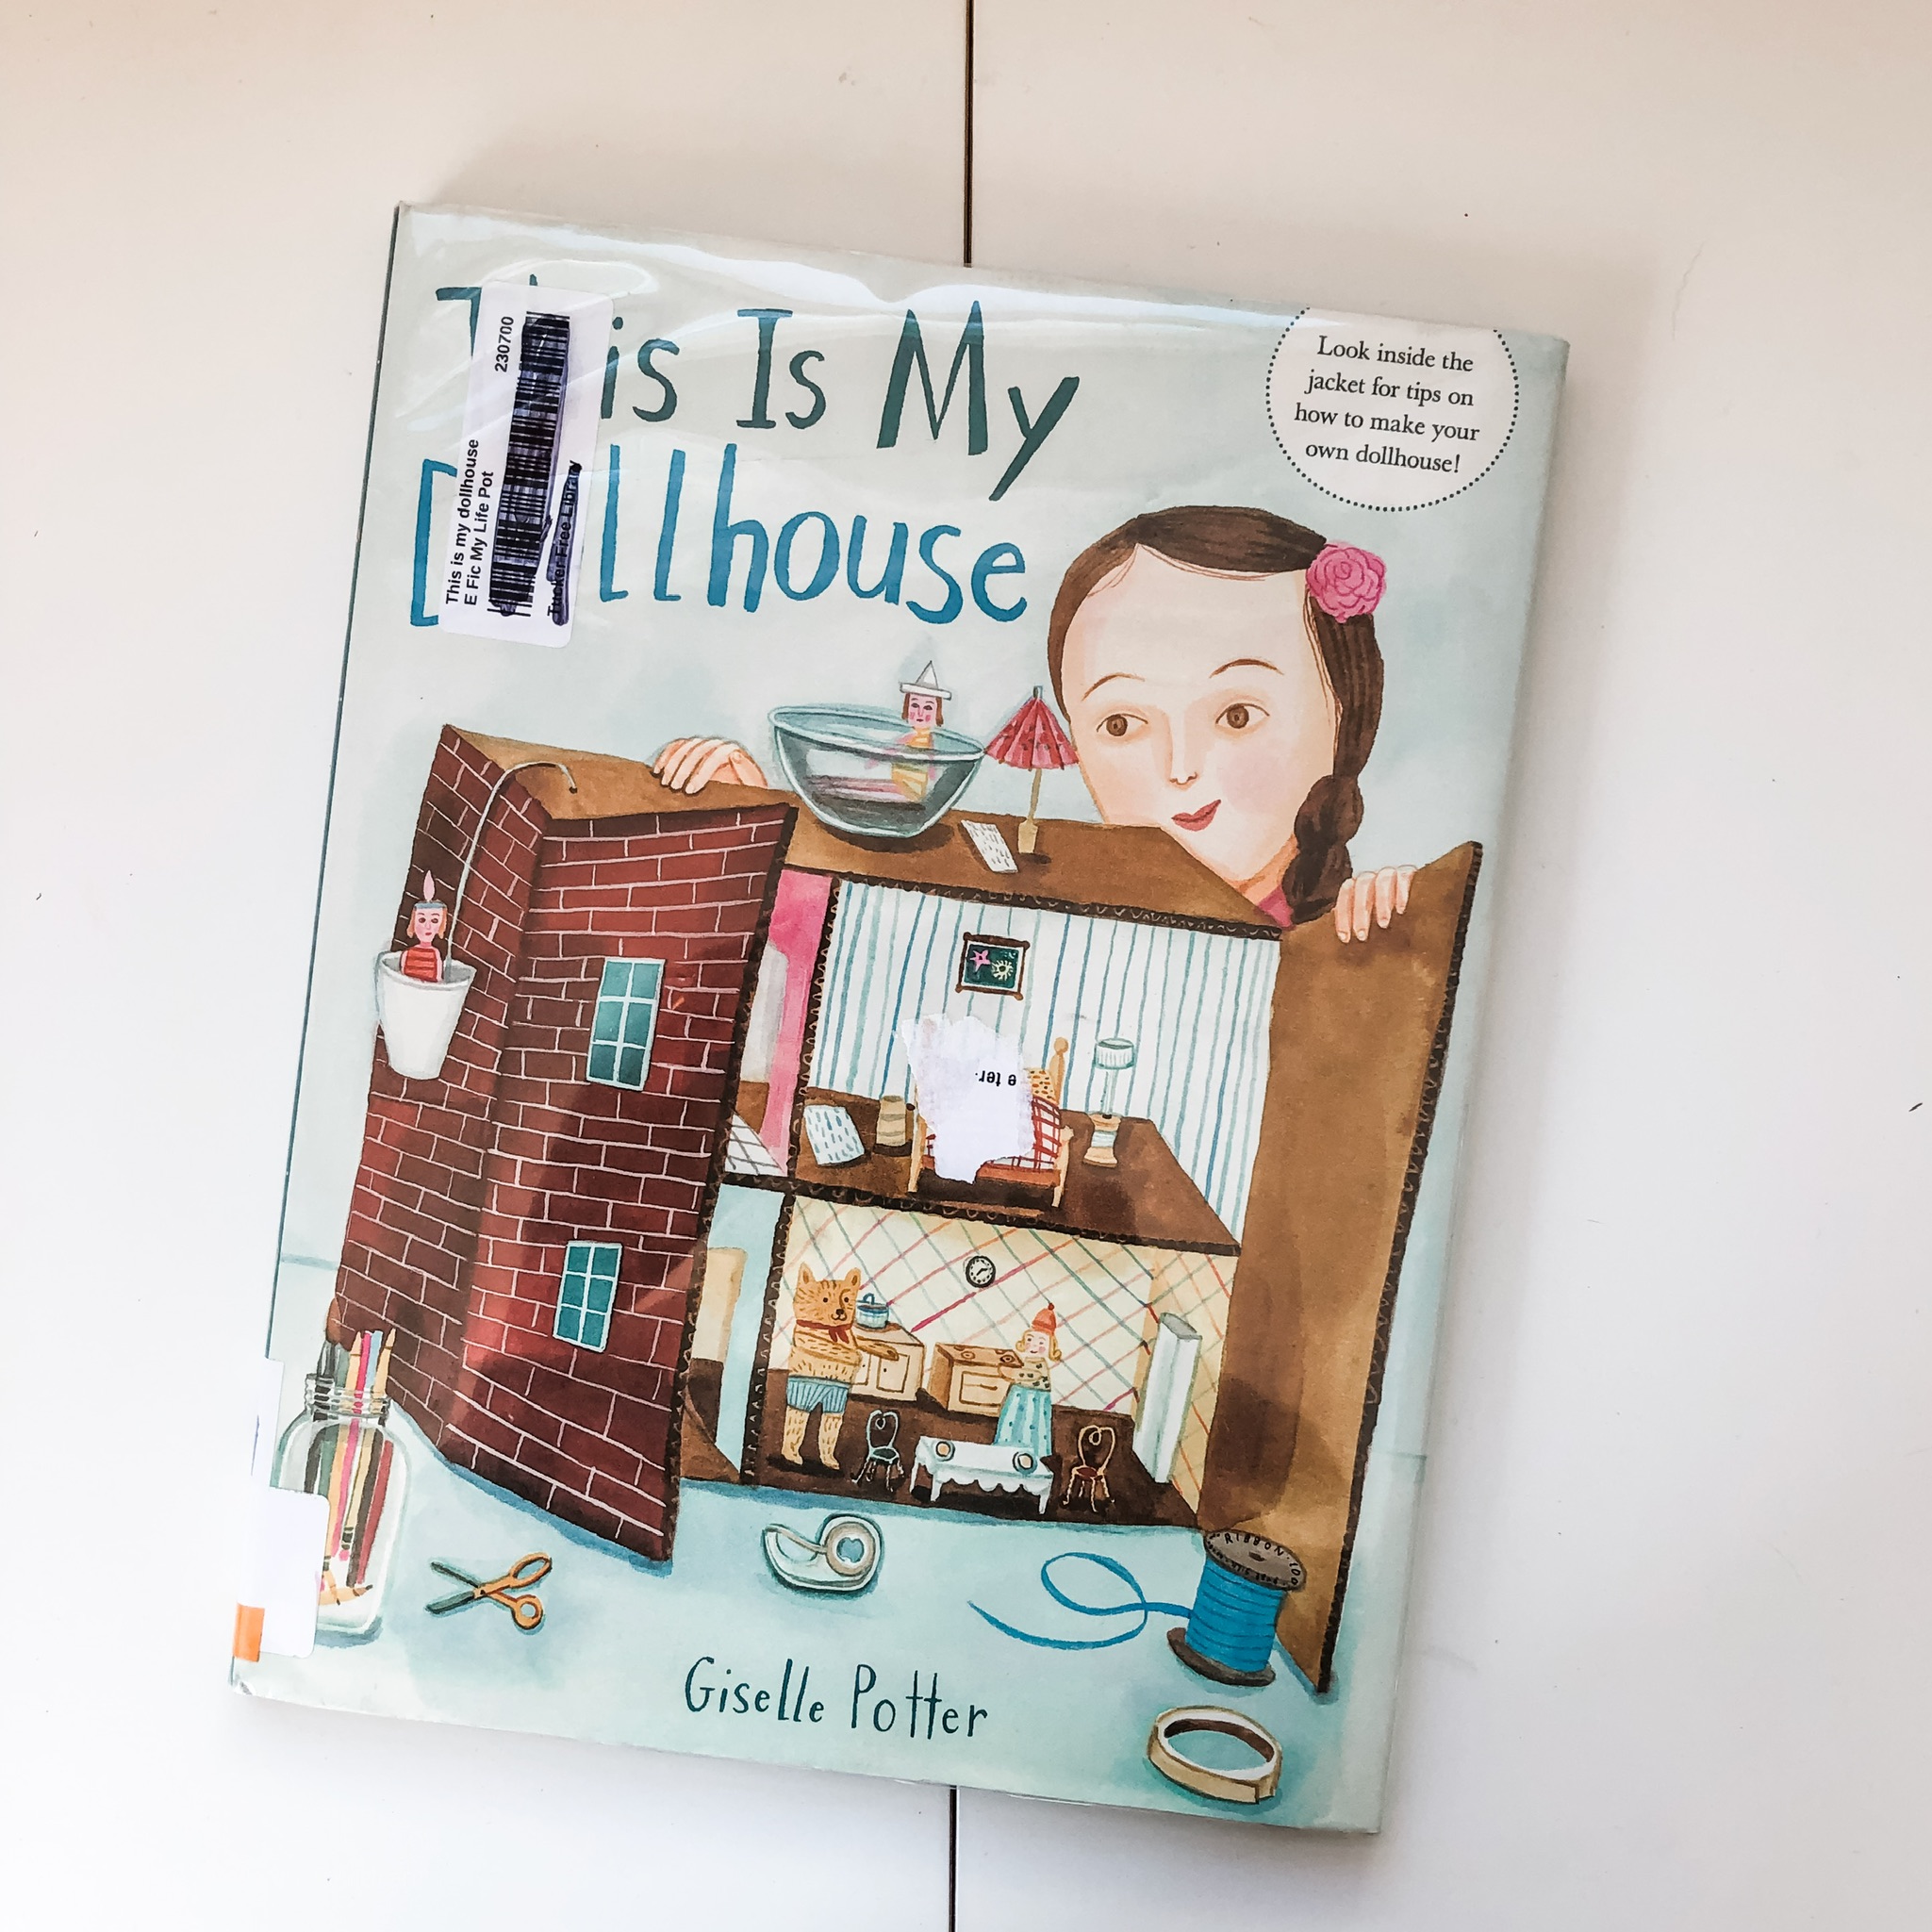
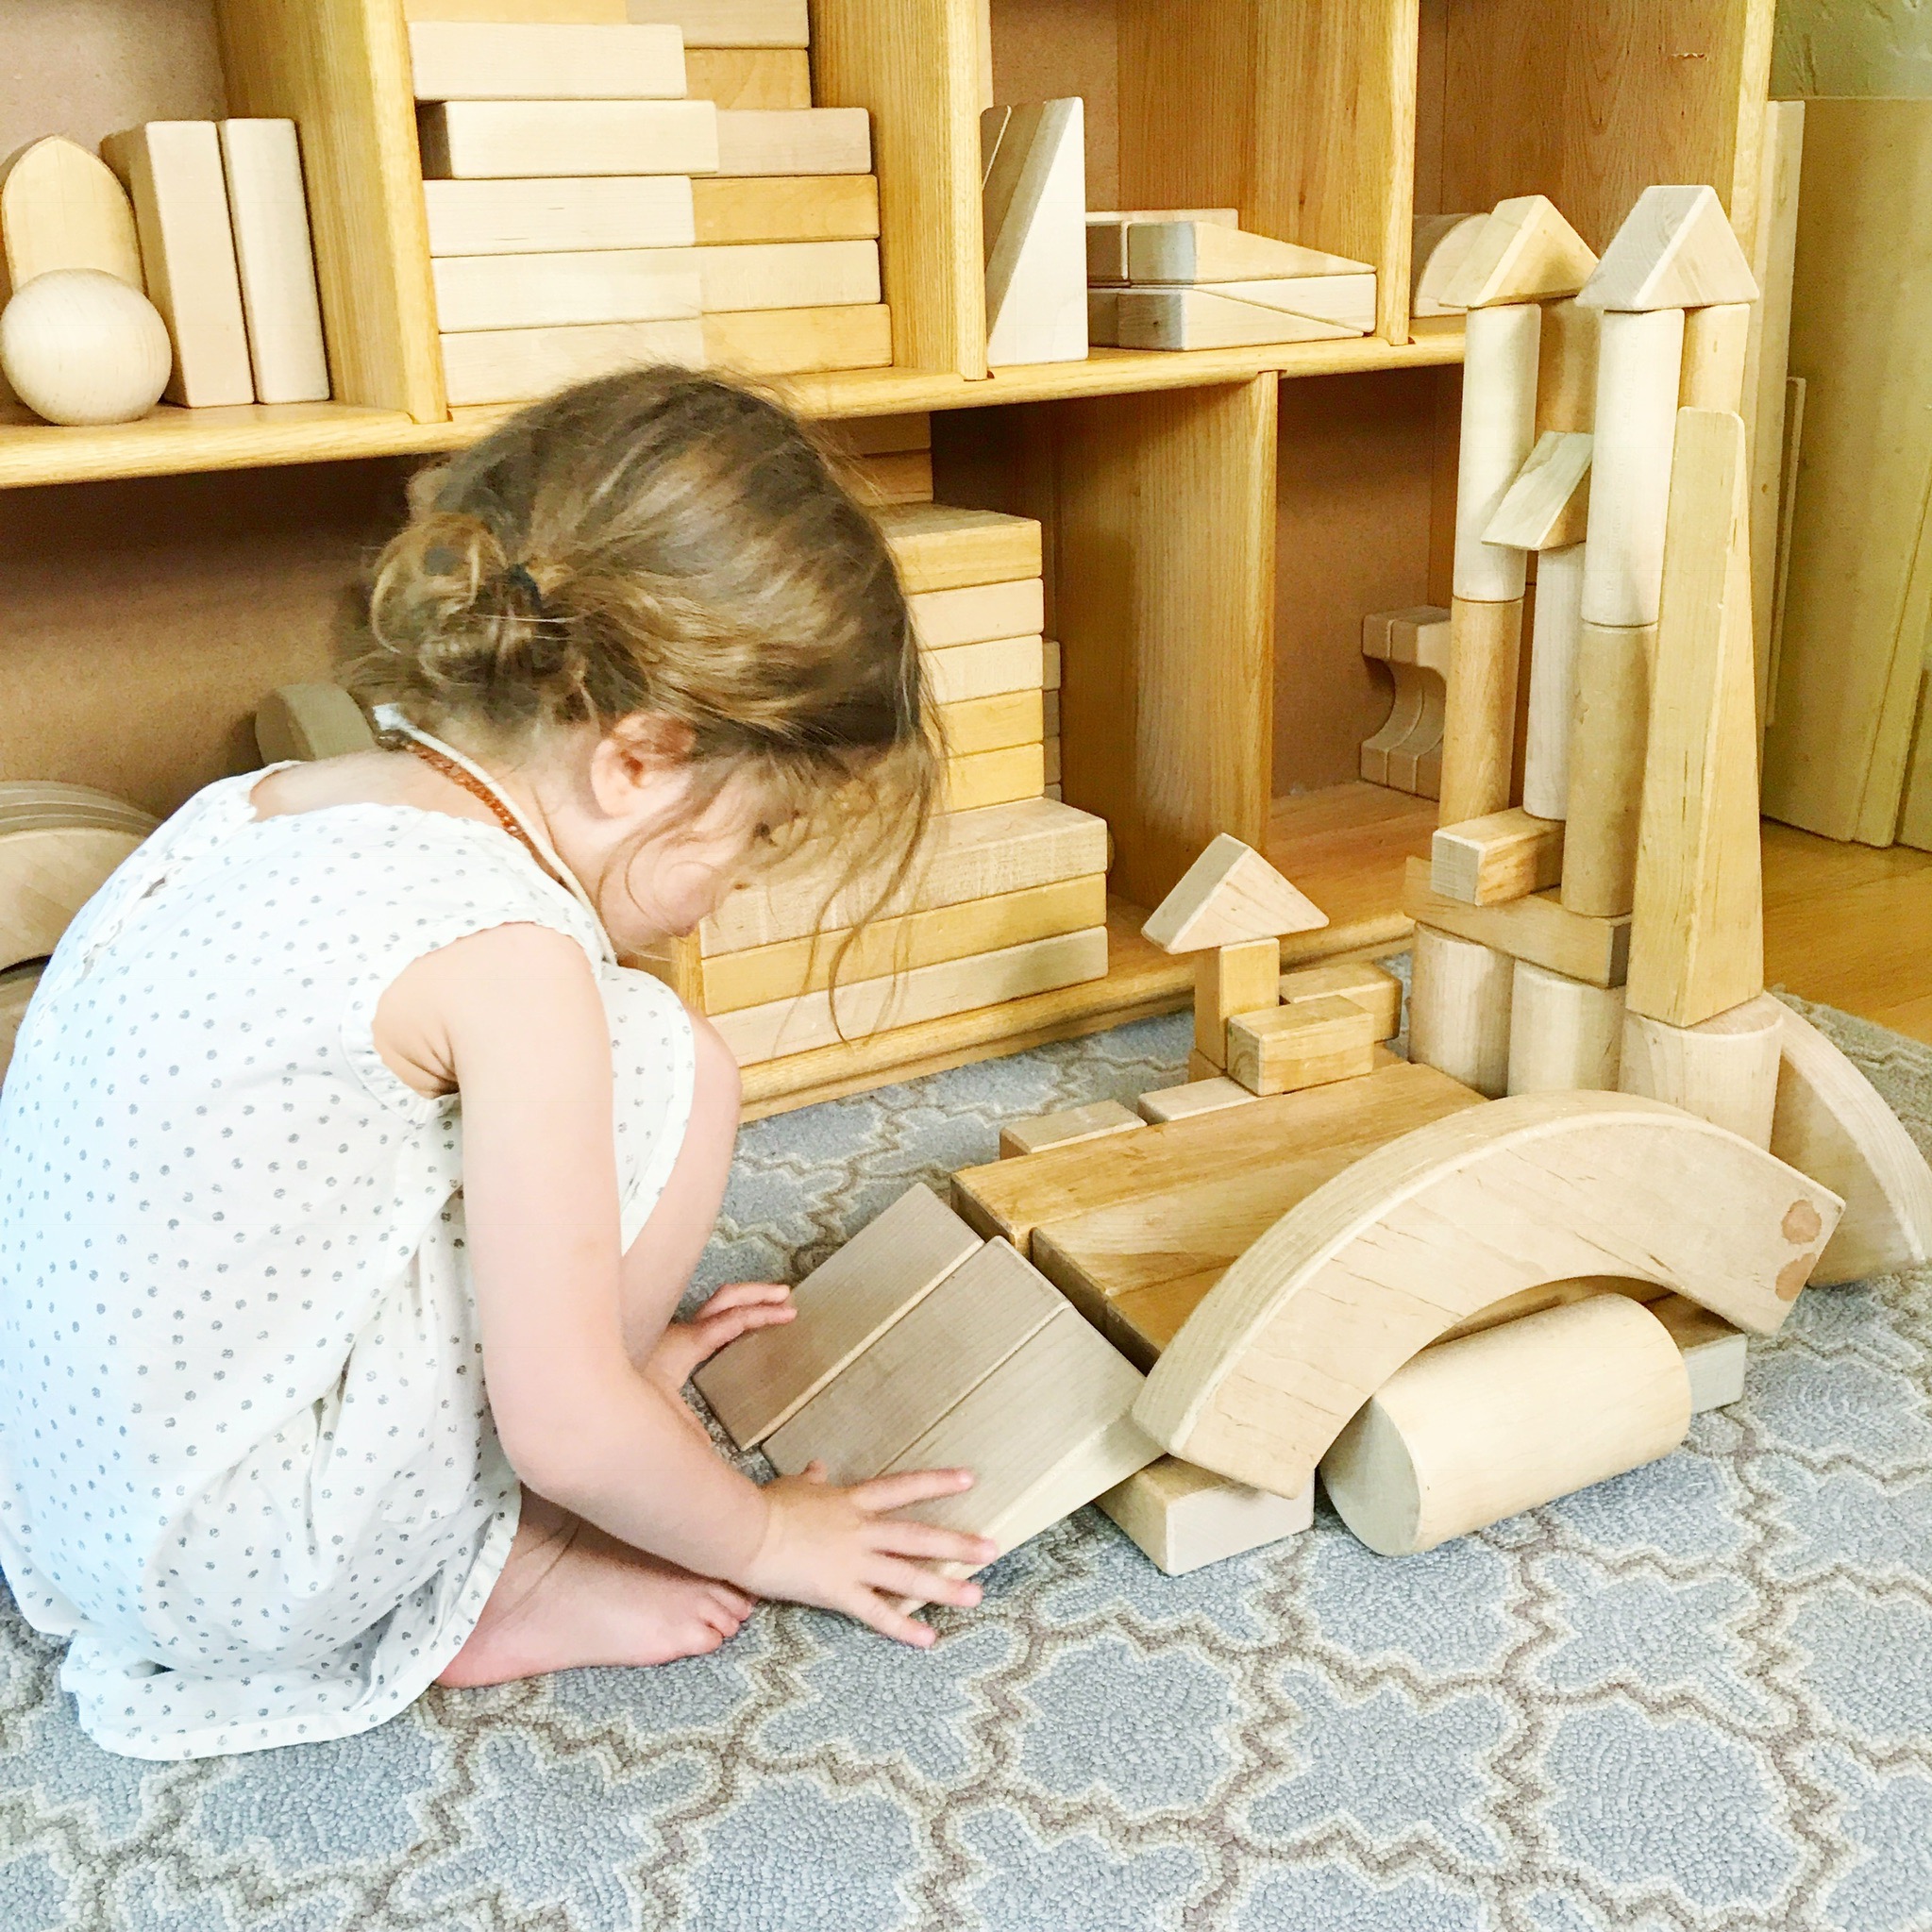
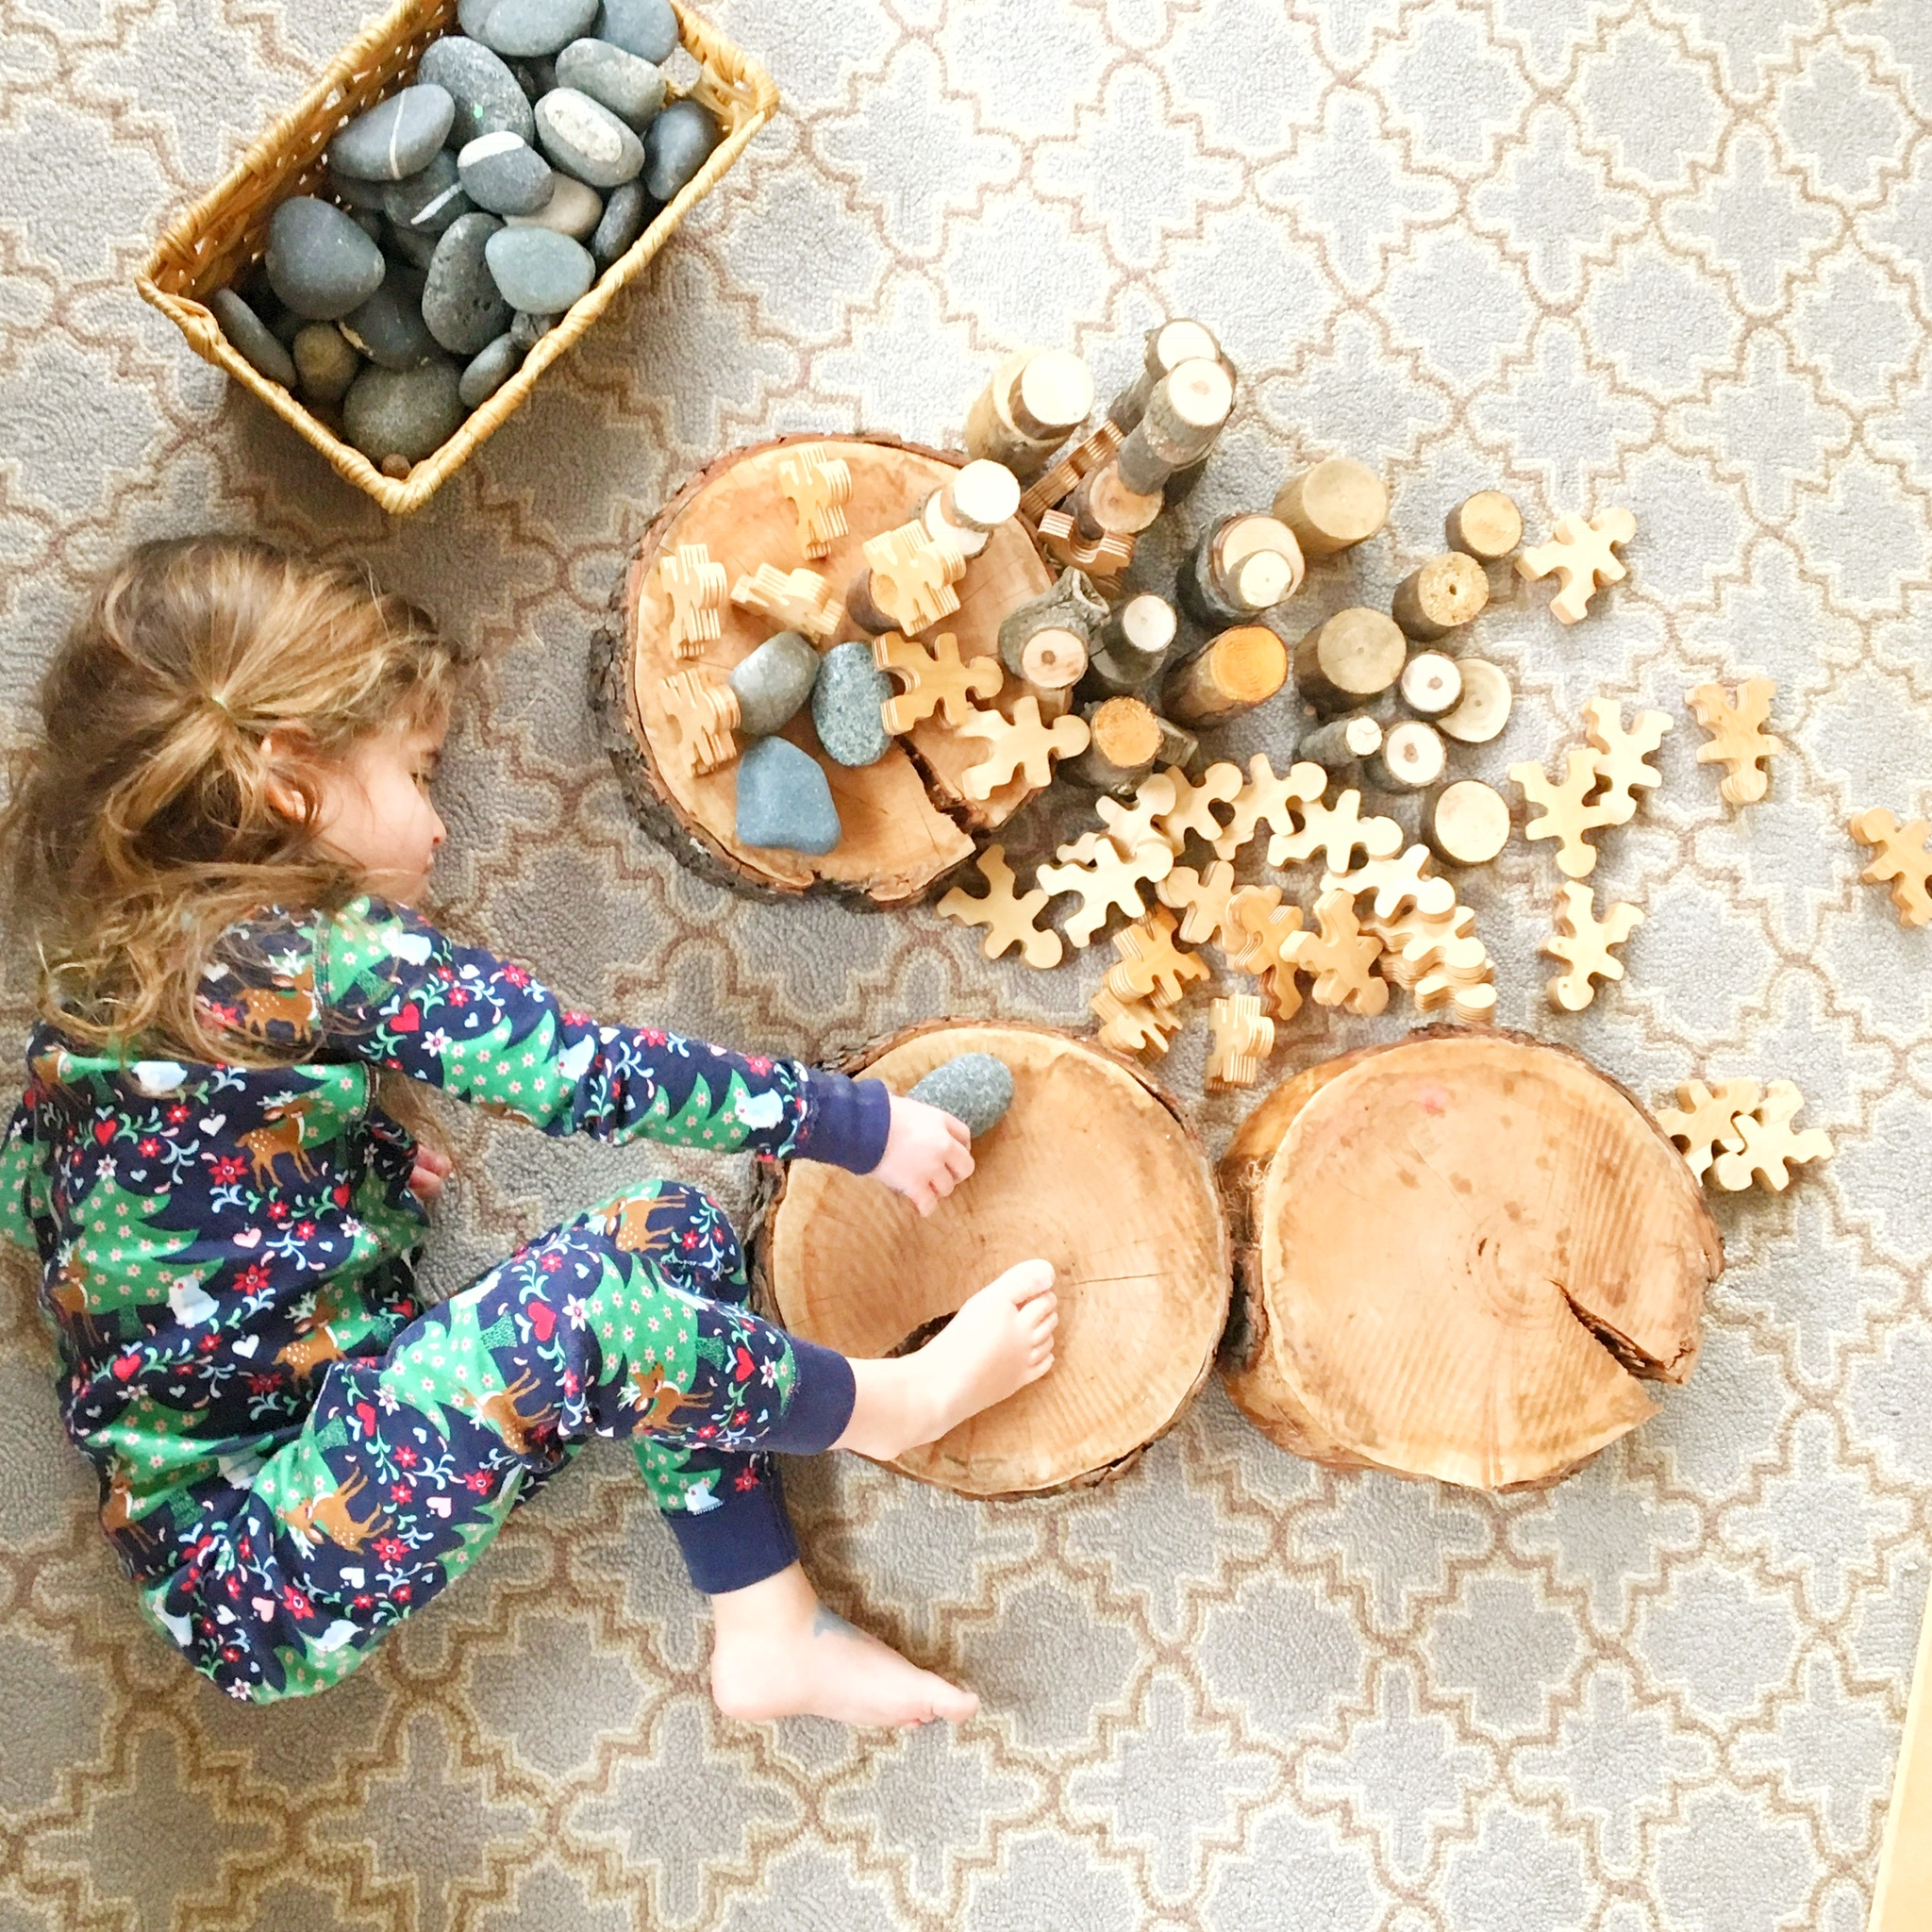
For Sloane, quiet time is often brief.  About 35 to 40 minutes. It is usually spent in her room or in our little playroom/den.  Lately, her activity of choice is playing babies, dollhouse, or blocks. 

Seven Year Old Quiet Time: 

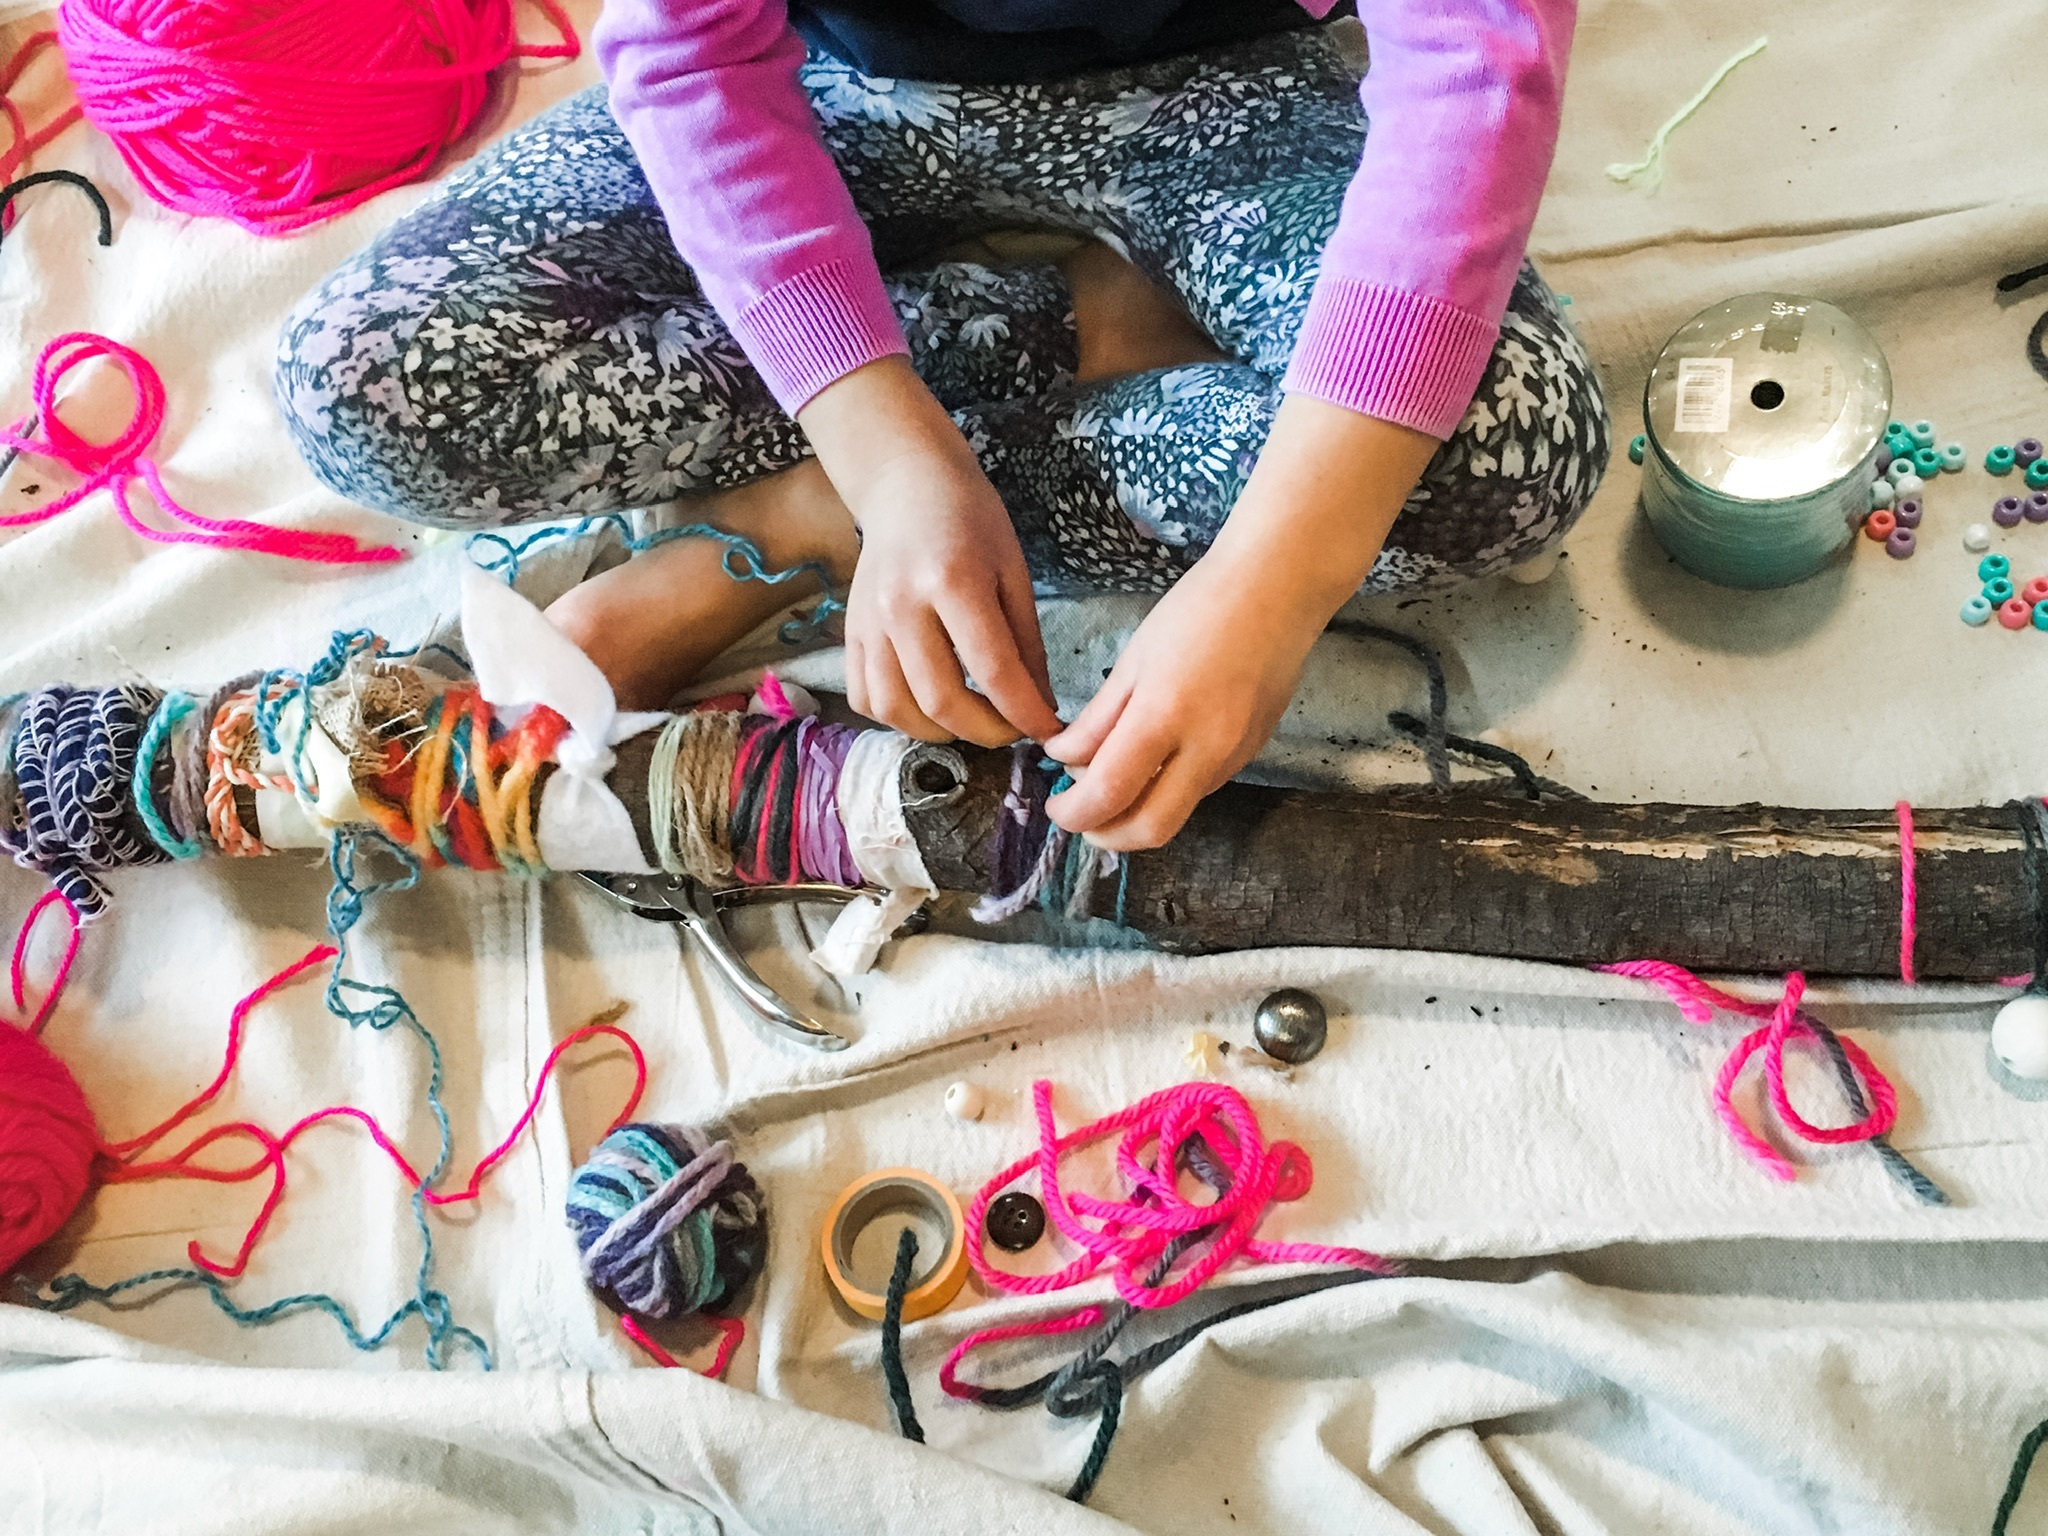
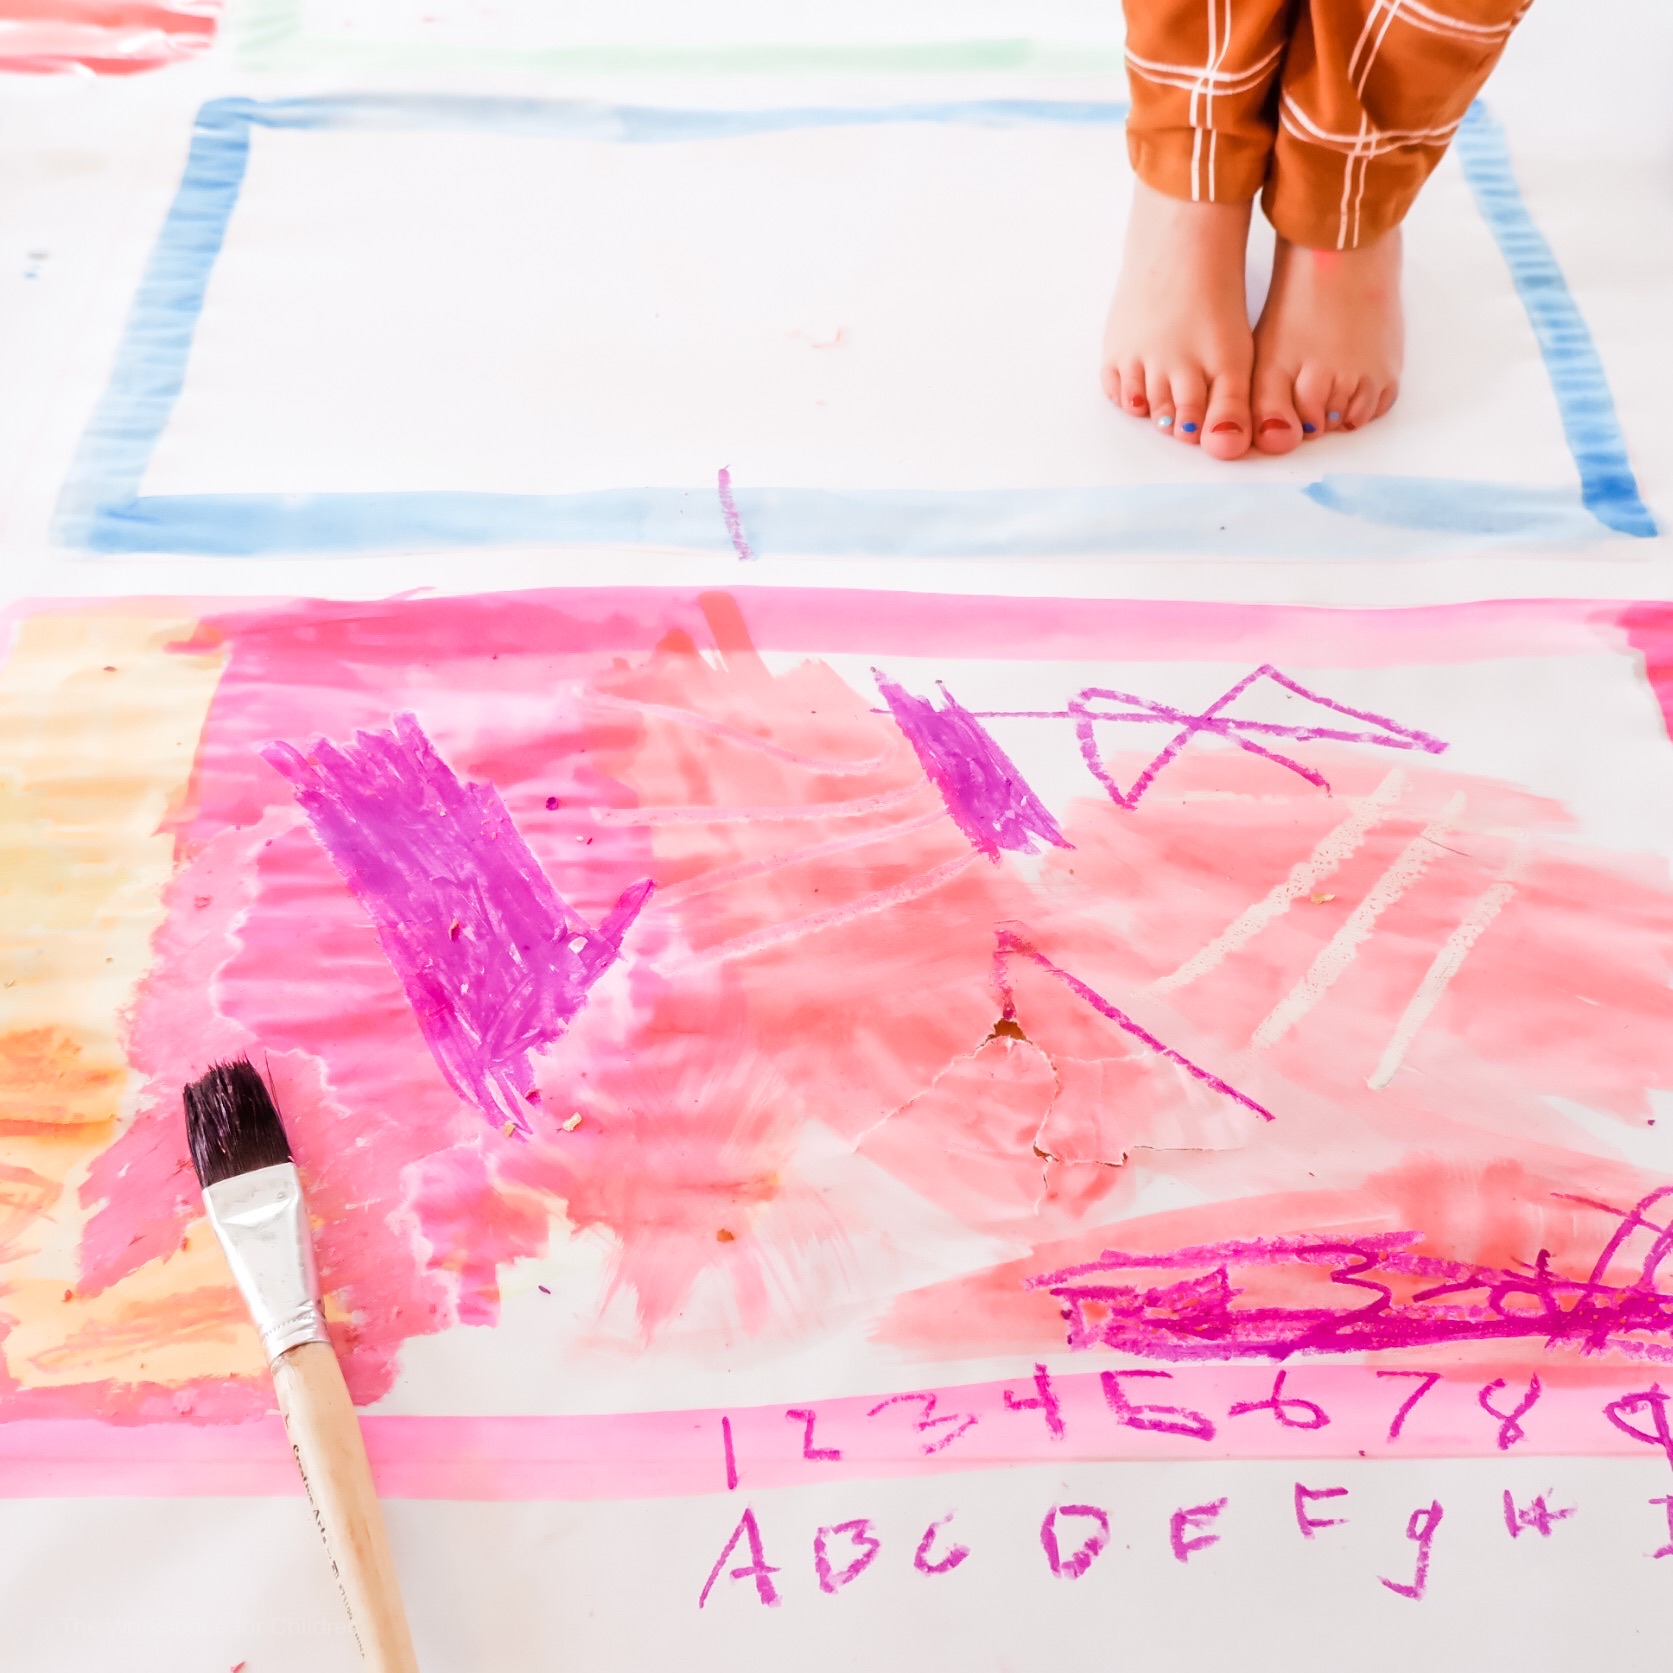
Ruby loves art.  So, quiet time for her is drawing, sewing, beading- any kind of making.  Making is her gift.  Quiet time-making happens in her room, therefore, it needs to be non-messy making.  Her quiet time can last anywhere from twenty-five minutes to an hour.  She gets lonely.  Her personality demands she be part of a crowd. It's who she is. An hour of ‘alone’ is more than enough for her.  

Ten Year Old Quiet Time:

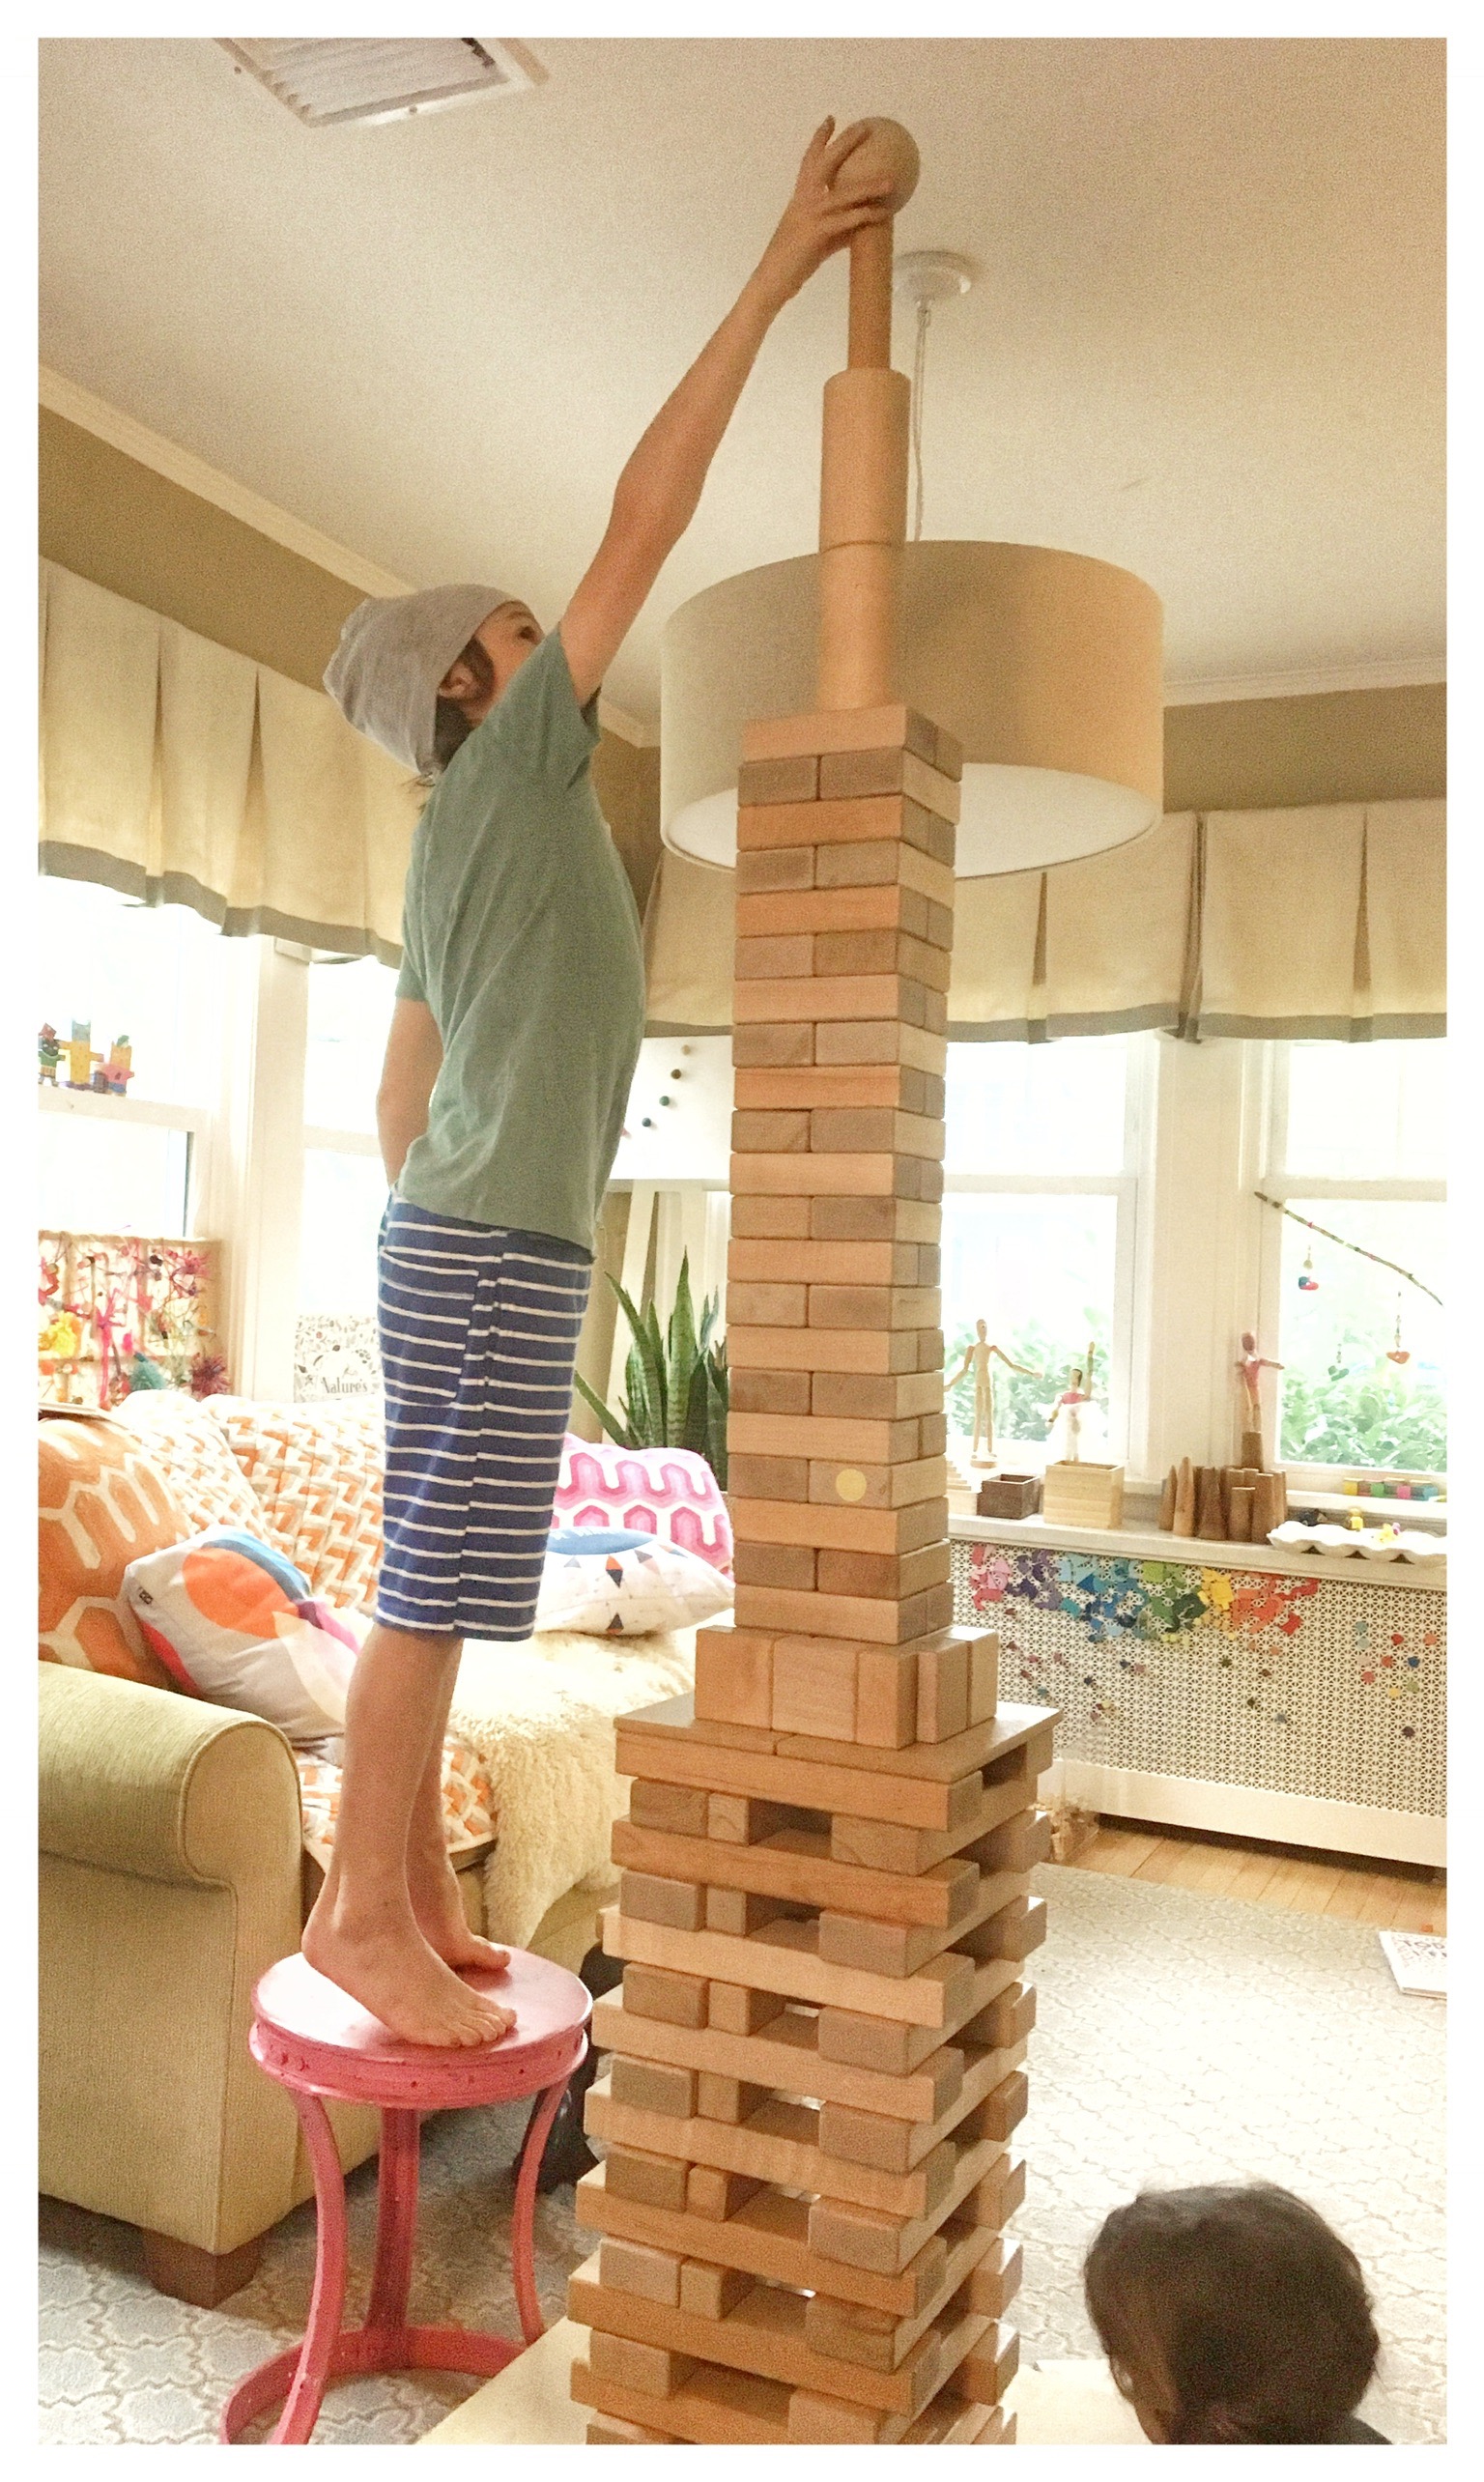
Nate is airplane-obsessed.  So, his quiet time almost always involves drawing and tracing airplanes.  He wants to use the light table for tracing. The Light table is kept in our kitchen and his quiet time is set in his room, so the clever little guy set himself up a tracing station in his room.  He tapes his work up to the sunny window and the light comes through. Perfect for his tracing habit. He also enjoys time with legos and magnatiles.  His quiet time can run well over an hour when he has the luxury of time. 

Nature vs Nurture:  

Like I said earlier, I believe all children can enjoy some quiet time.  I believe that all children NEED downtime, especially in our chaotic world.   I know that it does not come easily to everyone.  My oldest child is dreamy by nature.  He beats to his own drum and has always been able to occupy himself.   Even as a young toddler, he was happy with his cars and trucks and blocks for long periods of time. My middle child is not this way at all.  When she gave up her nap (before two years old!), I nearly lost my mind.  She always wanted a playmate, was into everything and I could not deal.  Her nap time was during her brother’s quiet time and my time to chill for a minute.  There was no way I could give up those few moments of peace.  So, I taught her how to be independent.  

Know That Quiet Time can be a Learned Skill....Believe it. 

Here's how we did it.... First, I made sure I really filled her up before quiet time.  Ruby had lunch and her milk.  More importantly, we read and played together.  I gave her a period of undivided attention and labeled that time.  We set the timer for 15 minutes and played together.  No interuptions from the phone, her brother, the doorbell, etc.   Barring an emergency, there was NO distraction.  I promised her that.  It was our “play together” time. 

After that was her “quiet time”.  Again, we set the timer.  The first day for 5 minutes, the next day 10 minutes and so on.  The timer defined our time.  Not me.  This is important.  I would say, “The timer will tell you when our time is over.”

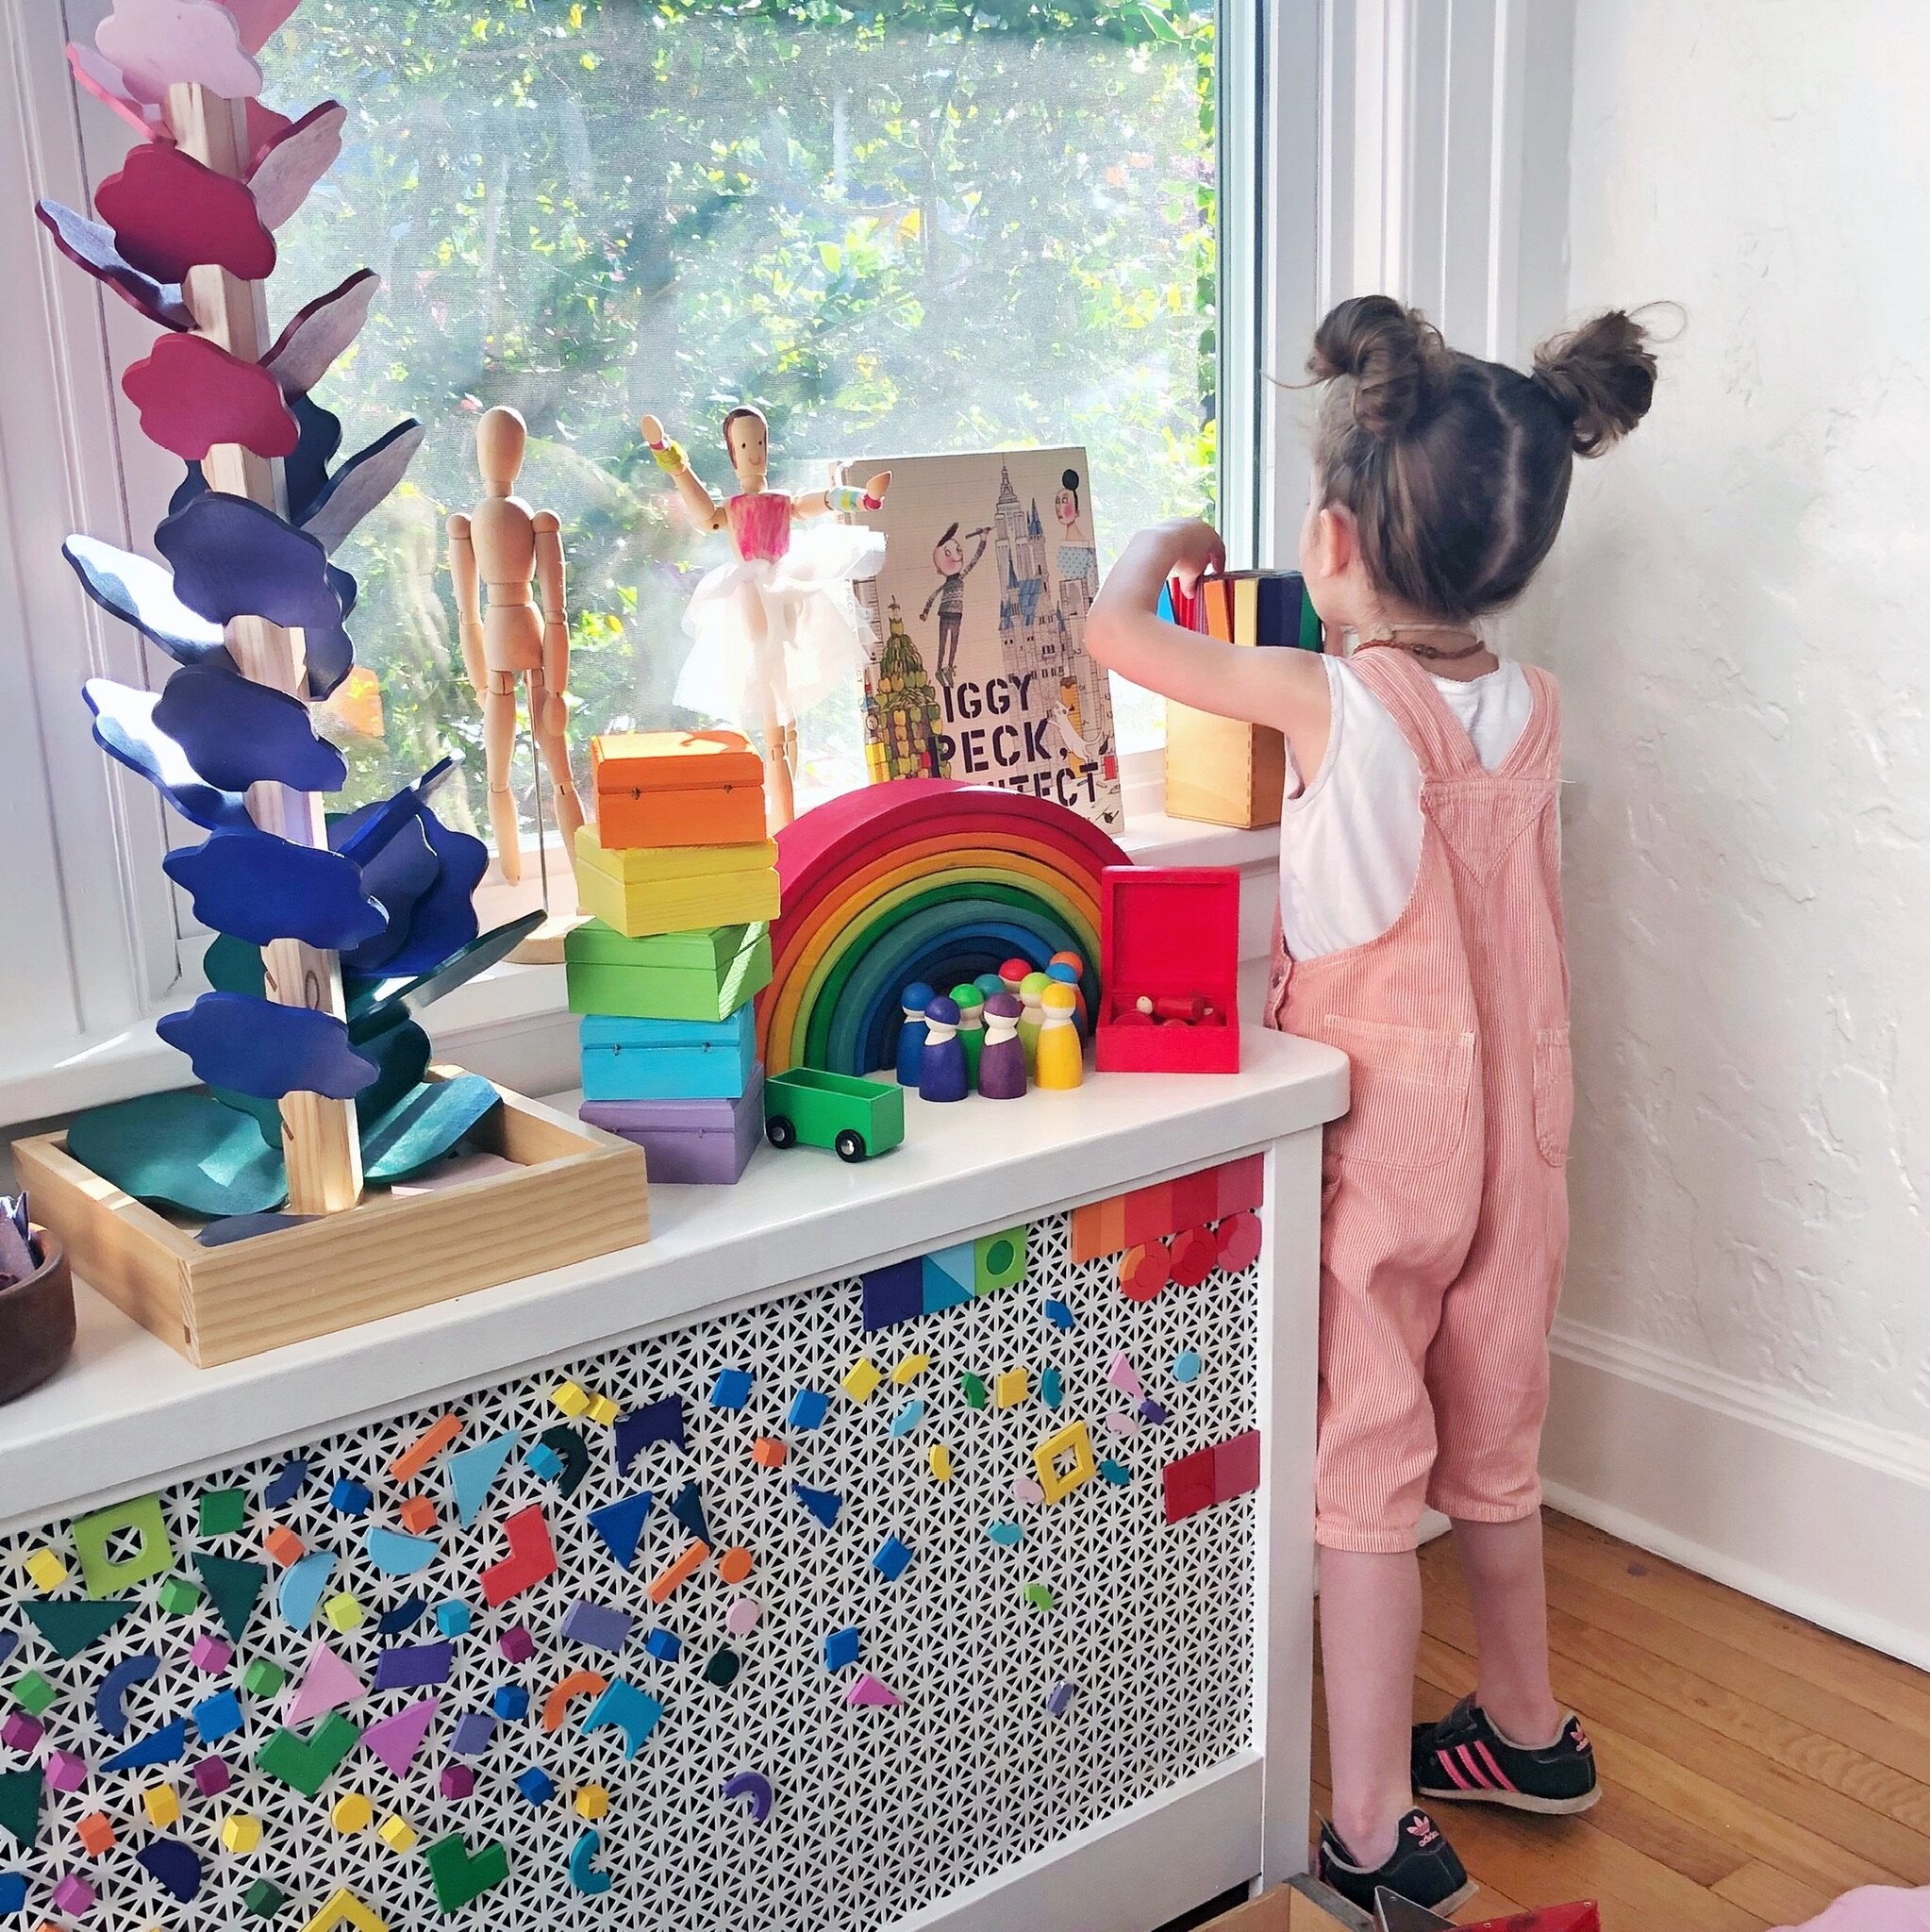
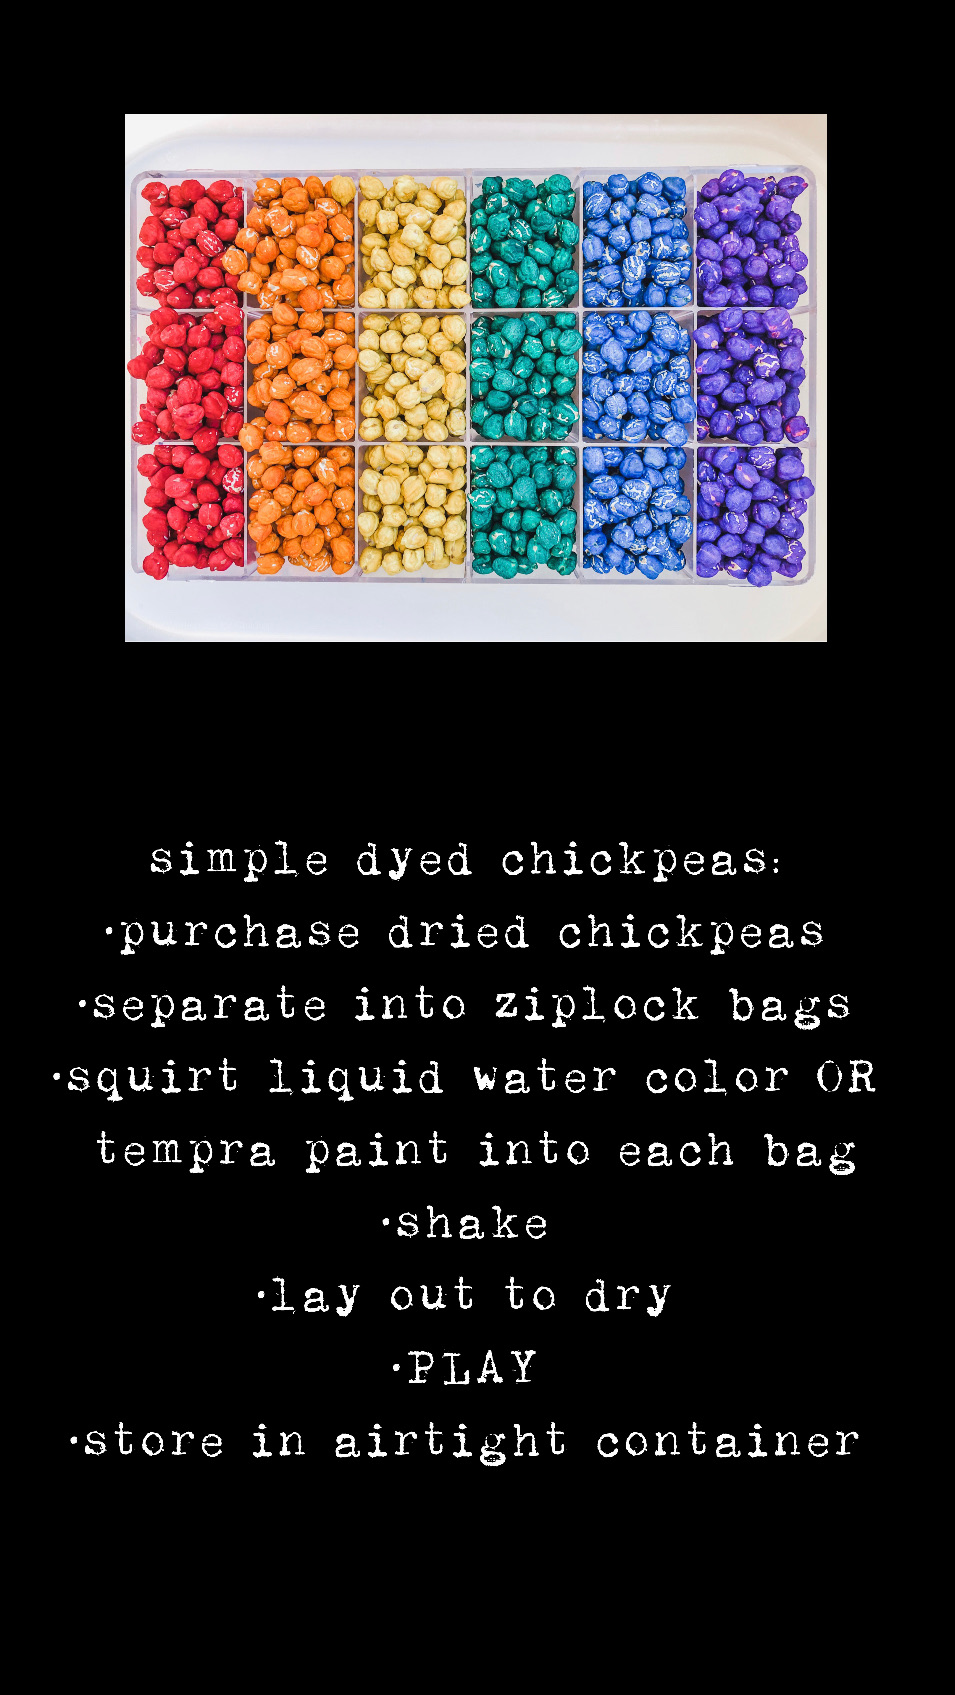
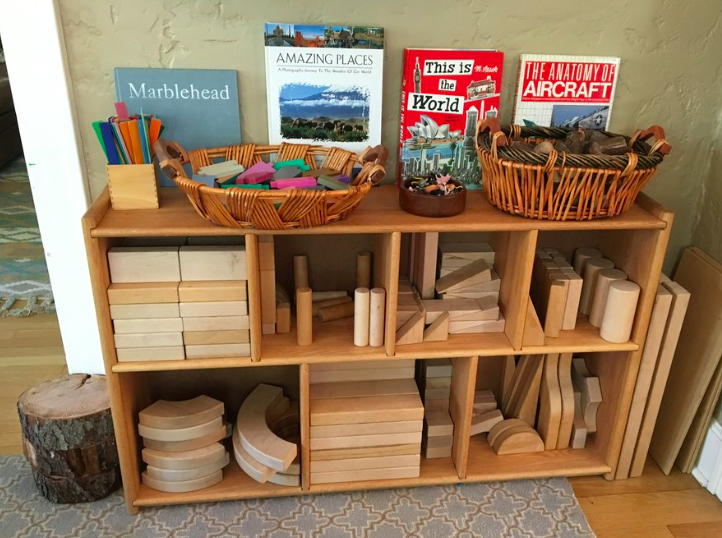
In the early days,  I would set out some simple invitations to play.  A small blanket with a pretty bowl full of gems and a mirror for arranging them.  Or a mat with a dollhouse and a few people and animals.  A child-sized table with paper and colored pencils and stickers.  You get the idea.  If not, get on Instagram and plug in the hashtag #invitationtoplay.  It’ll fuel you. 

Invitations should be open-ended.  Your child should be able to take the material wherever his or her mind goes. 

To me, quiet time is a form of meditation.  Meditation is an ongoing practice.  Quiet time over here is always evolving, changing forms and continues to be ongoing.  Sometimes we hit a rut and need to shake things up a bit.  Sometimes, we have a few days where it just isn’t possible.  On those days, I know I can expect more whining, fighting and general crankiness (from me and the kids). 

When we’ve hit a rut, I might mix things up by rotating toys, putting materials in an unexpected location, or setting up a more involved invitation to play.  If it’s nice weather, one of the kids will have their quiet time outside on the deck in our tinker space.  My oldest might choose the basement where his piano and his work bench live.  It all depends on the day.  I’ve learned to expect the unexpected and I try to be as flexible as I can. 

What if my Child Keeps Coming out of his Room?

Keep walking them back.  Just like the experts say when your child keeps coming down at bedtime.  When Ruby was small, she wouldl test me by coming out of her room multiple times.  Each time I would neutrally walk her back, reminding her that the timer didn't say it was time to come out yet.  It was a bit trying at times, but TOTALLY WORTH IT. She learned the skill of quiettime through repetition and mastery.  She learned to love quiettime when the routine was set, and it wasn't even a question anymore.  At that point, she figured out how much fun she could have all on her own.  

One of the most important things I want to pass to my kids is the gift of being bored.   I want them to be alone with their thoughts, to sit with themselves and contemplate.  Insisting on quiet time  is the gift I give to my family and to myself.

There are tons of great articles on the benefits of quiet, independent play.  I linked some here and here.  You can also look on Instagram or Pinterest for inspirational invitations to play.  However, keep it as simple as you can.  You absolutely do not need to go out and buy anything new, nor do you need to spend more than 5 minutes setting it up. 

Lastly, remember this.  It doesn’t matter how old your child is when you start having quiet time.  Just start where you are.  Expect it to be difficult at first.  You can even introduce it by being honest…. “I want to teach you a new skill.  It’s called independent play.  This is how we will learn it…”  When we take the time to explain what is happening, the response is often great. 

I would love to hear from you in the comments.  Do you have a quiet time in your home? How do you make it happen? Did you find any of these tips helpful? Can you share some new ideas and tips to start the habit of quiet time? 

Thank you for reading and following along.  

-Lizzie