No Mess Tie Dye
/
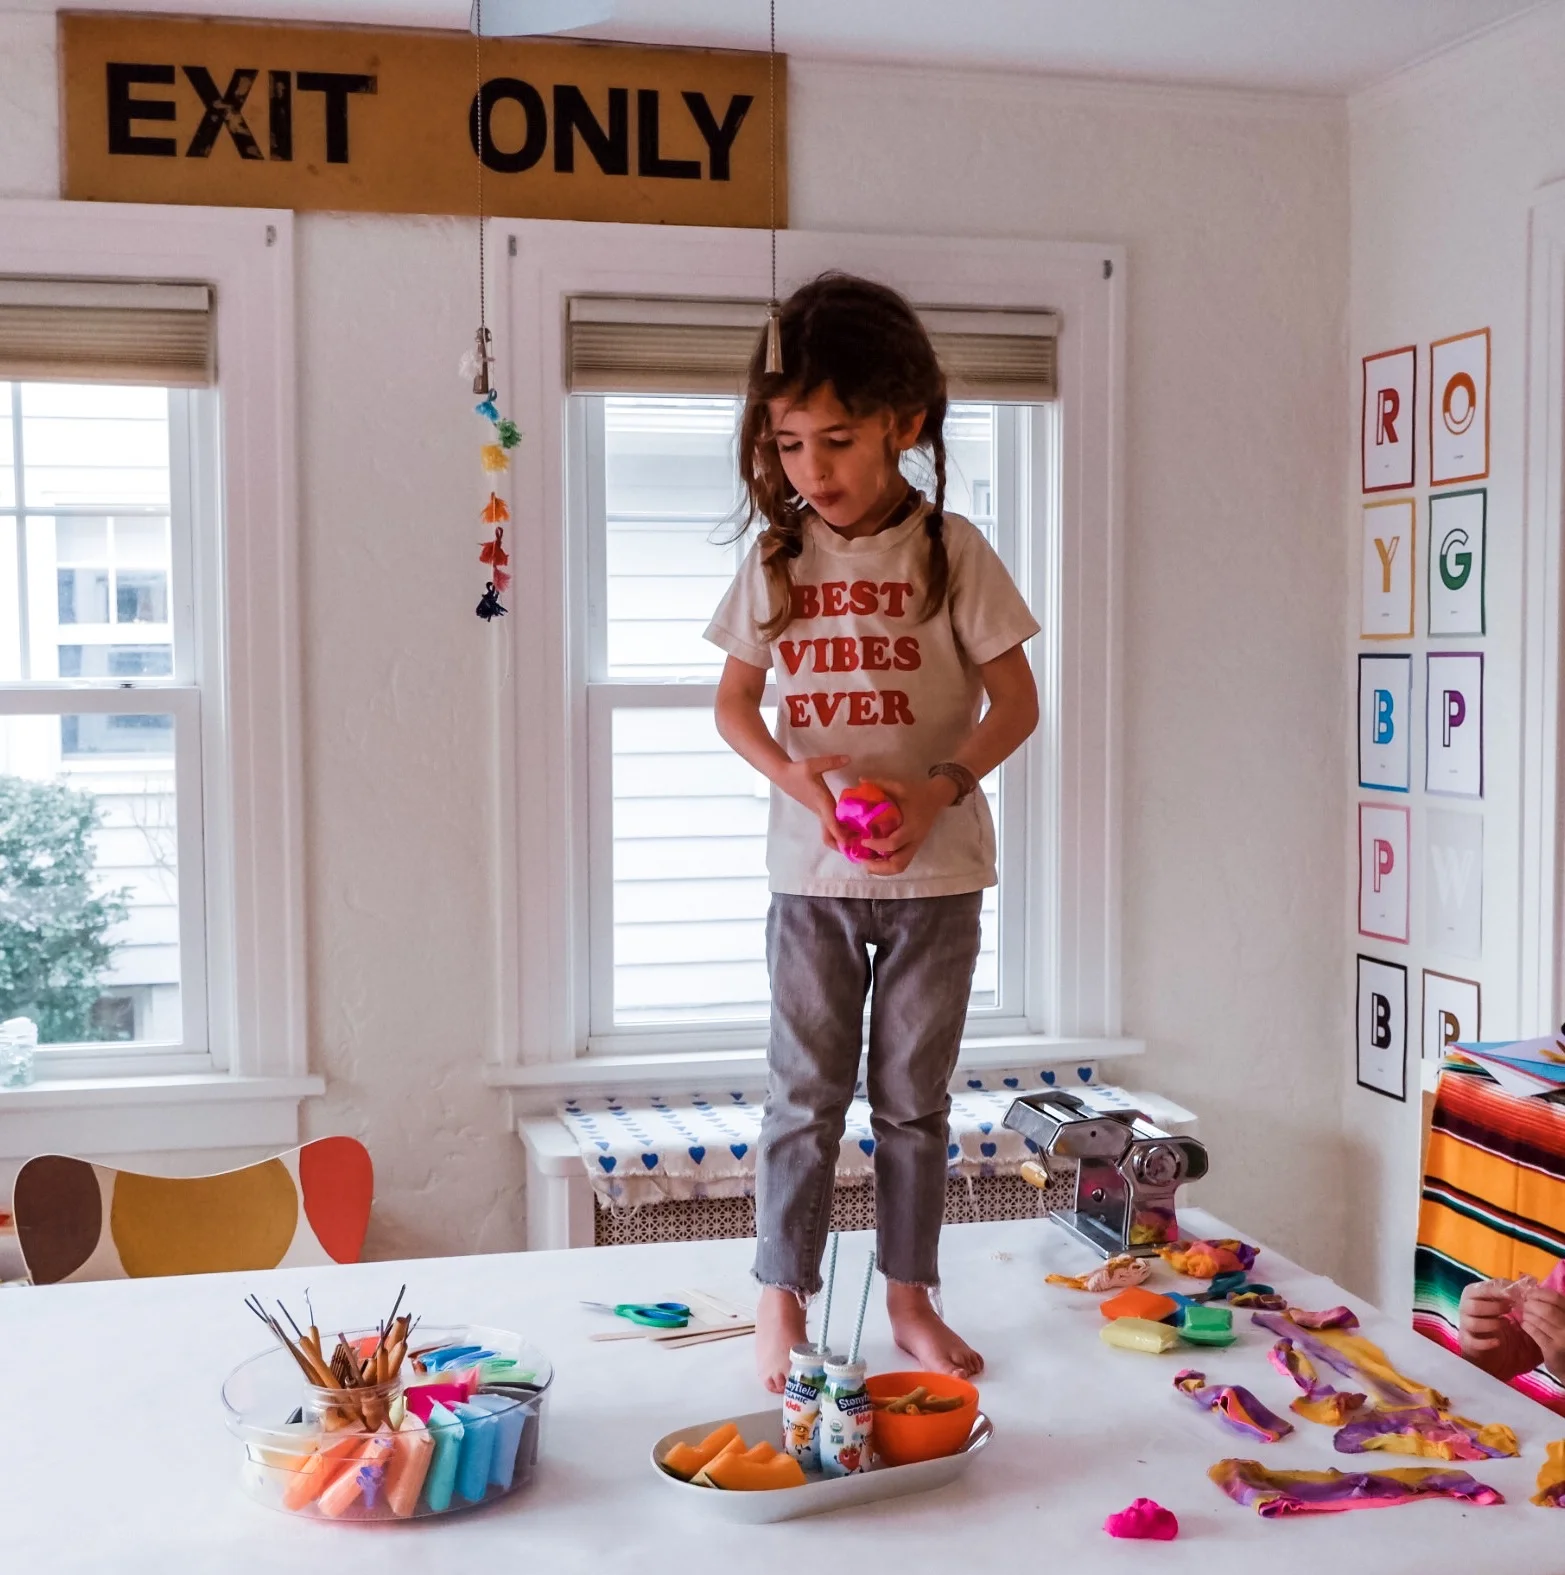
Have you tried this simple alternative to tie dye?
Read MoreSimple activity for the whole family to enjoy. Takes only minutes to set up.
Read MoreOne of my favorite process are experiences! Sewing with kids.
Read MoreA beautiful painting experience that is a snap to set up.
Read MoreA simple art project for the whole family.
Read MoreThis is a simple art activity NOT to be confused as a crafting activity….
Read MoreThe key to keeping things simple when you want to put out playful, creative invitations to make is having sturdy open ended materials at your finger tips. Here are some of my tried and true materials that we ALWAYS have at the ready.
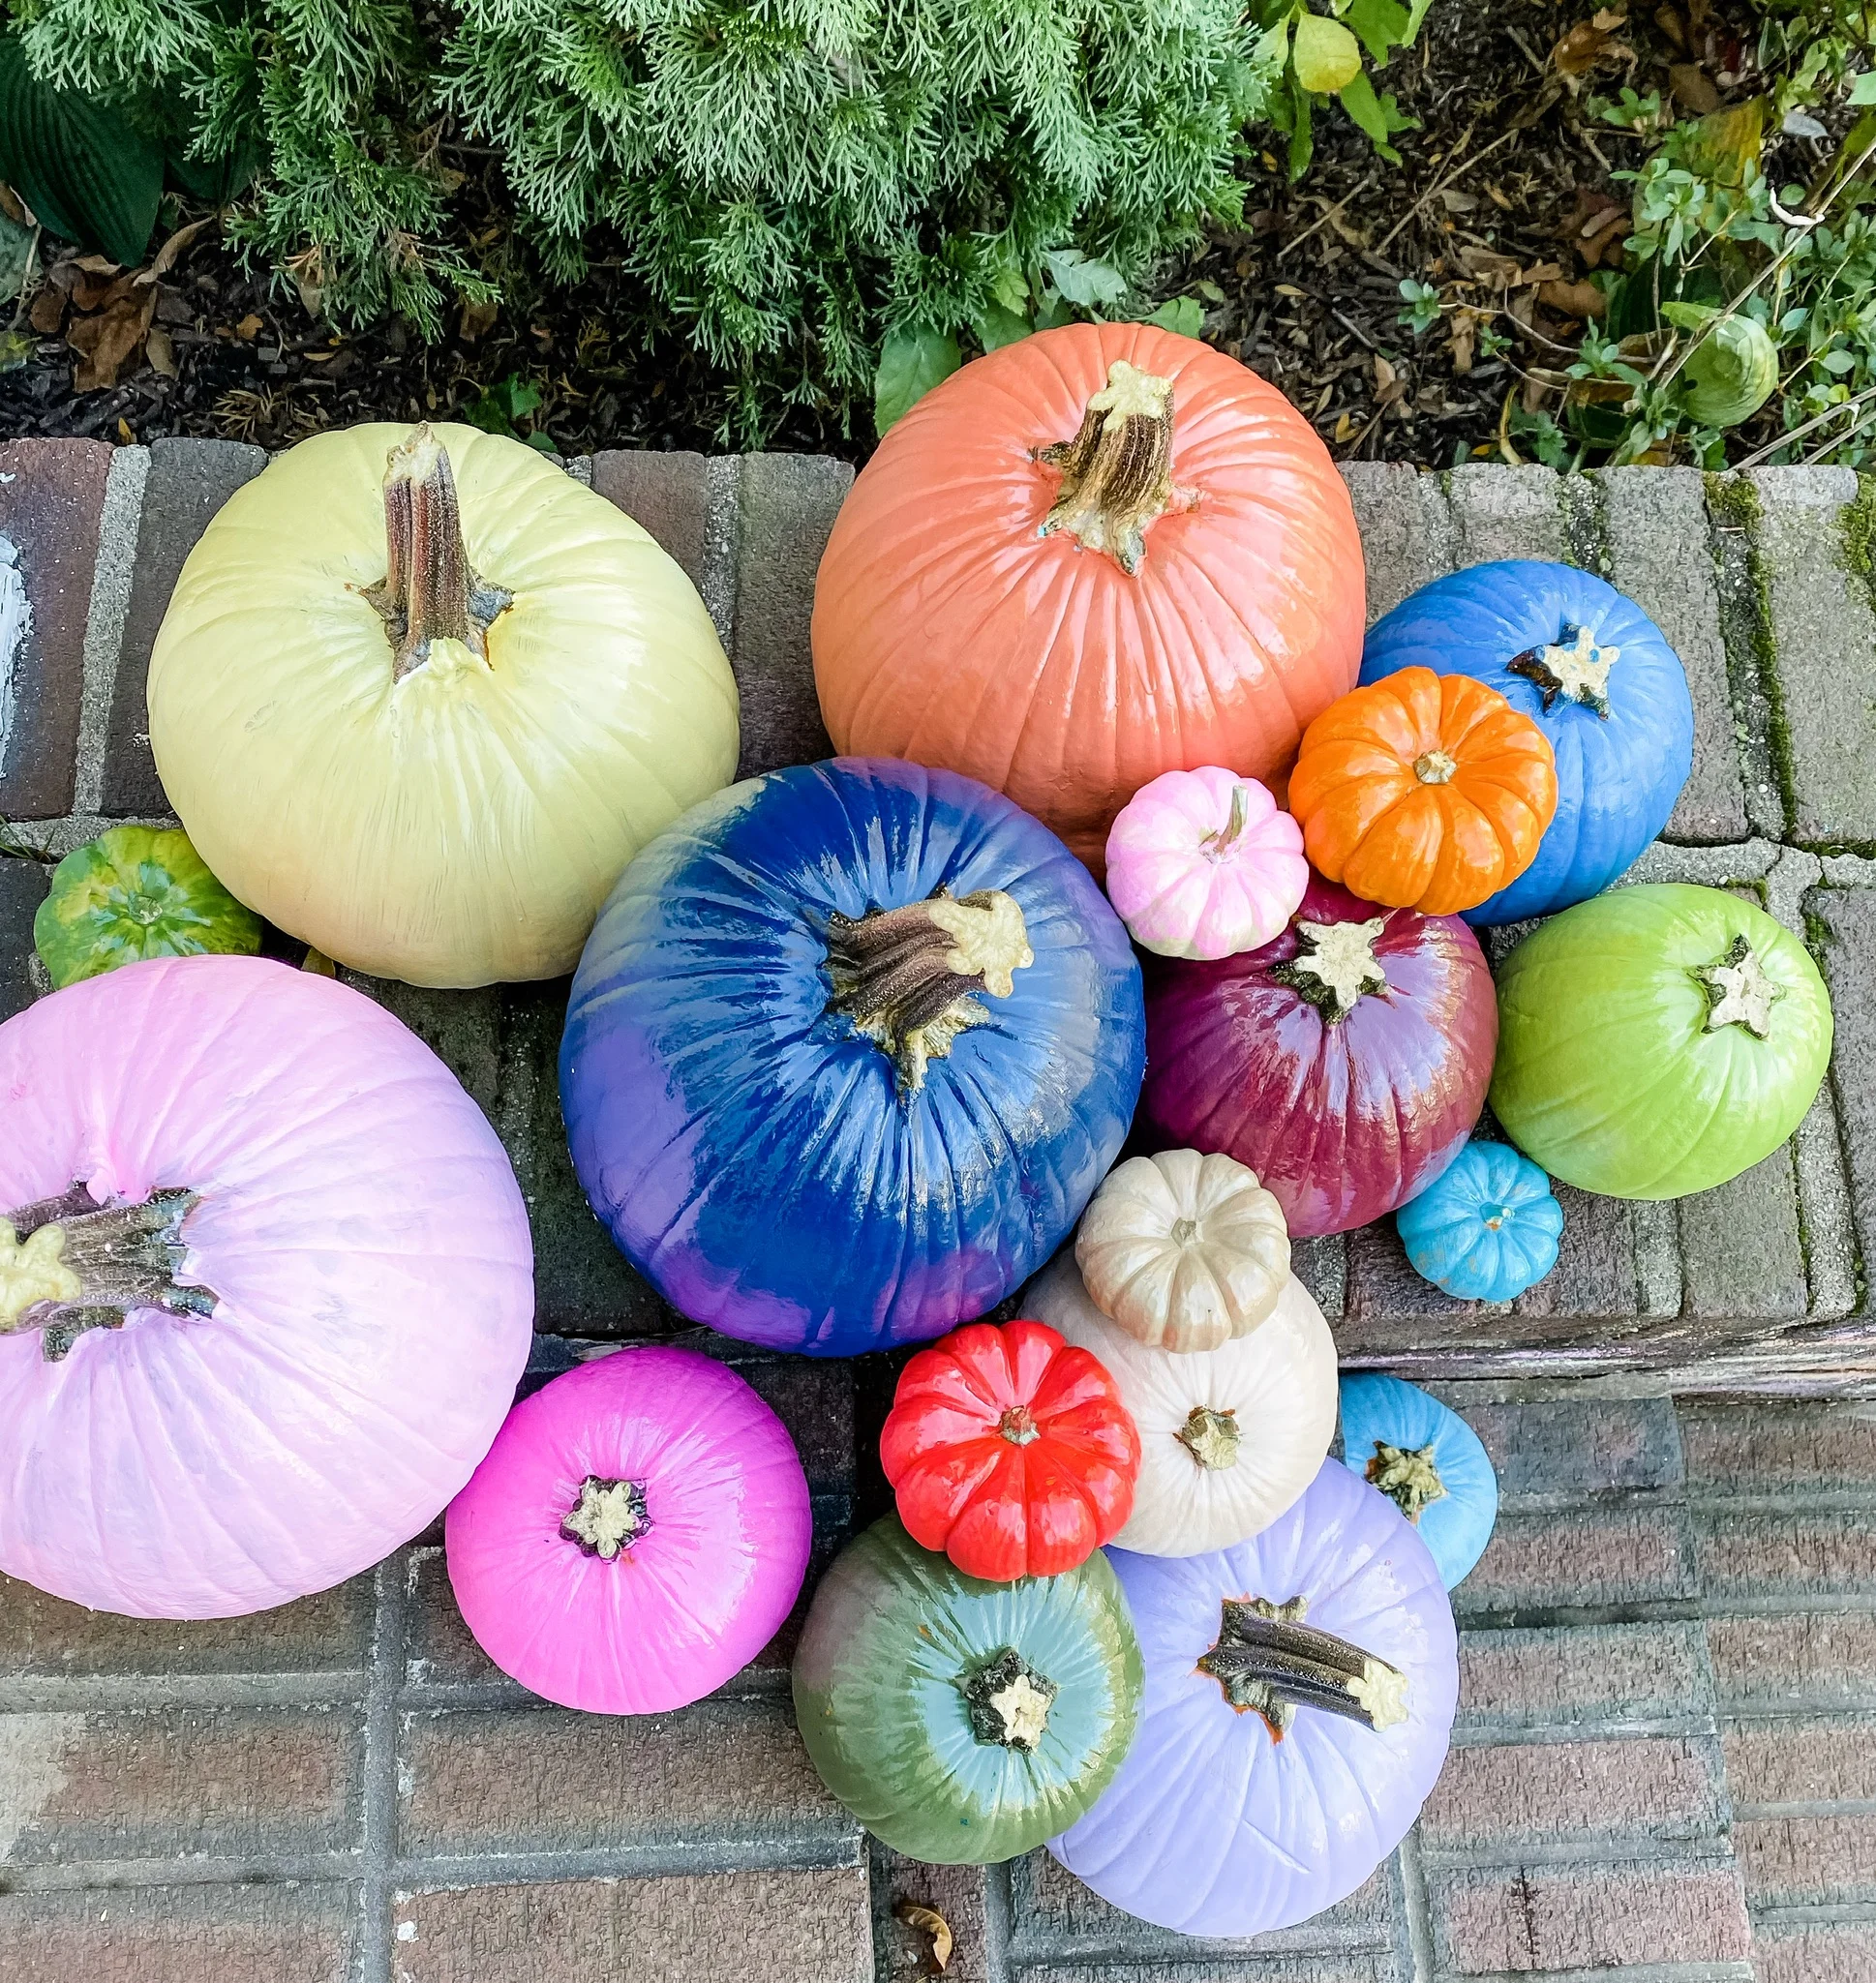
Read MoreAll the deets on Ruby’s rainbow pumpkins.
Read MoreFluffly, air dry clay make a great #invitationtocreate.
Read MoreHow to use felt for no-mess play with your toddler, preschooler and big kids.
Read MoreLooking for a simple afternoon activity? Psst. There are lots of ways to adapt this.
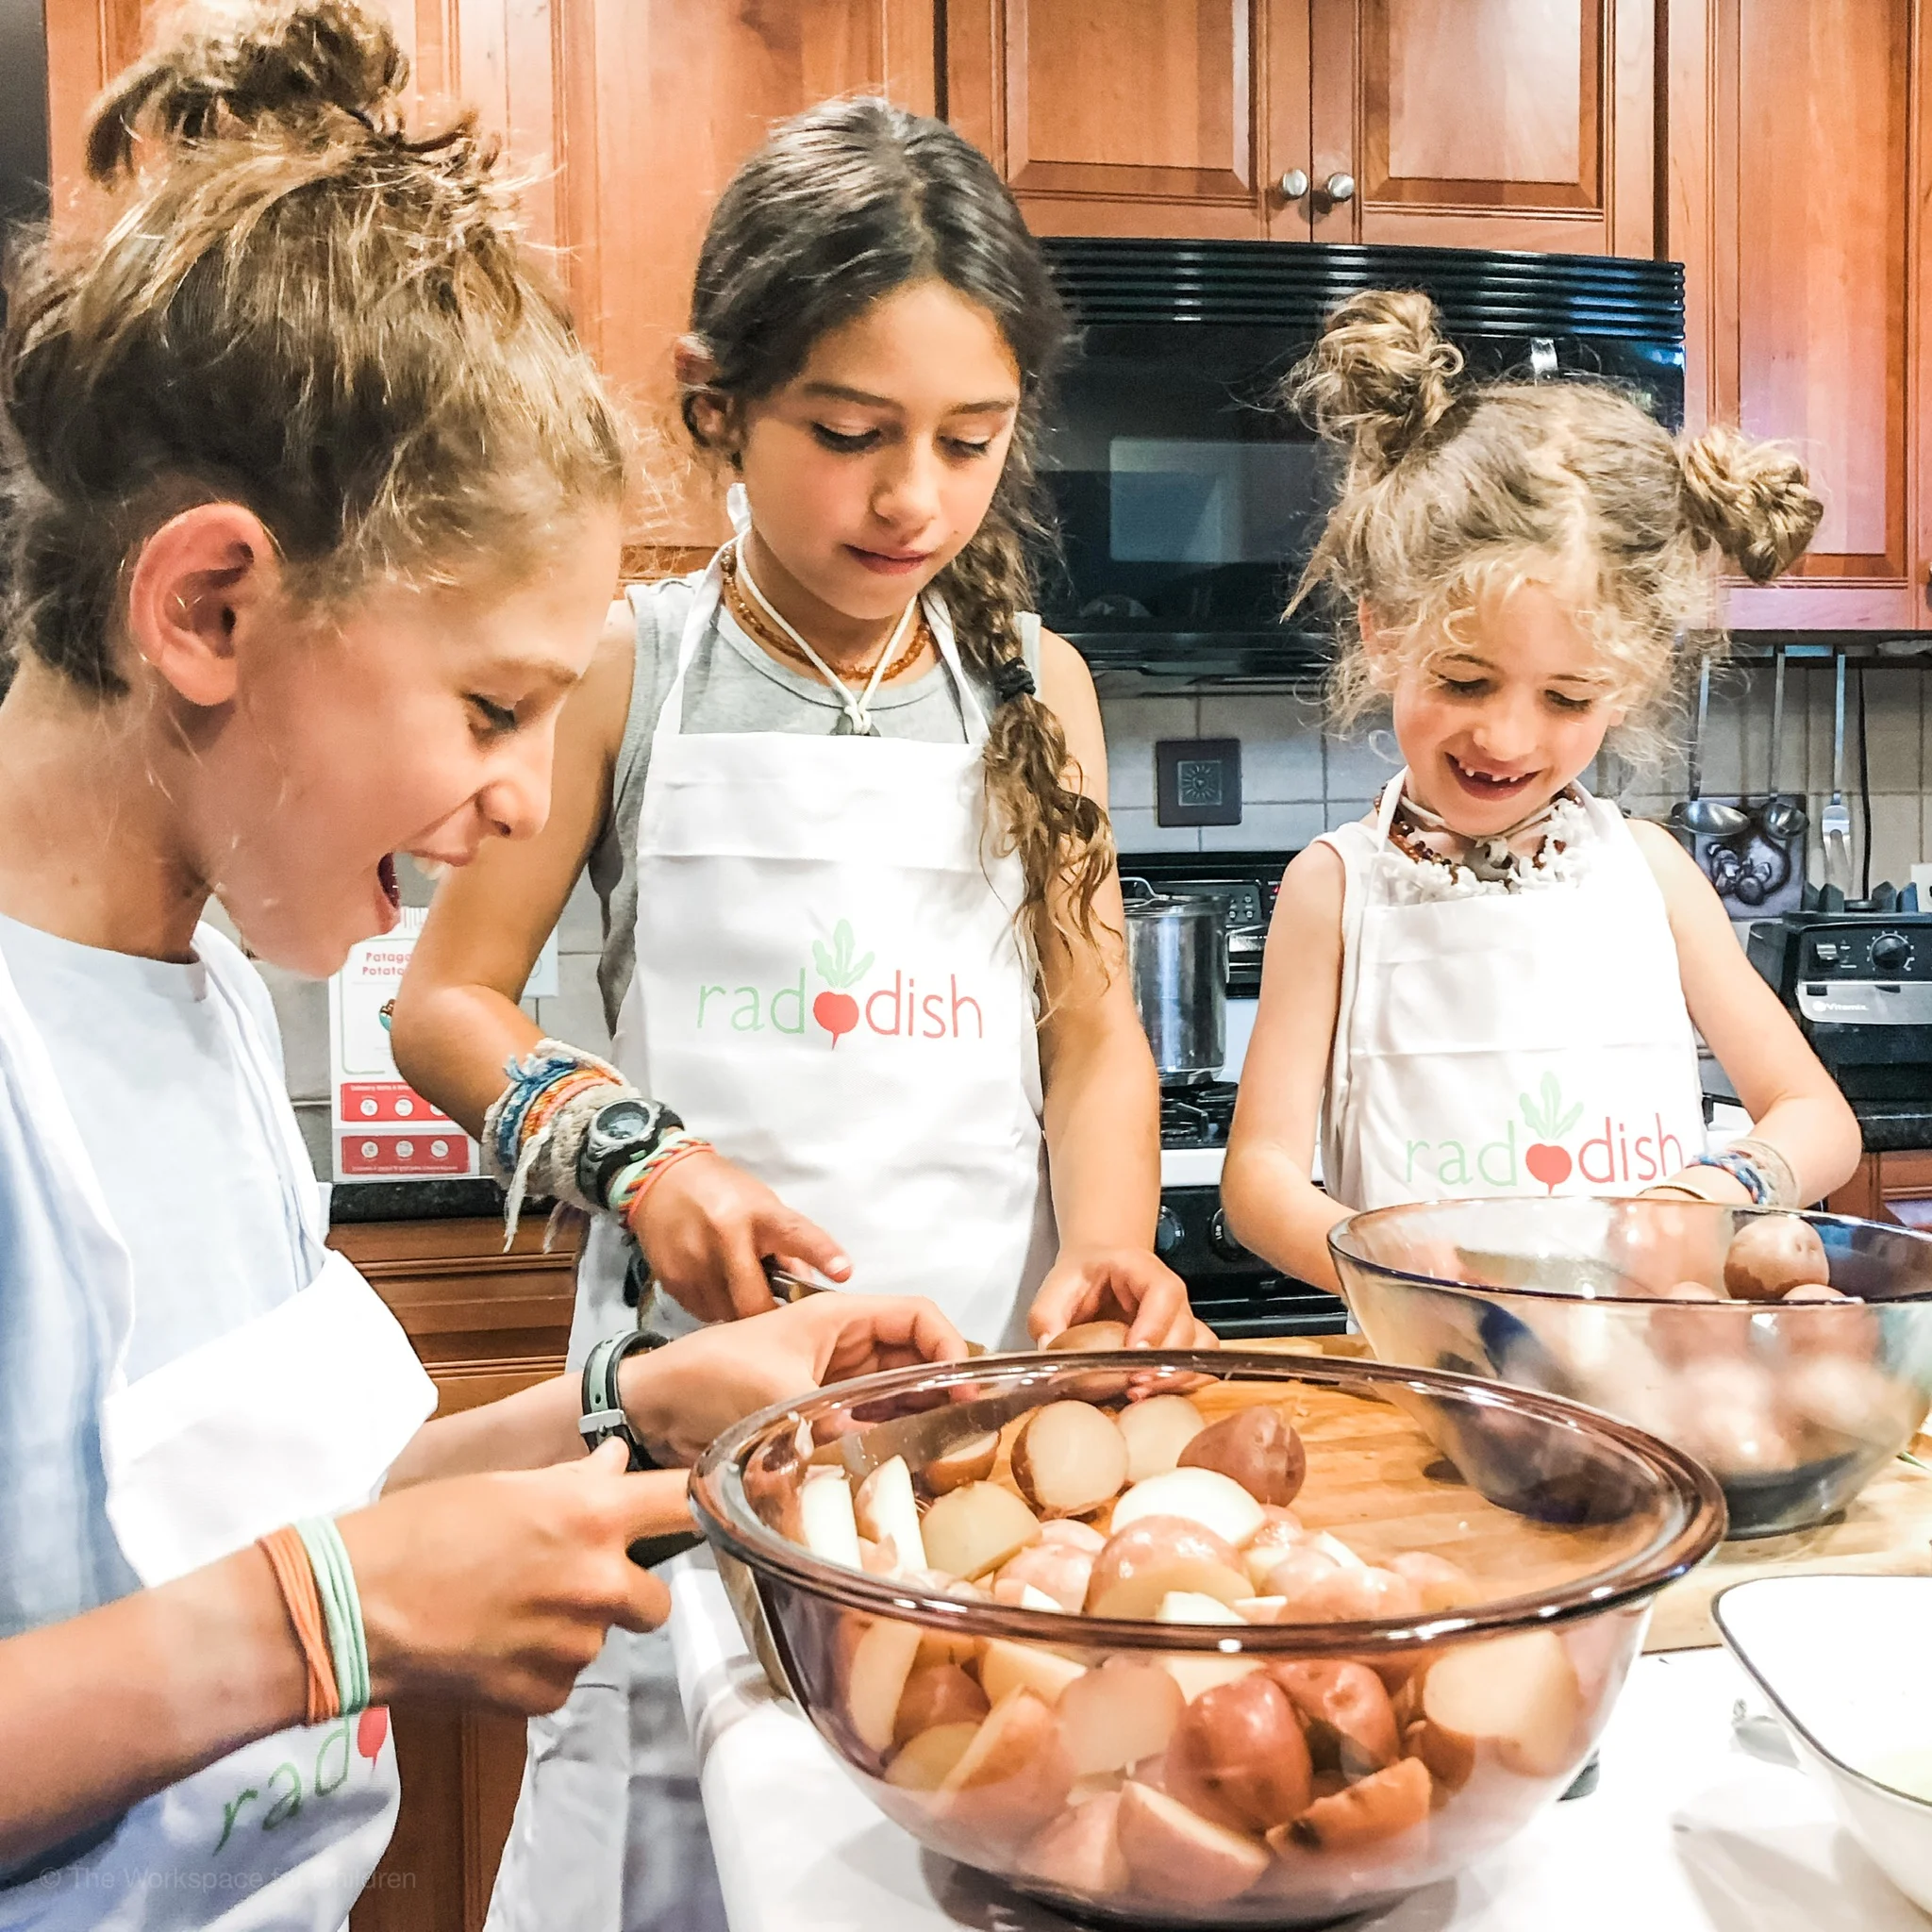
Read MoreTips for getting your kids into the kitchen and cooking with Raddish Kids.
Read MoreIf you are looking for a resource packed with CREATIVE ways to use what you already have at home, this post is for you.
Read More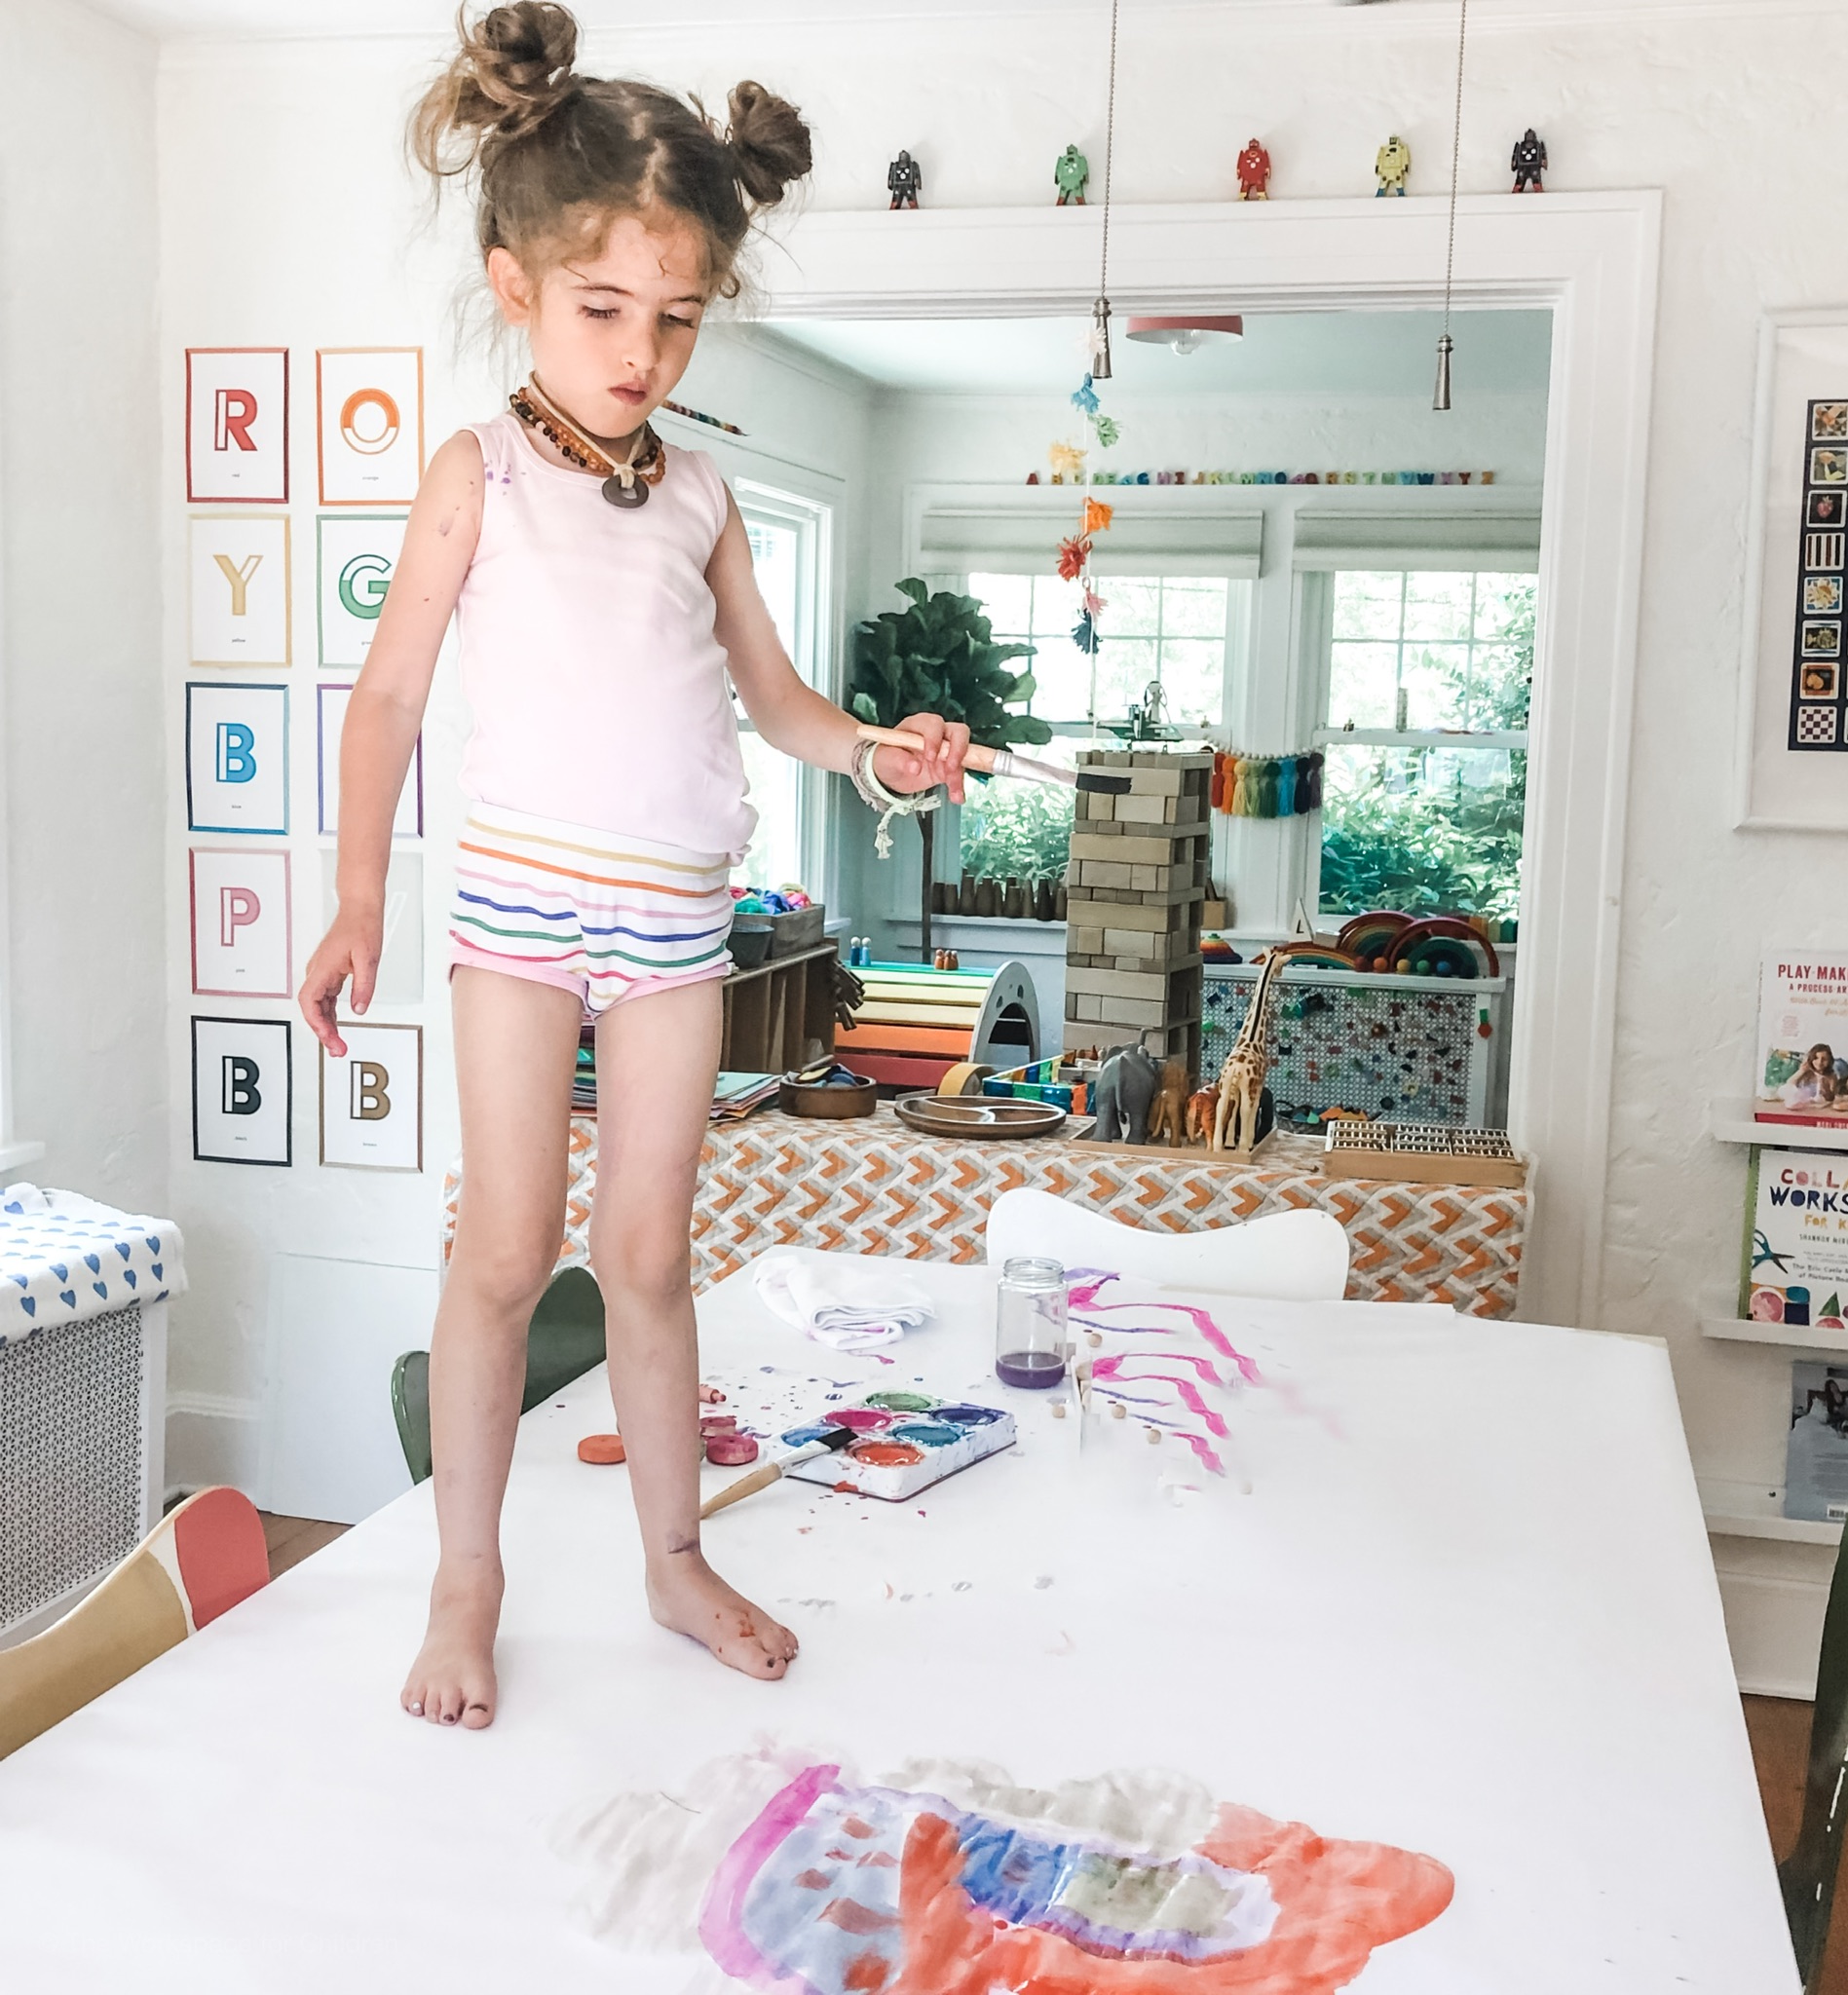
If you have children who love to create, you know the struggle is real. WHERE do I put it all? I’ve got you covered with five simple hacks for reusing your child’s artwork.
What to do with all those preschool paintings? They are huge, they rip and leave a trail of dried paint crumble in their wake. Not to mention that they are impossibly awkward to store. To be completely honest, I throw most of them out. If you aren’t quiet there yet, read on for simple, easy, creative solutions to ALL. THAT. ARTWORK.
Pick a few paintings and use masking tape to keep it flat on the table. Odds are, your child created that painting standing up at the easel, so placing it down flat offers a new perspective. Take out some markers, stickers, or even some sharpies if you are brave. Allow your child to revisit their work and add to it.
Too many large paintings kicking around? See which ones are in good enough shape to use as wrapping paper. Kids love to gift their art work and this is a great way to do it. Let them have at it with a roll of tape and do the wrapping for you. It might not come out professional looking, but its a great fine motor activity and it will give your child a sense of autonomy.
Recycle old art work by cutting it into small shapes. Put out the pieces on a tray with glue and a piece of sturdy paper or cardboard and let your child make something new! It is amazing how these things turn out the second and third time around. Plus, you win because your child is engaged in a non-screen activity and you didn’t even buy anything!
Post it! Mail that painting to a friend or grandparent. Brainstorm a list of people who might like to receive mail. Help your child fold their work and place it in an envelope. Show them how you address it, and let your child decorate the envelope. Head to the post office together and mail out the package, allowing your child to take the lead as much a possible. Boom. I just killed an entire morning for you! Your child and their grandparent will probably be very happy.
Have your child choose a painting they remember making. You know, that really special one that you can tell they spent ages on. Sit down with them and have them dictate a story about what is happening in the painting. It is okay if they make up something entirely new on the spot. It is the writing and sharing that matters here. Write down their words carefully (this is a great pre-reading exercise, btw). Later that evening, allow your child to present her painting to the family while you read her story out loud!
How do you handle all that art work?
Looking for more ideas? Here is another post I wrote about storing children’s art work.
I hope you found this post helpful. If you want to hear more from me, please be sure to subscribe to my blog and join the conversation over on Instagram.
-Lizzie
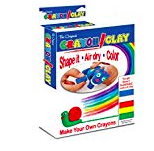
I don’t know about you guys, but my kiddos wake up early on the weekends. Last Saturday everyone was up by seven. It was too early to play outside or go anywhere, and I’d already said no to TV. I wanted an activity that would be good for all three children (ages six, nine and eleven) and I really didn’t want to start my weekend with a big mess to deal with. I pulled out our Crayon Clay that was sent to us from The Pencil Grip and set up a tray of our favorite materials. I find that how you approach the set up of any invitation to create actually does matter. Doing a little bit of extra work on the front end really pays off. Sure, I could’ve just opened the box and given them the packets of clay, but then there would’ve been fighting and whining and lots of requests for help.
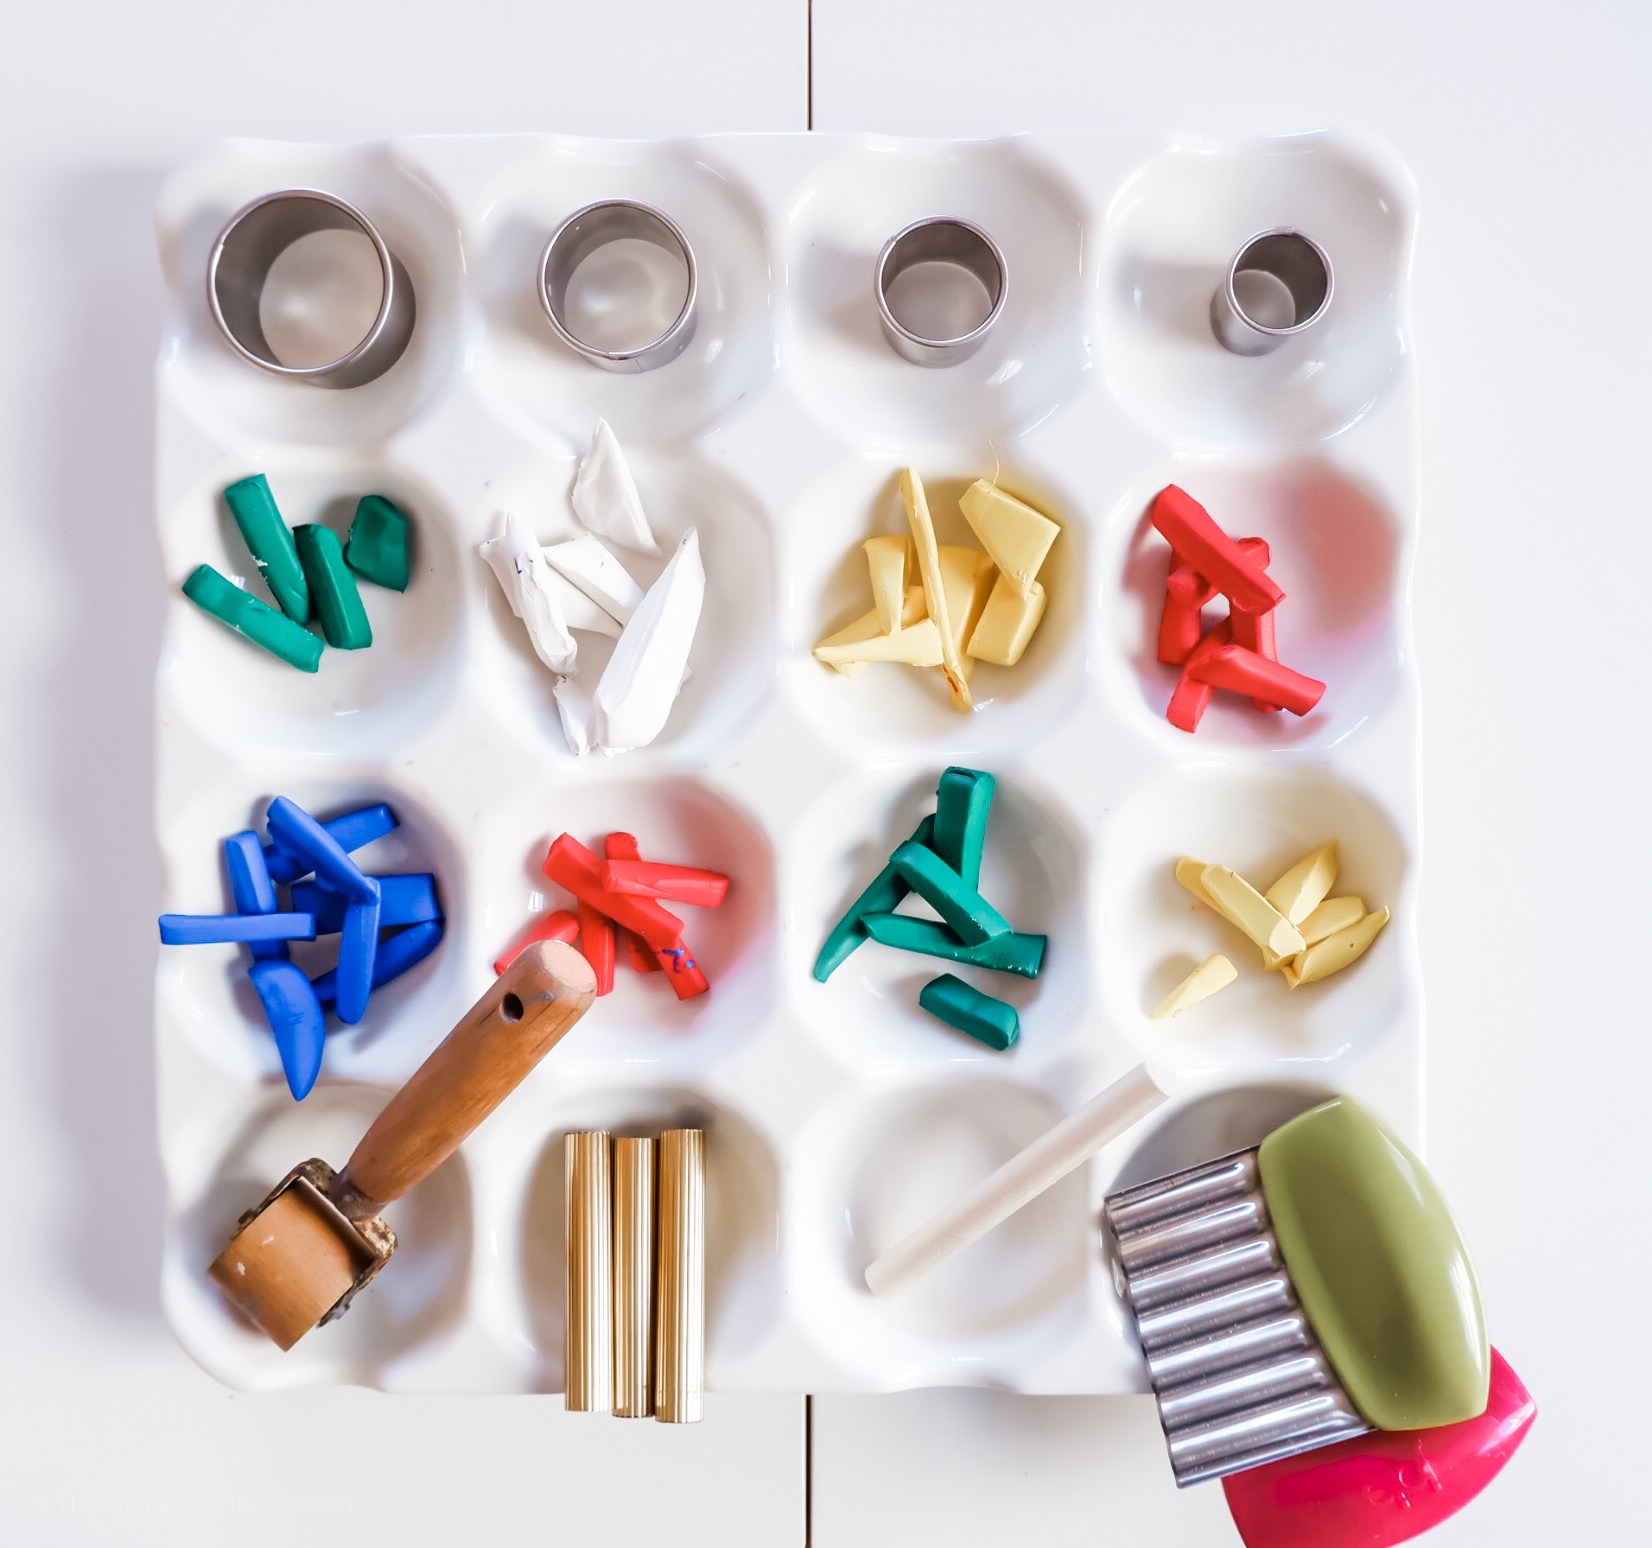
Right away, Ruby (nine) knew that she wanted to mix the perfect shade of color. At first, she was frustrated. It took some time and string fingers to get that clay to blend. But when it did, it was so good.

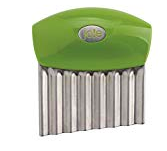
Sloane wanted to make a set of circle crayons for a friend. She rolled the clay and then cut out little circles of color. I think they turnout great!

Nate made little a little snail crayon because he loved the idea that it could leave a trail of color.
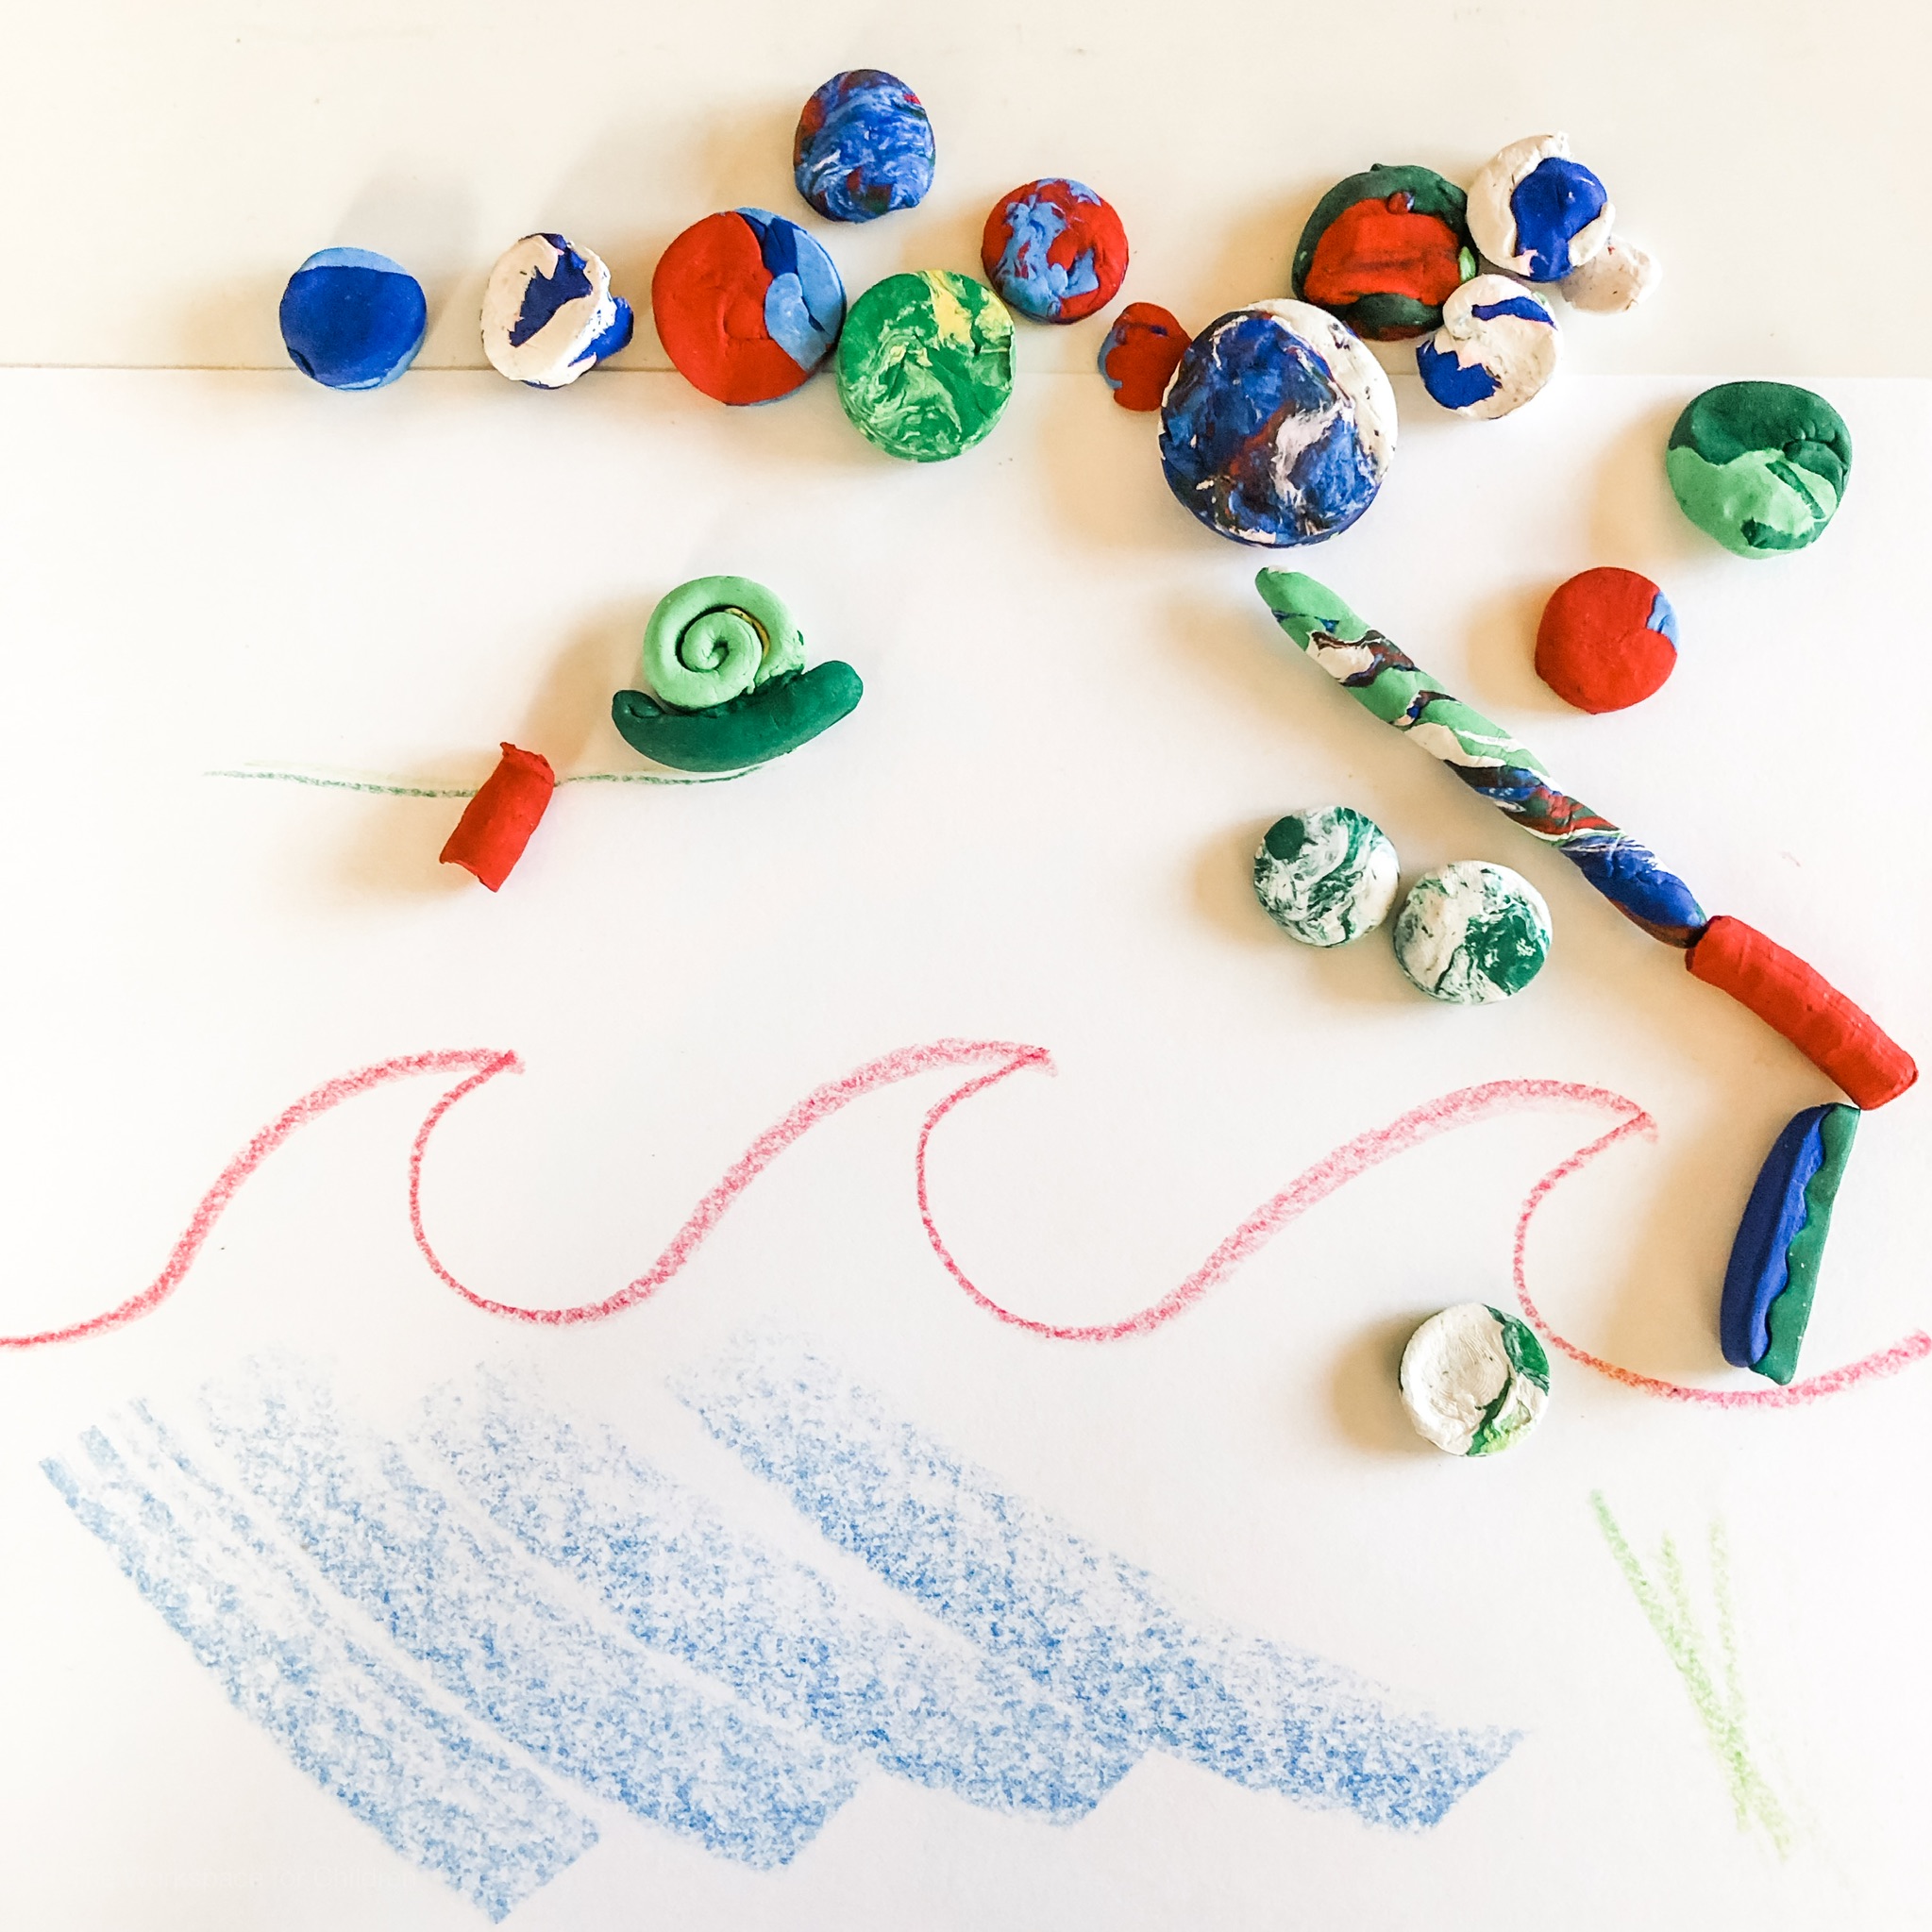
When they were finished creating, we left the shaped clay on the table to dry and off we went. It dried beautifully (took about 12 hours) and the children now have a new set of crayons!!

This set is my new go-to birthday gift. It’s a great price point, and can be used by such a large range of ages. I am all stocked up! Click the images (affiliate links) below to find out where to get everything!!
I hope you found this post helpful. If you want to hear more from me, please be sure to subscribe to my blog and join the conversation over on Instagram.
-Lizzie
I love this project because everyone in the family can contribute in some way. It is perfect for a snow day spent at home, or a long afternoon in the summer when you’ve got nothing but time on your hands .
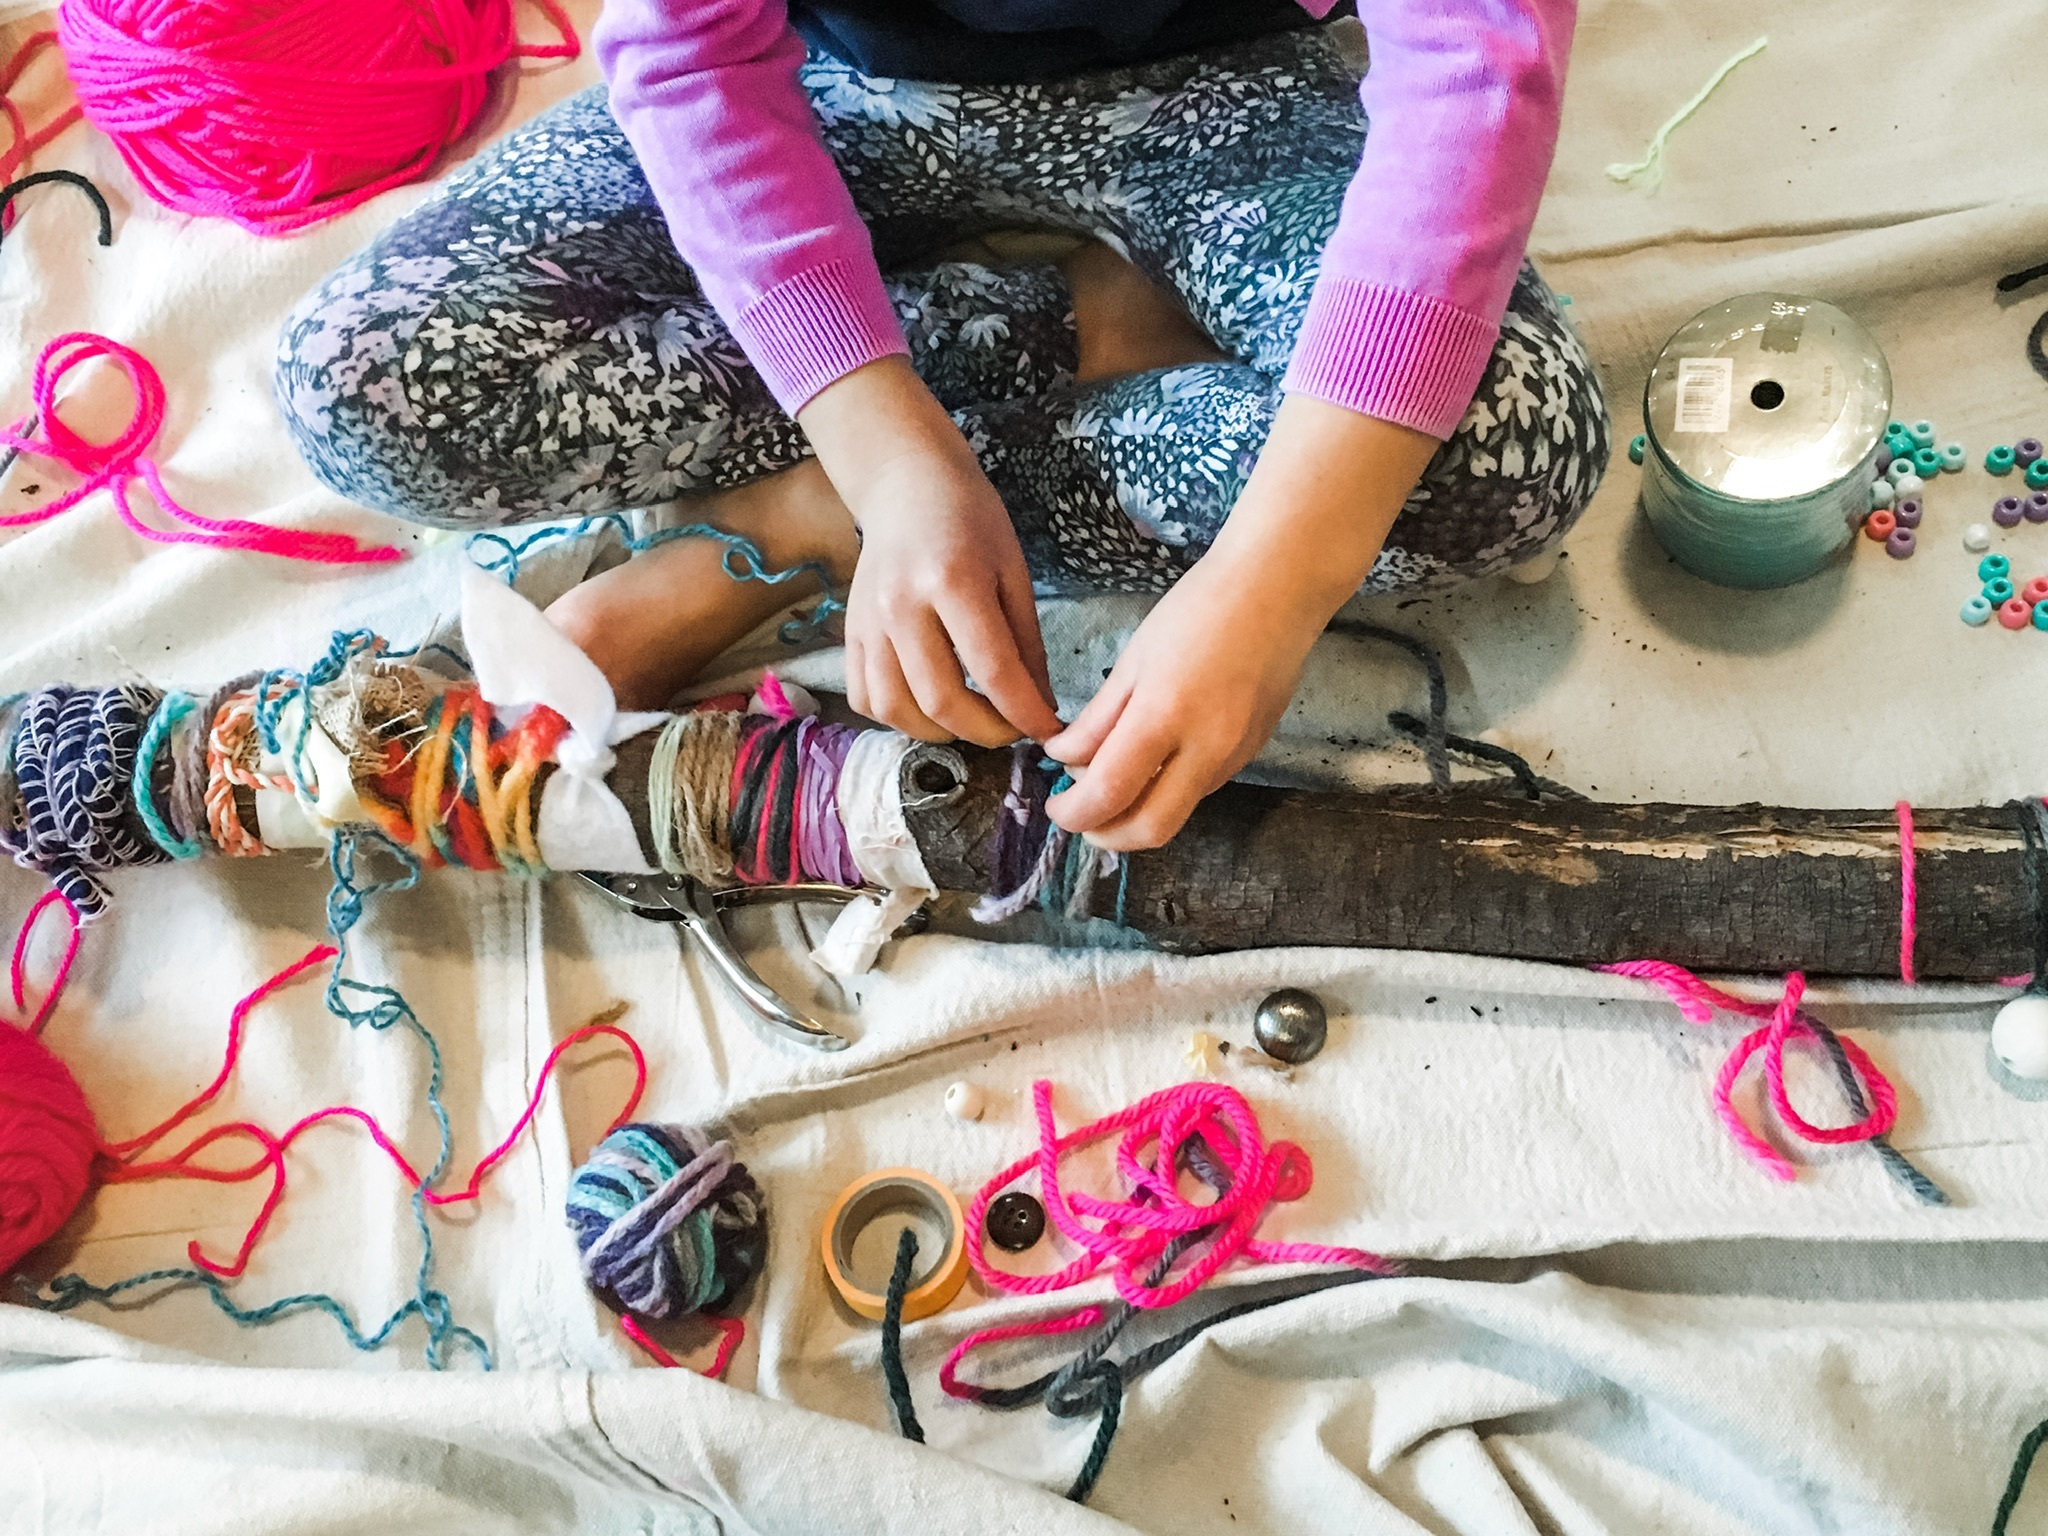
In this particular instance, a large wind storm left us this beautiful branch smack in the middle of the yard. The kids and looked at each other and we knew exactly what to do.
First, we dried out the stick for a few days in the basement where it is dry and hot. This also gets rid of any little bugs that might be hanging out inside.
I threw a big drop cloth on the floor and gathered up our materials. We used yarn, fabric scraps, wire, beads, feathers and anything else the children gathered from our art cabinet.
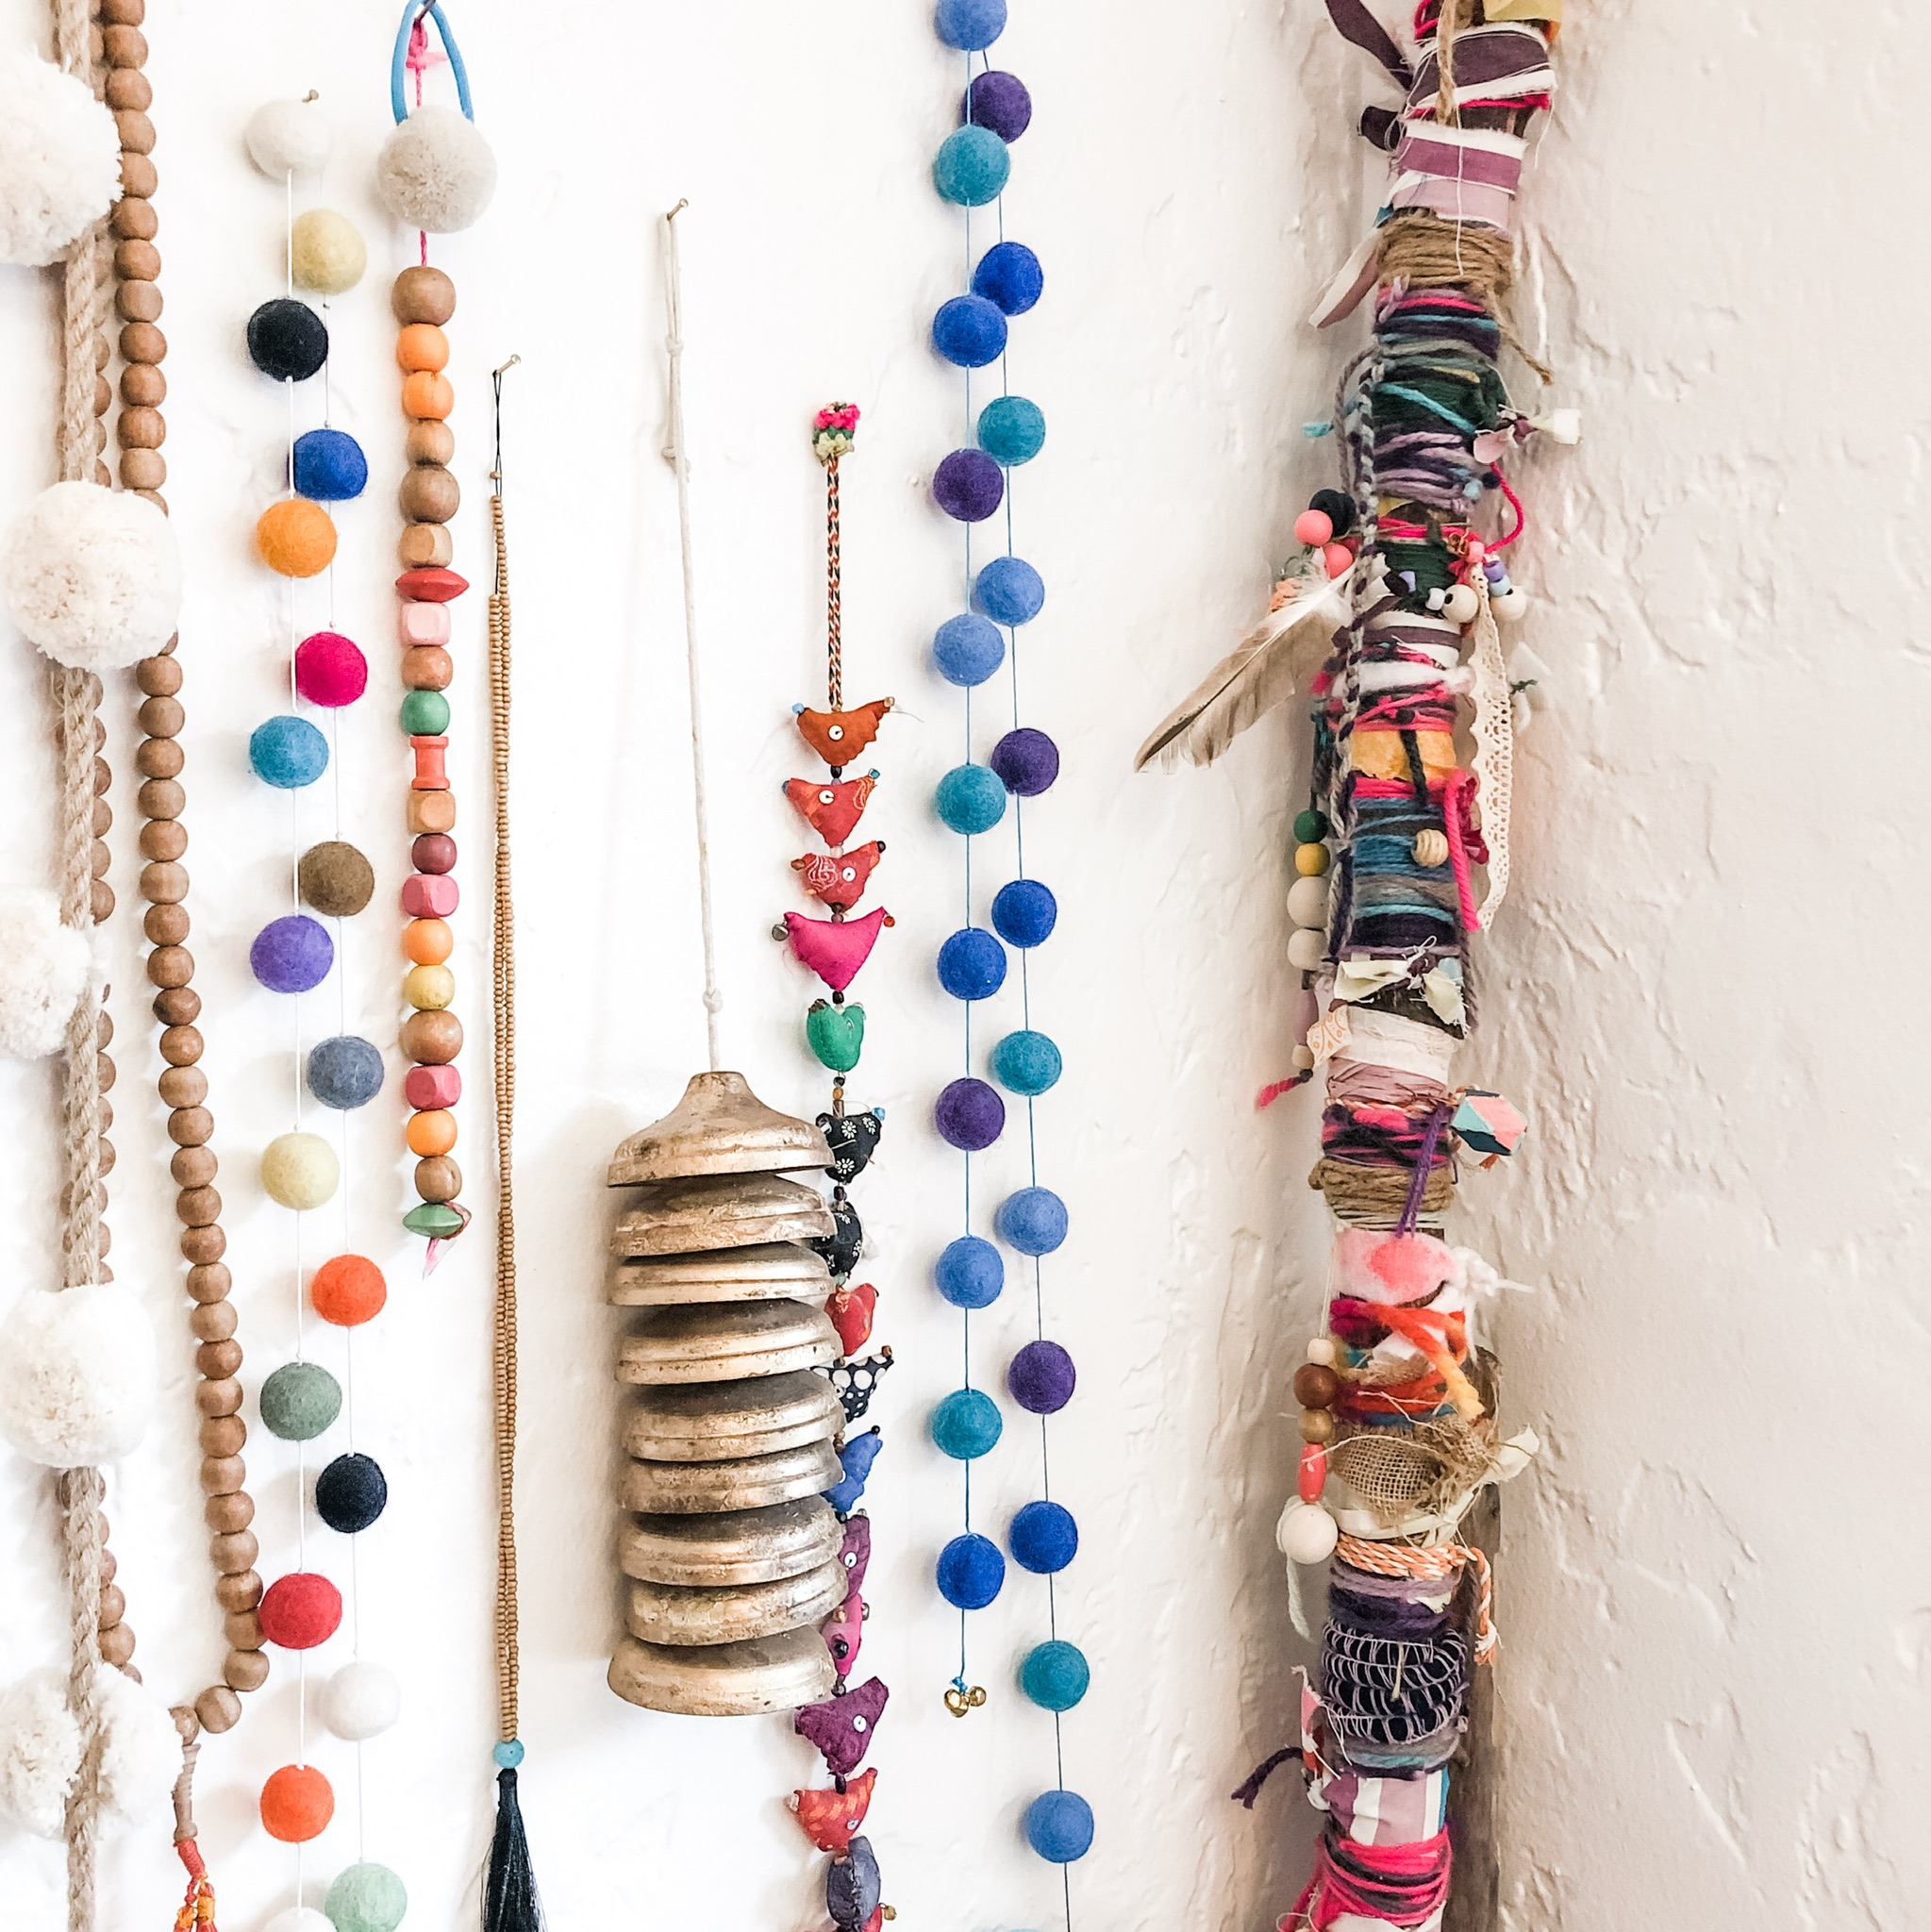
There really weren’t any directions involved. This was entirely about the process, and it happened to turn out to be so beautiful, that it now lives in our living room. The amazing thing about this stick project is that it has been ongoing for a few years. Whenever we find some fabric, interesting yarn or a bead that we love, one of the children pulls the branch out an adds on to it. There have been many new stick projects started over the years, but for some reason, this one was really magical. Sometimes, I wonder if it has anything to do with the tree that dropped it in our yard.…
How do you use gifts from Mother Earth in your art space?

I hope you found this post helpful. If you want to hear more from me, please be sure to subscribe to my blog and join the conversation over on Instagram.
-LIzzie
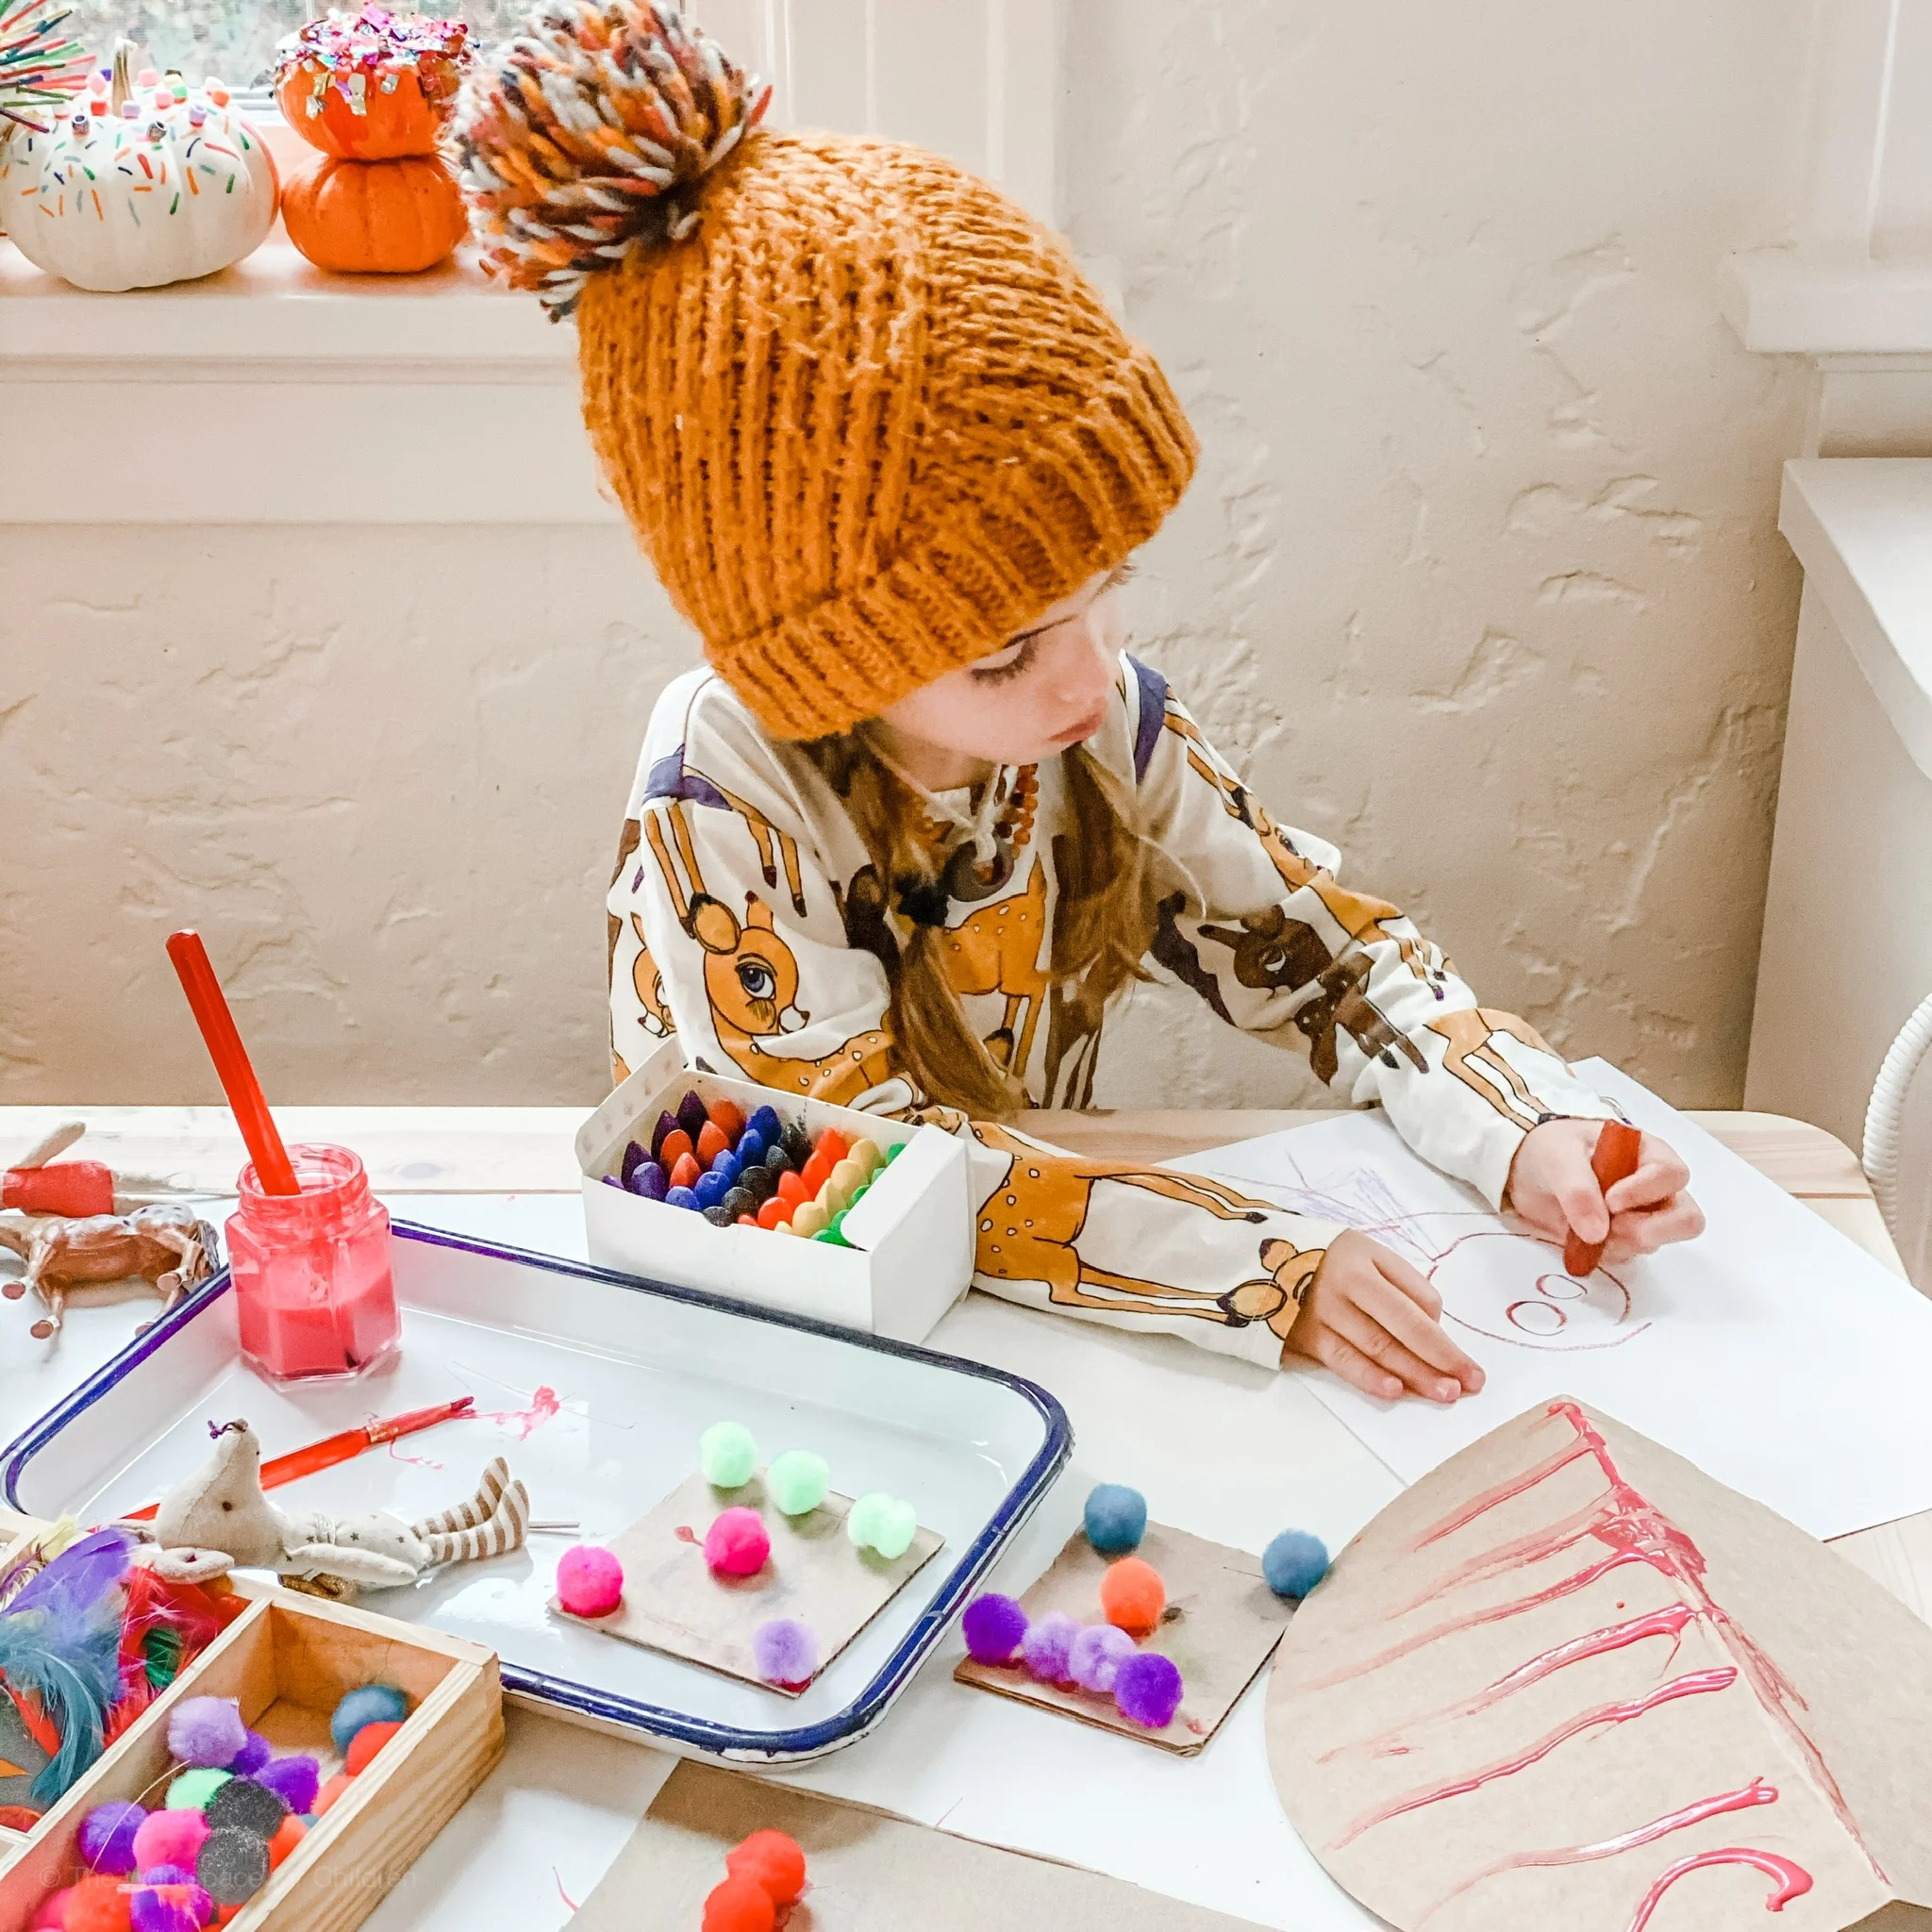
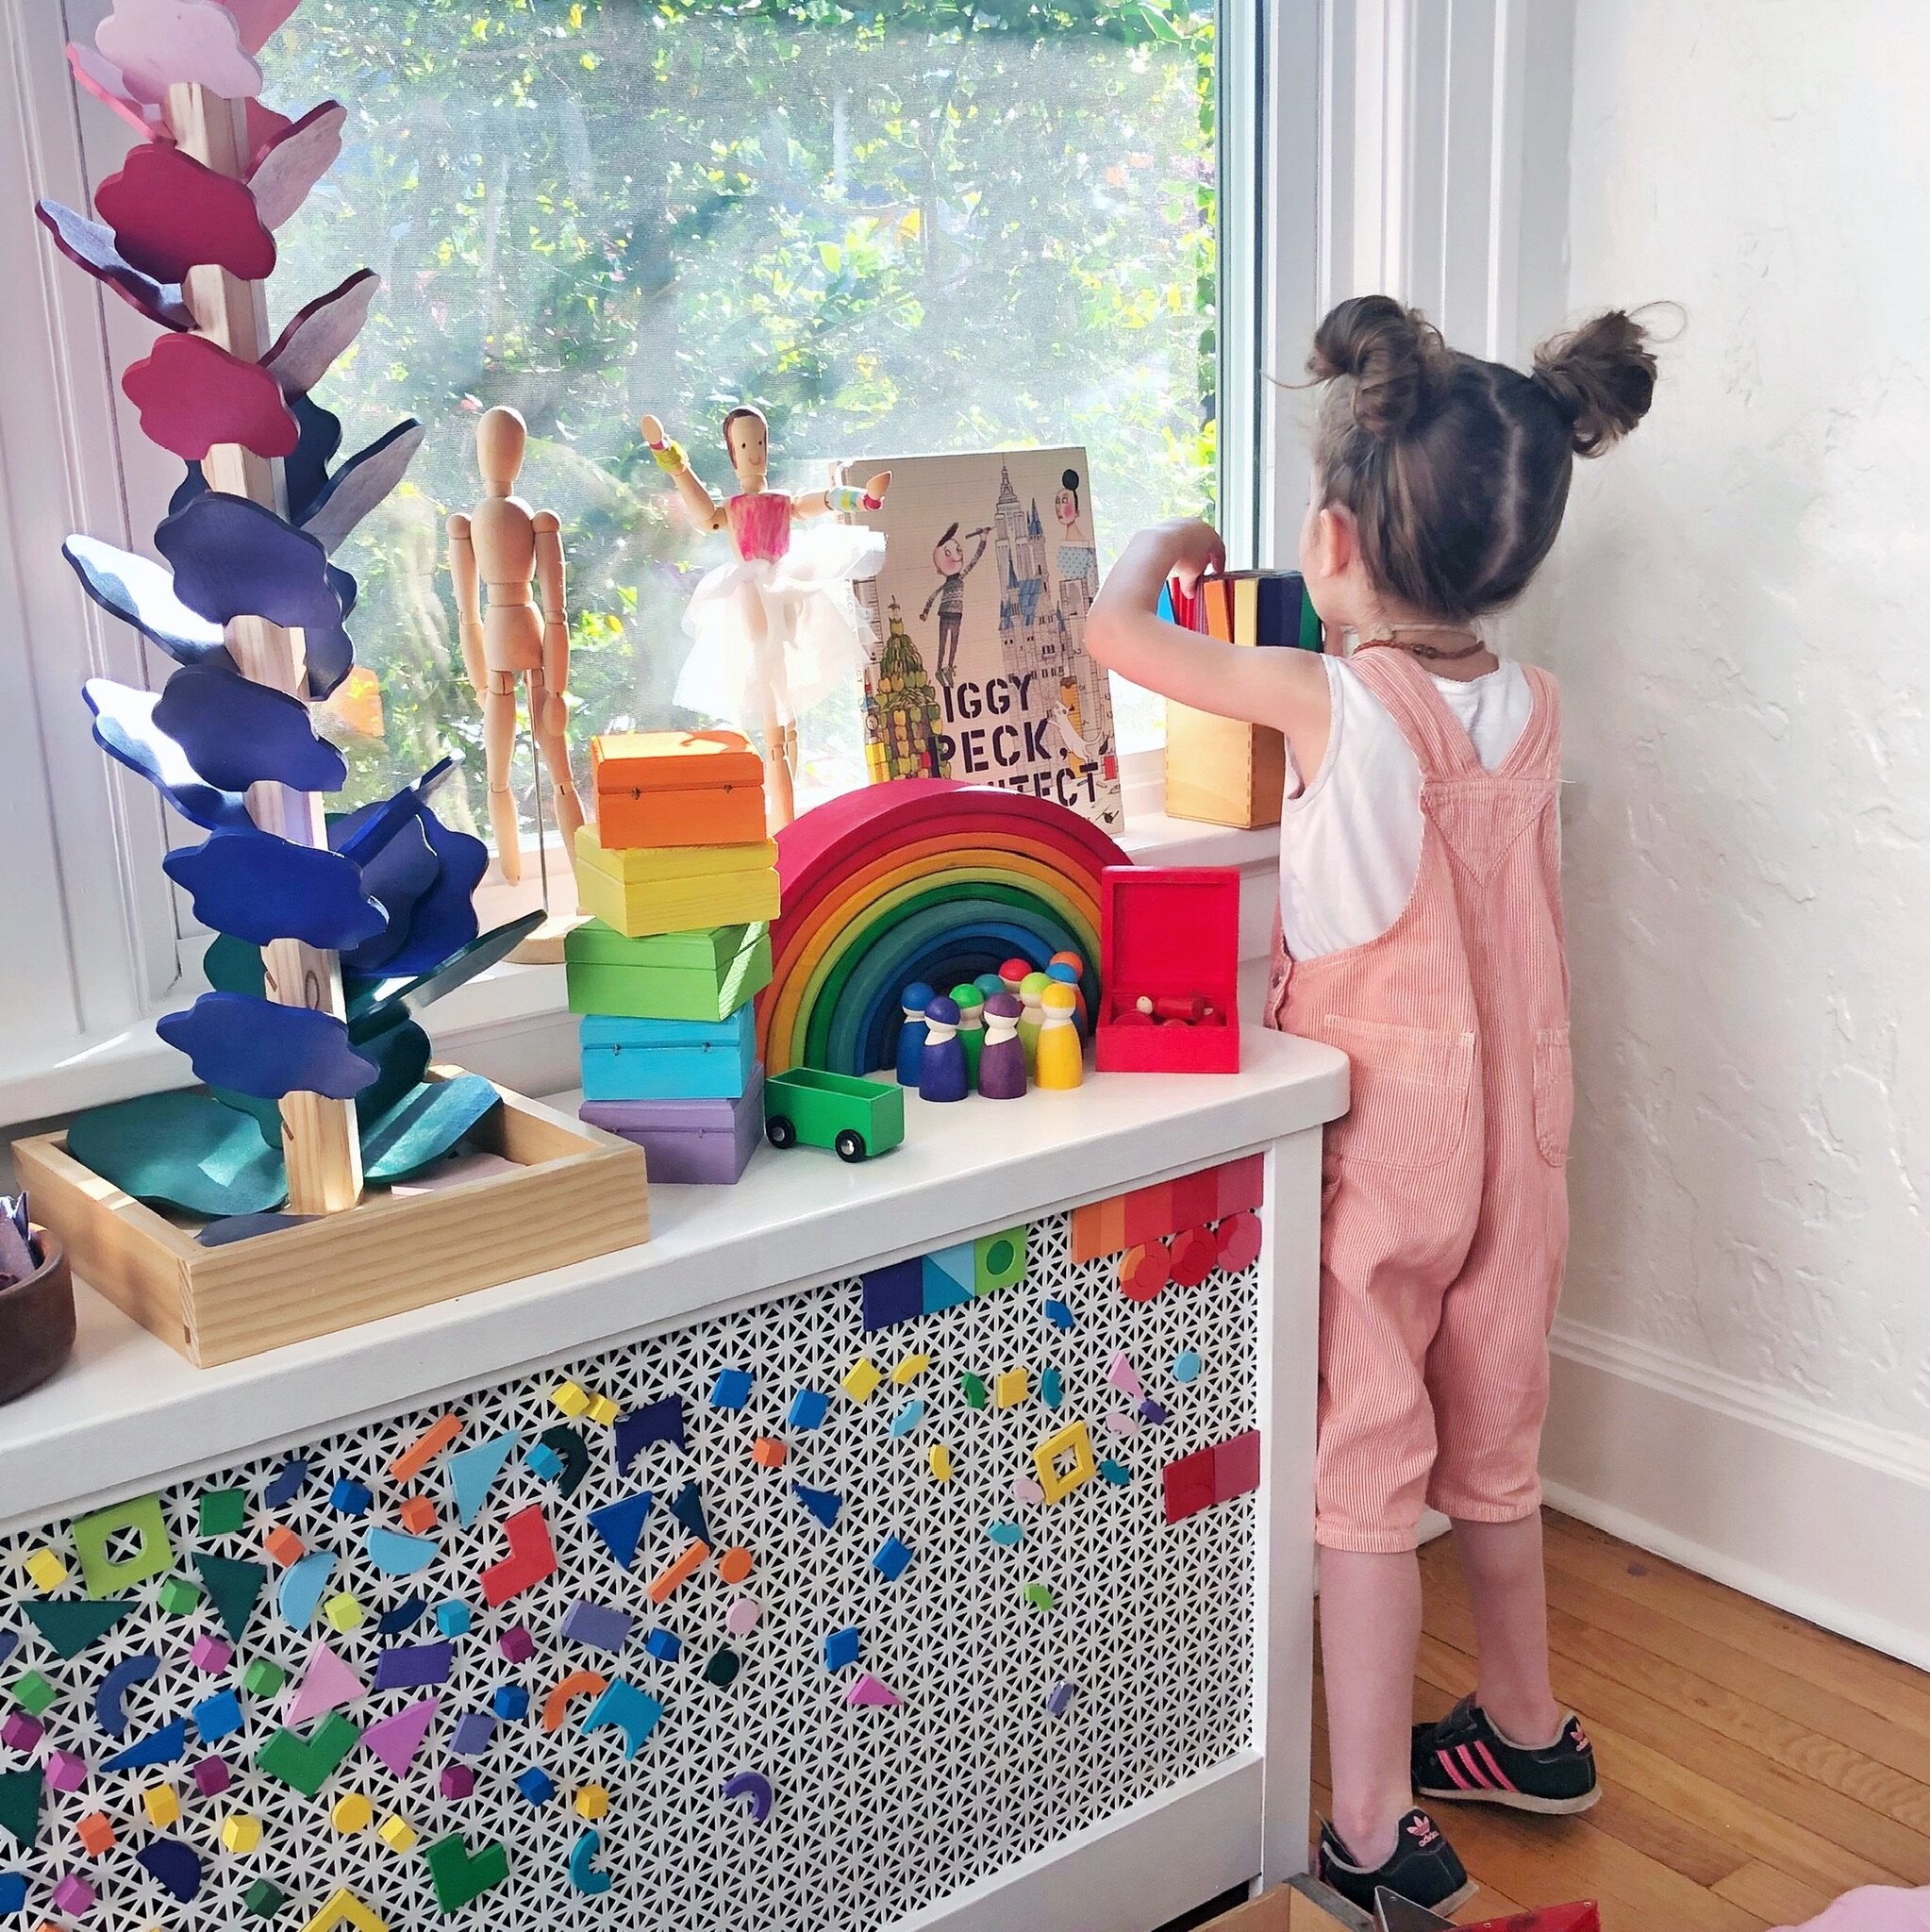
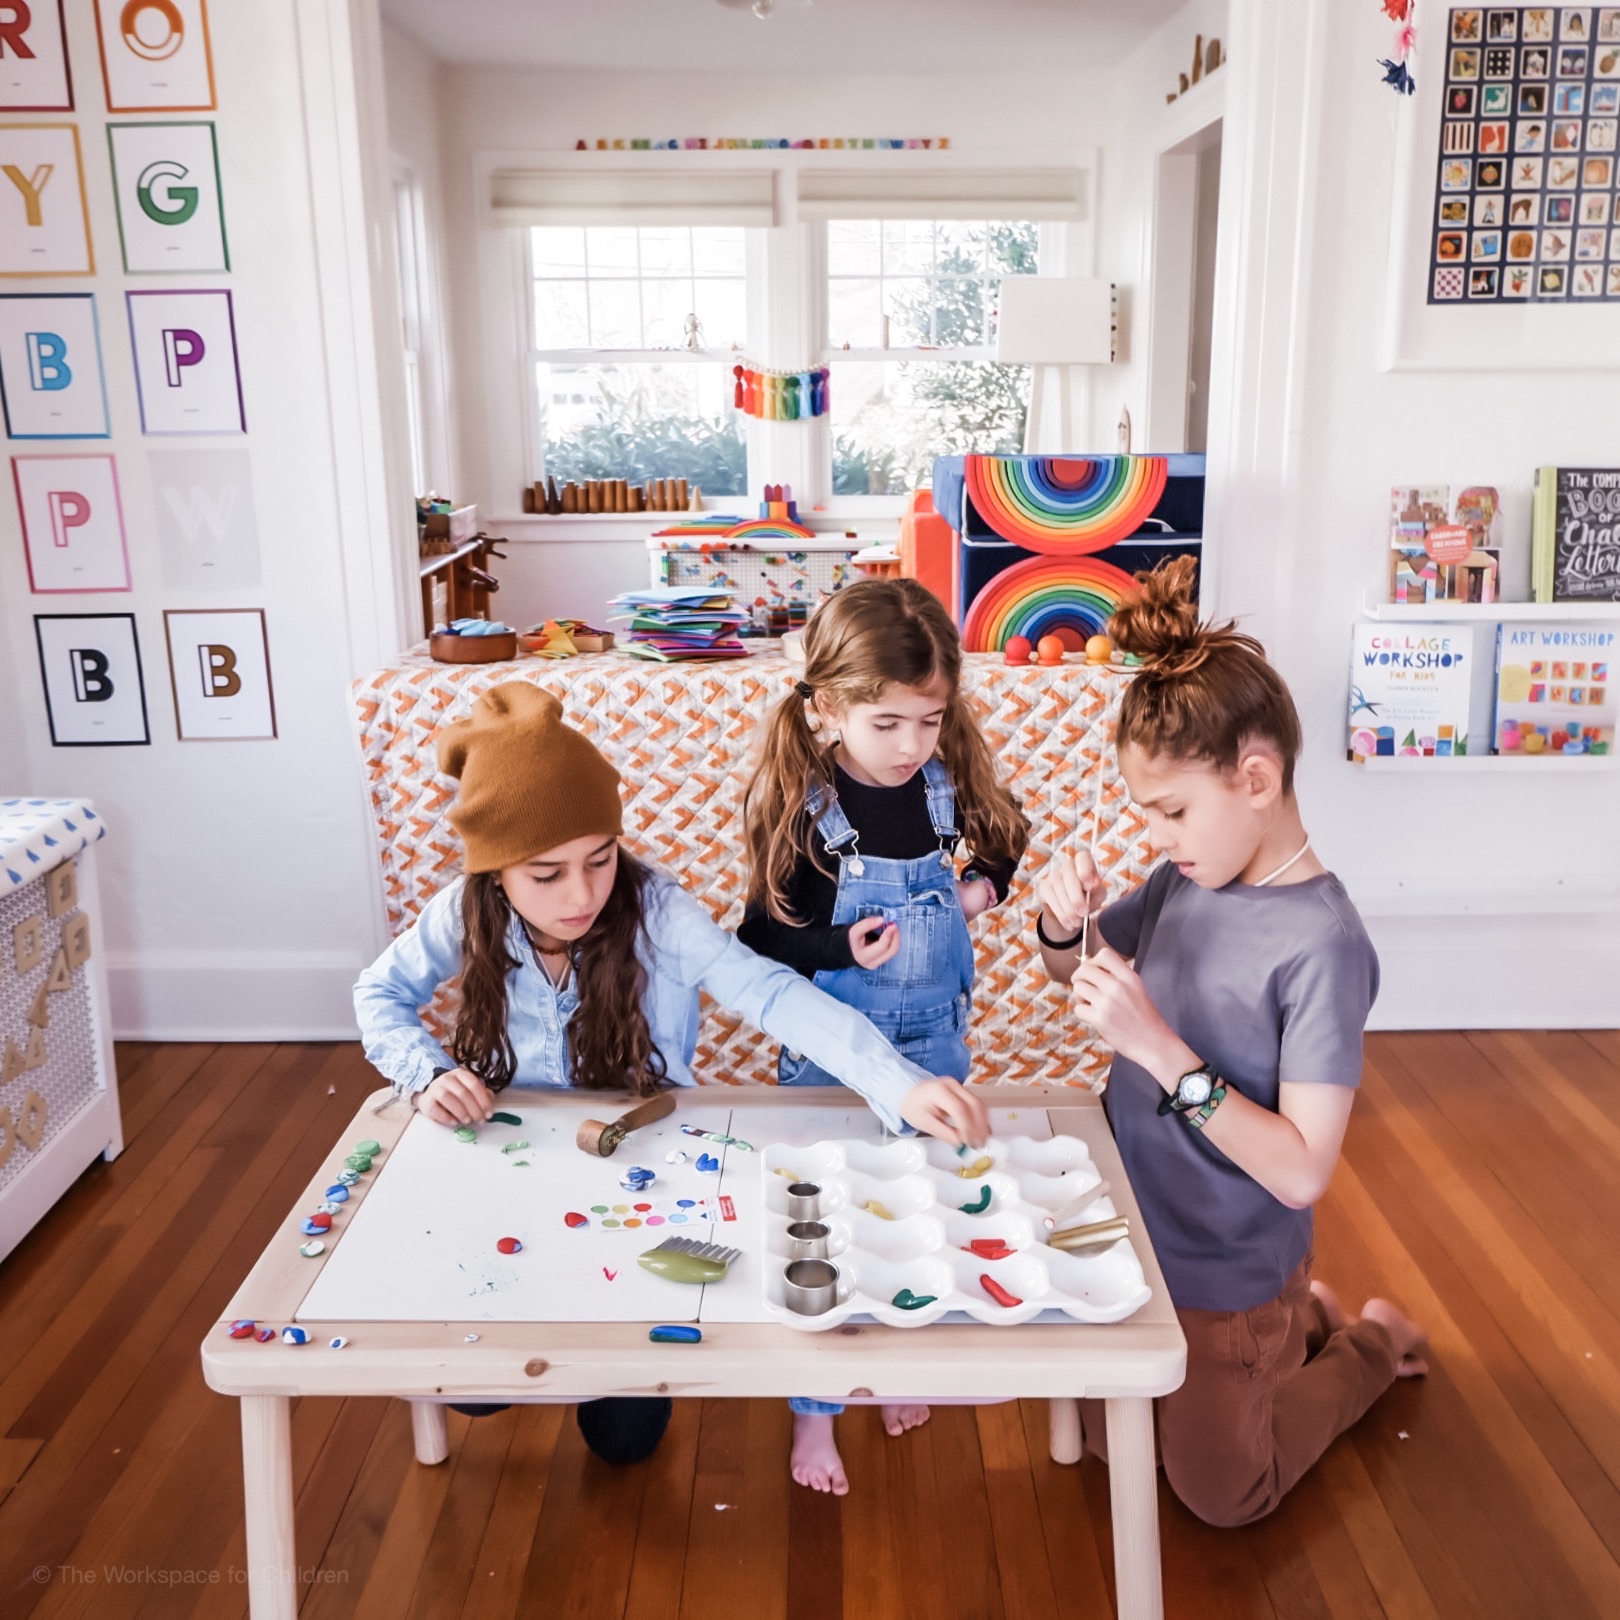
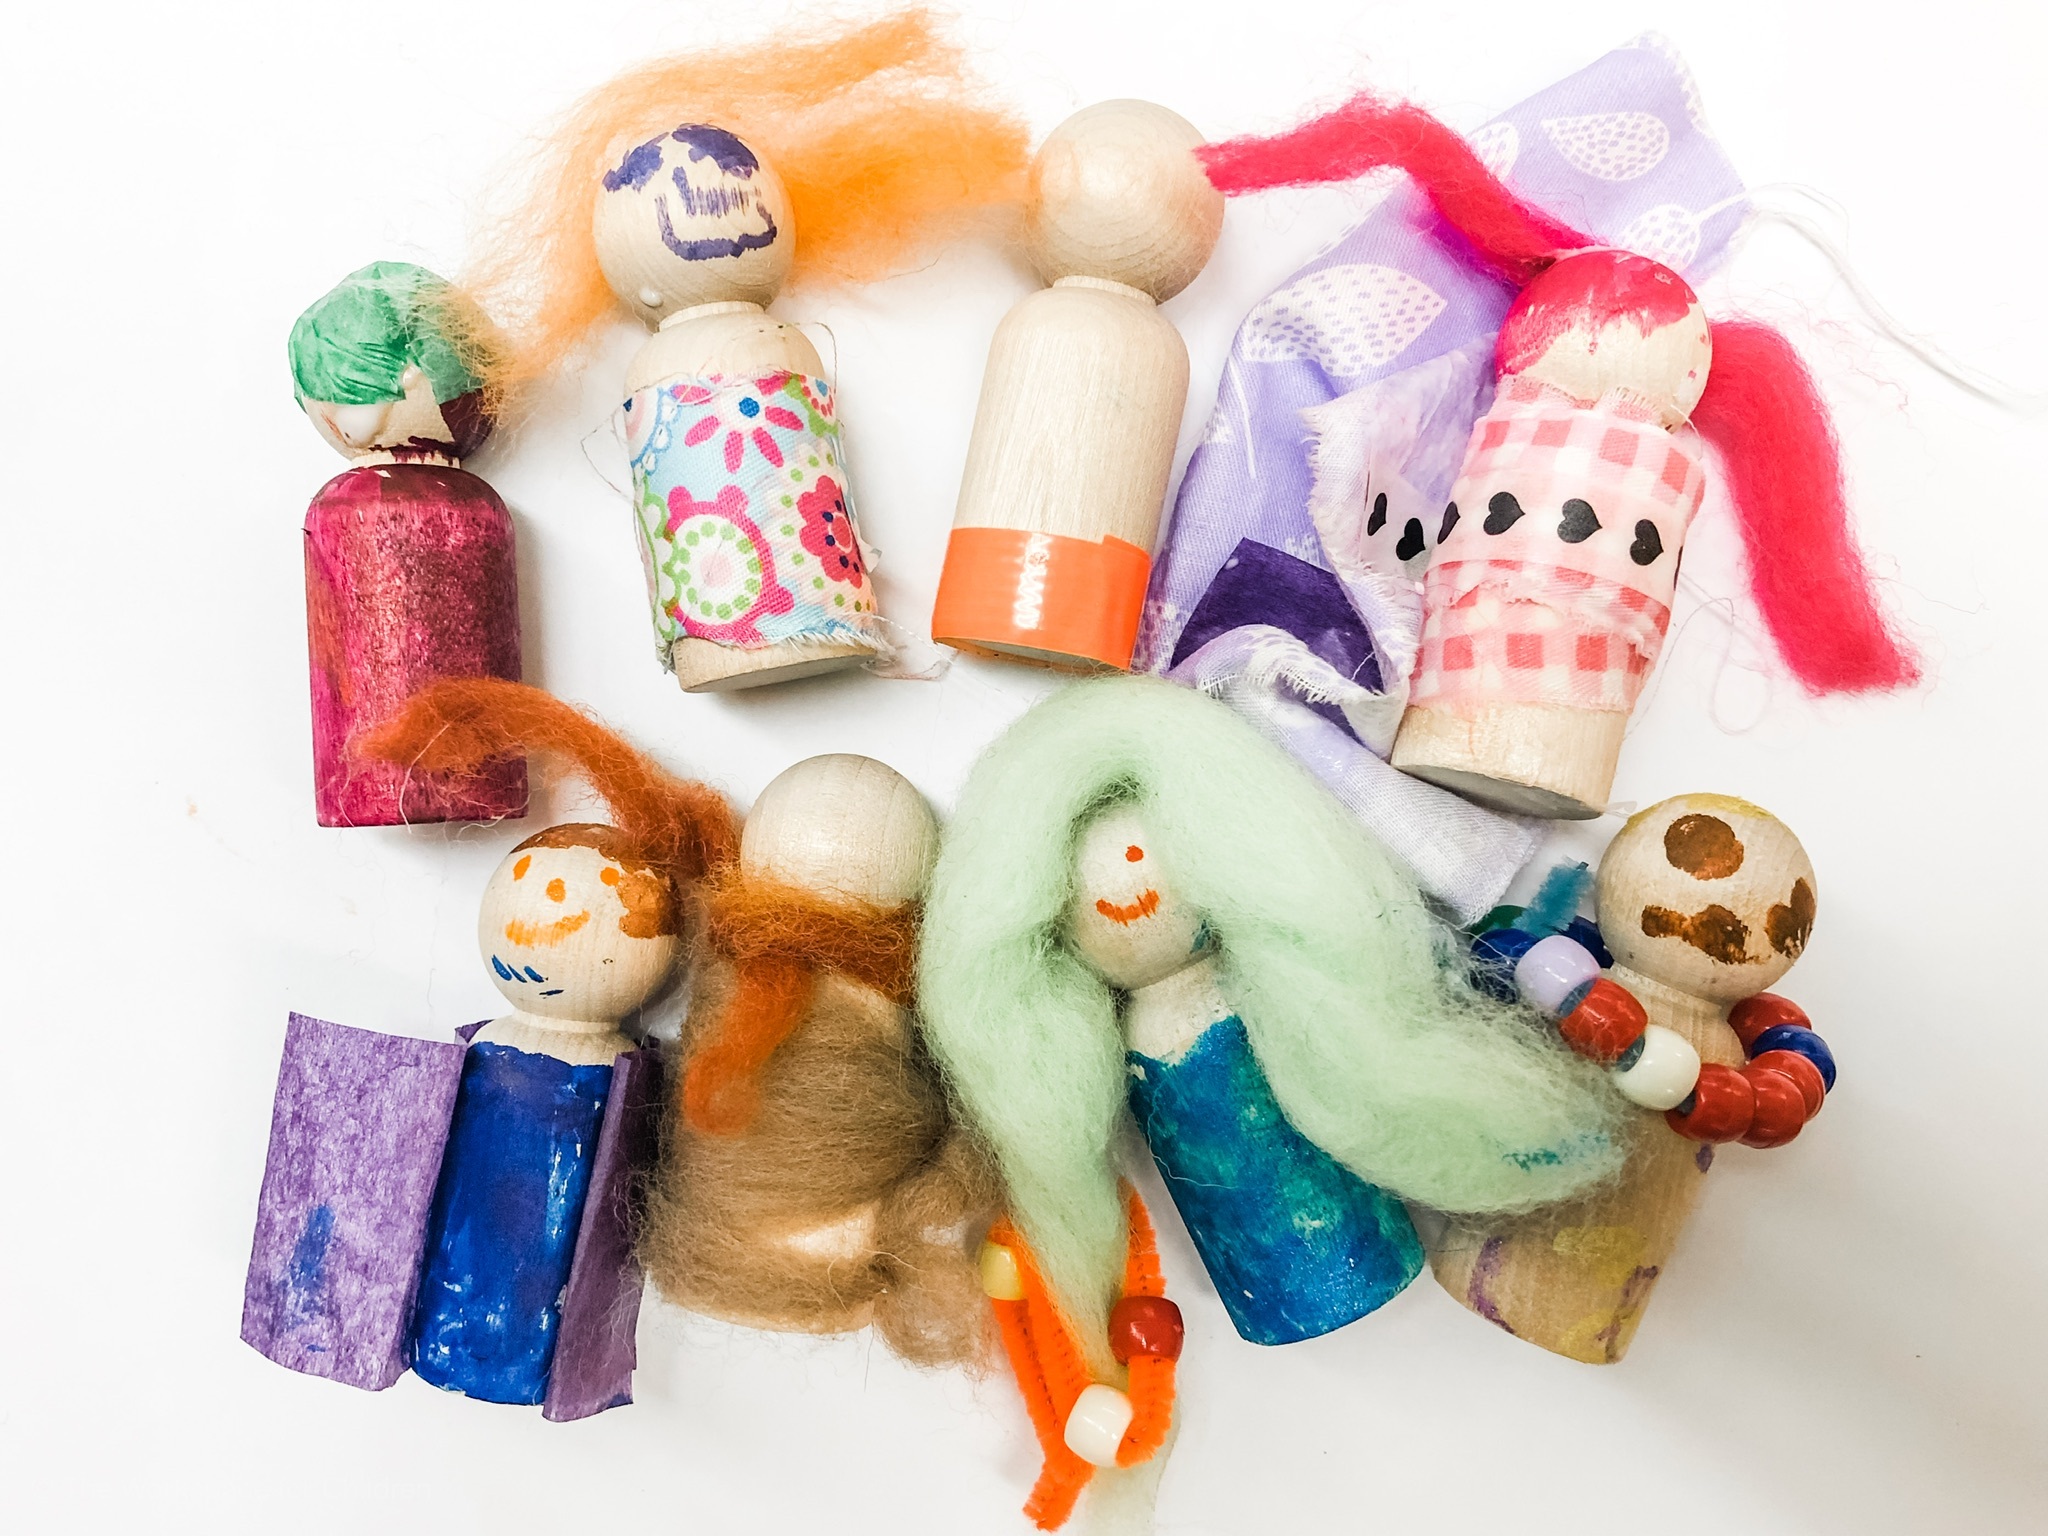
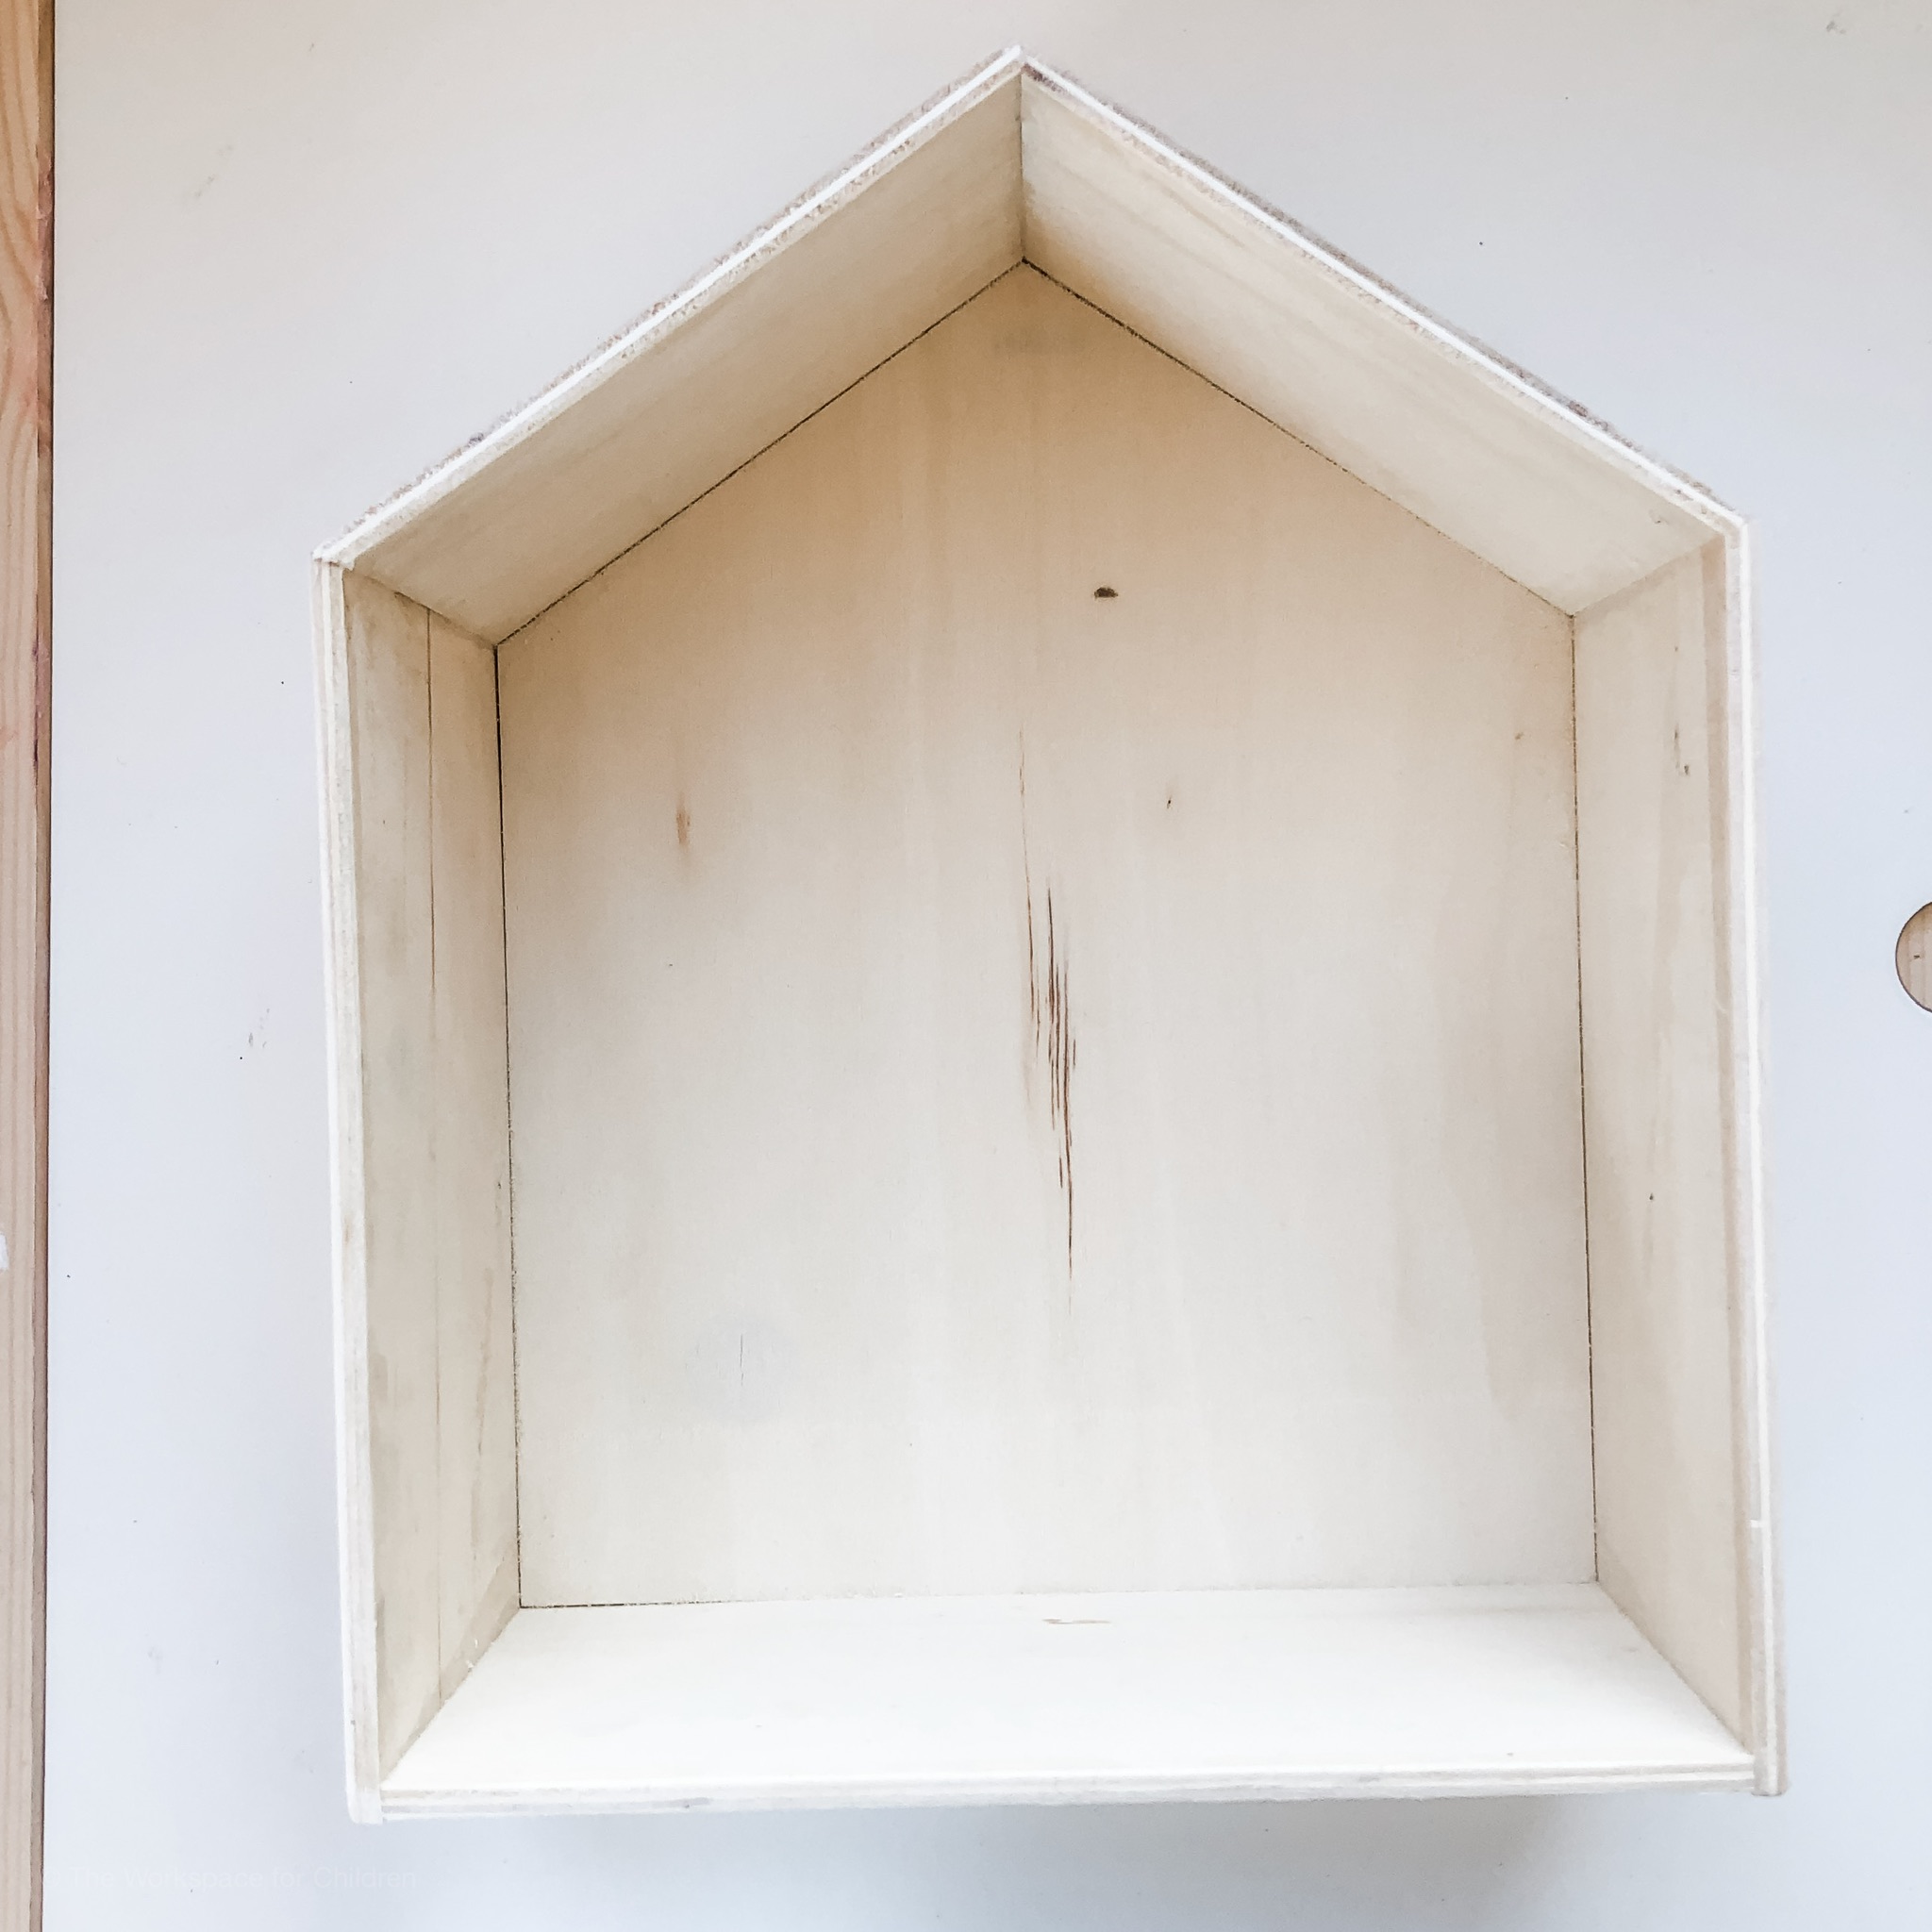
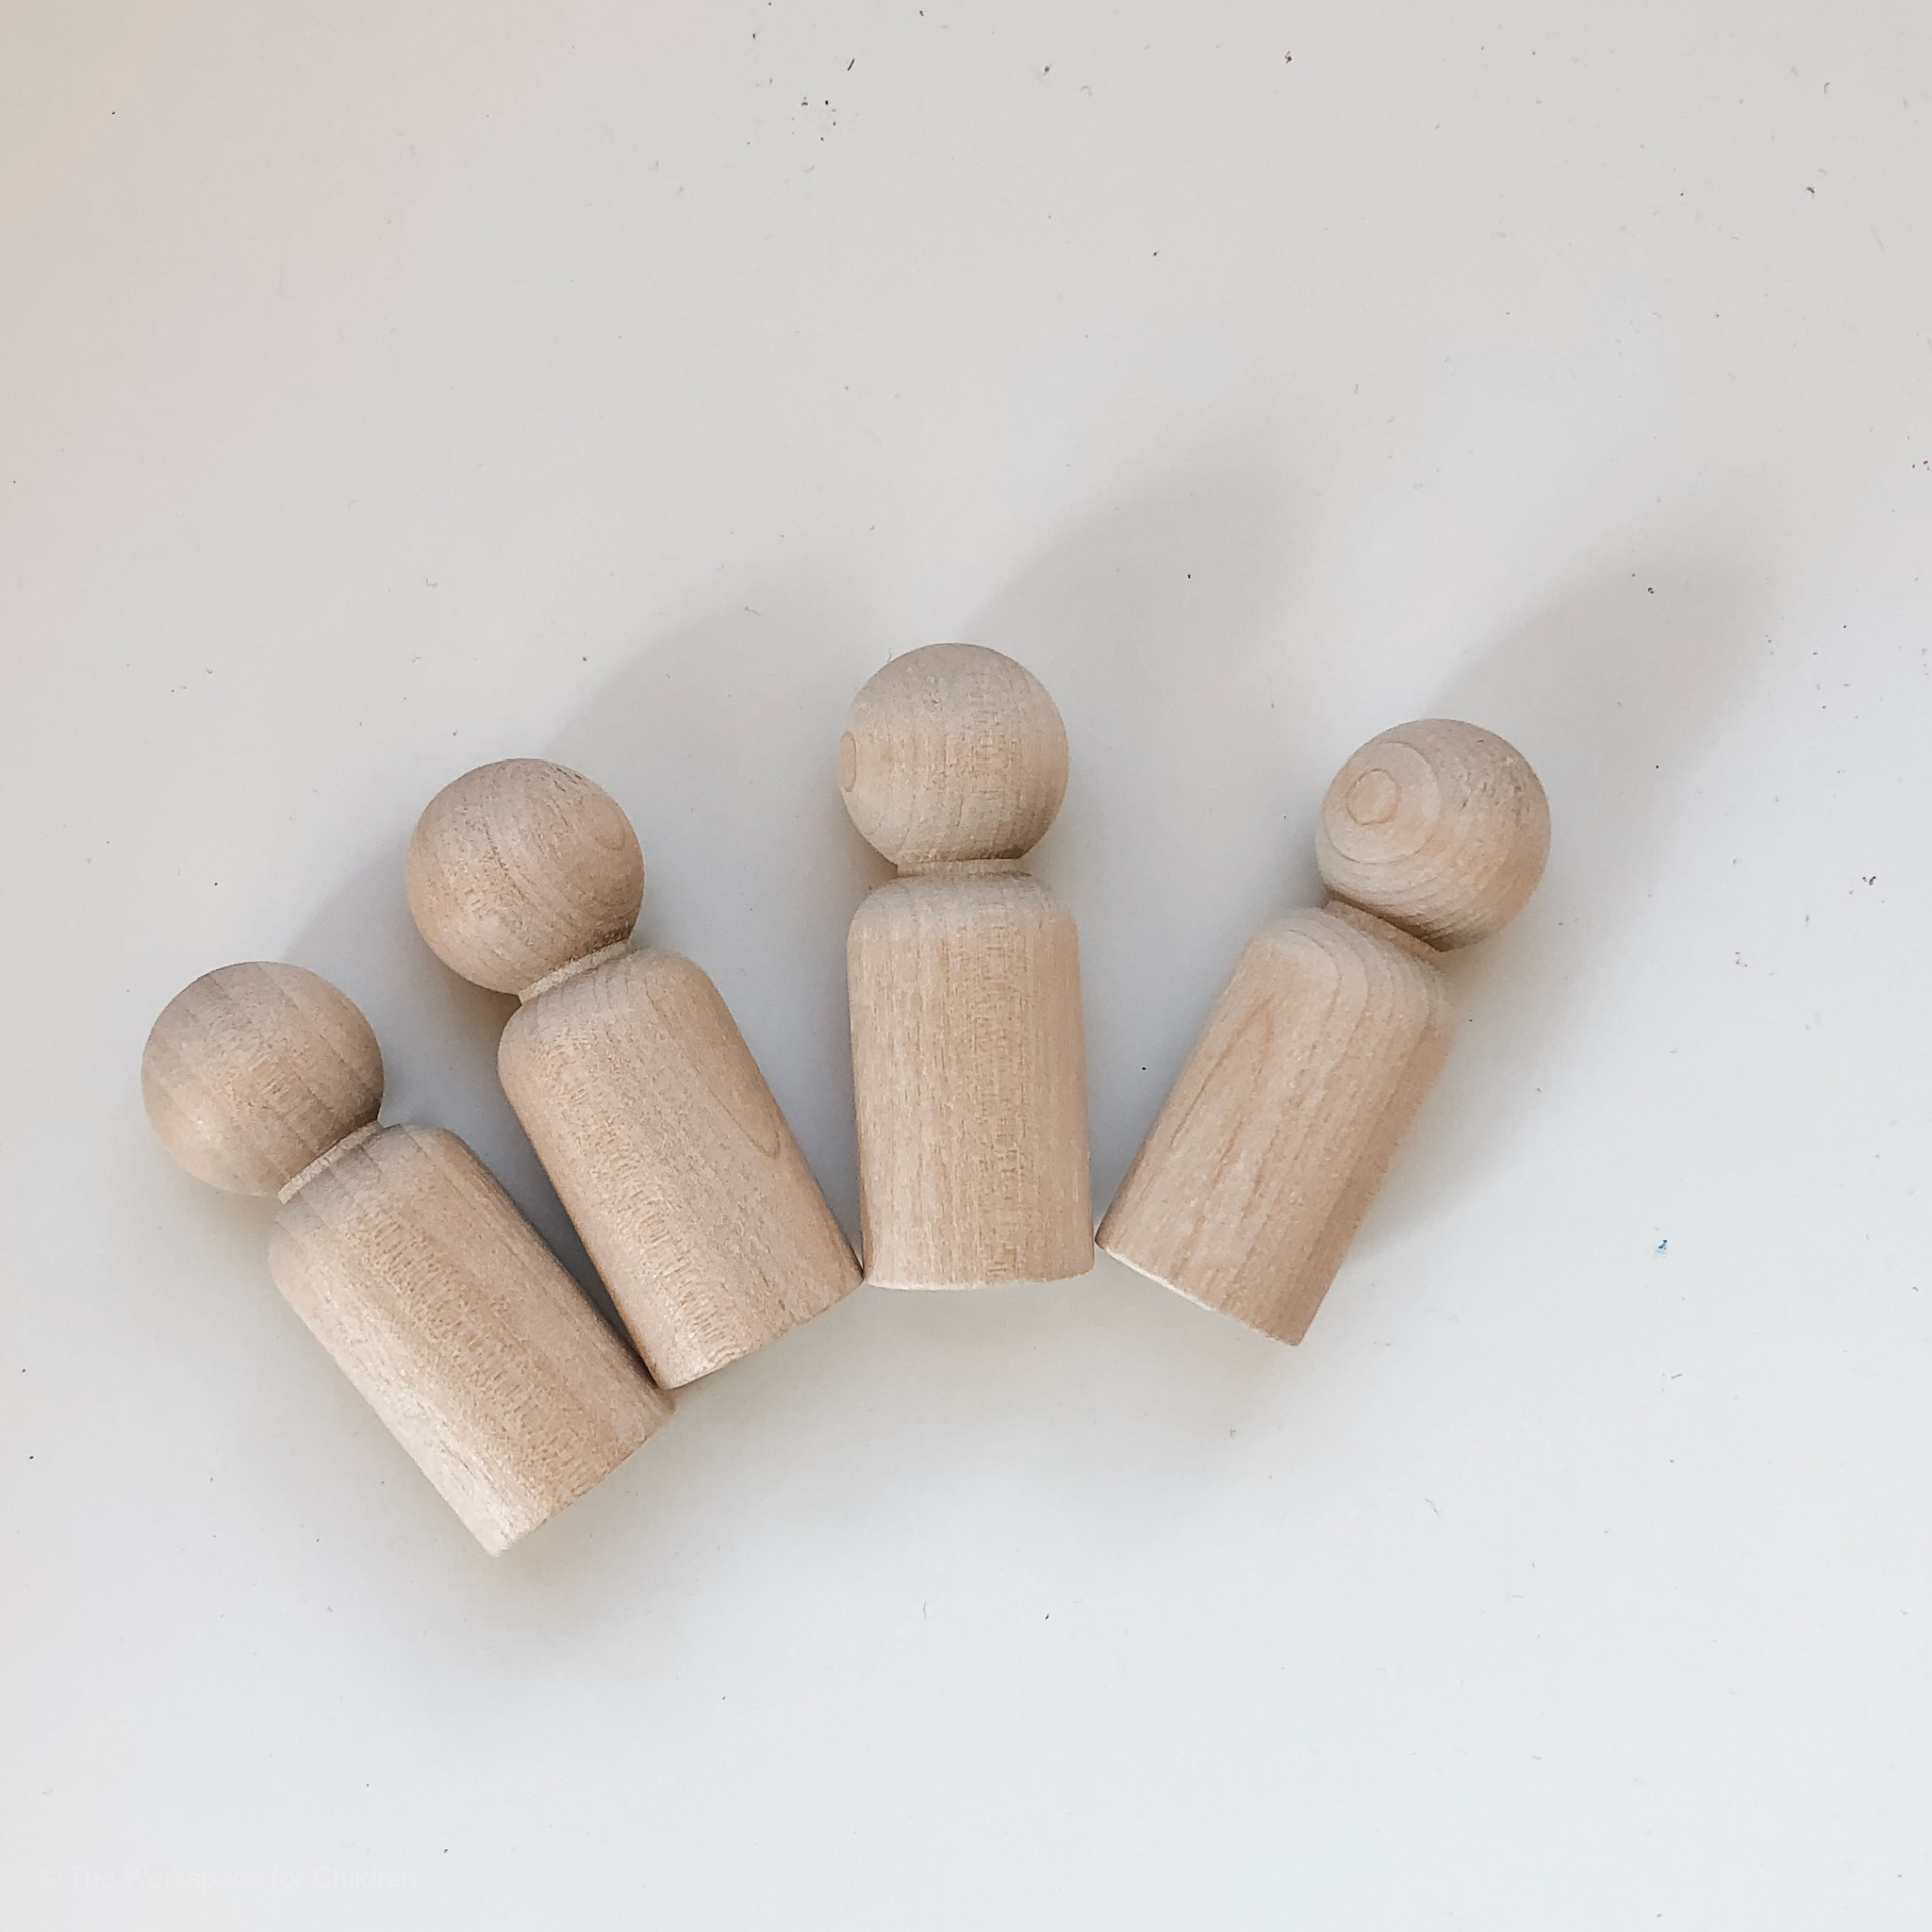
My little one is turning six today, and one of her favorite things is to pretend. She loves to play with her favorite little peg people from Grimm’s Wooden Toys, Grapat, and Teeny Weeny Toys. She also loves to make her own people. We keep blank, unfinished peg dolls in our art cabinet along with lots of loose scraps for creating and new peg people are born into her collection weekly.
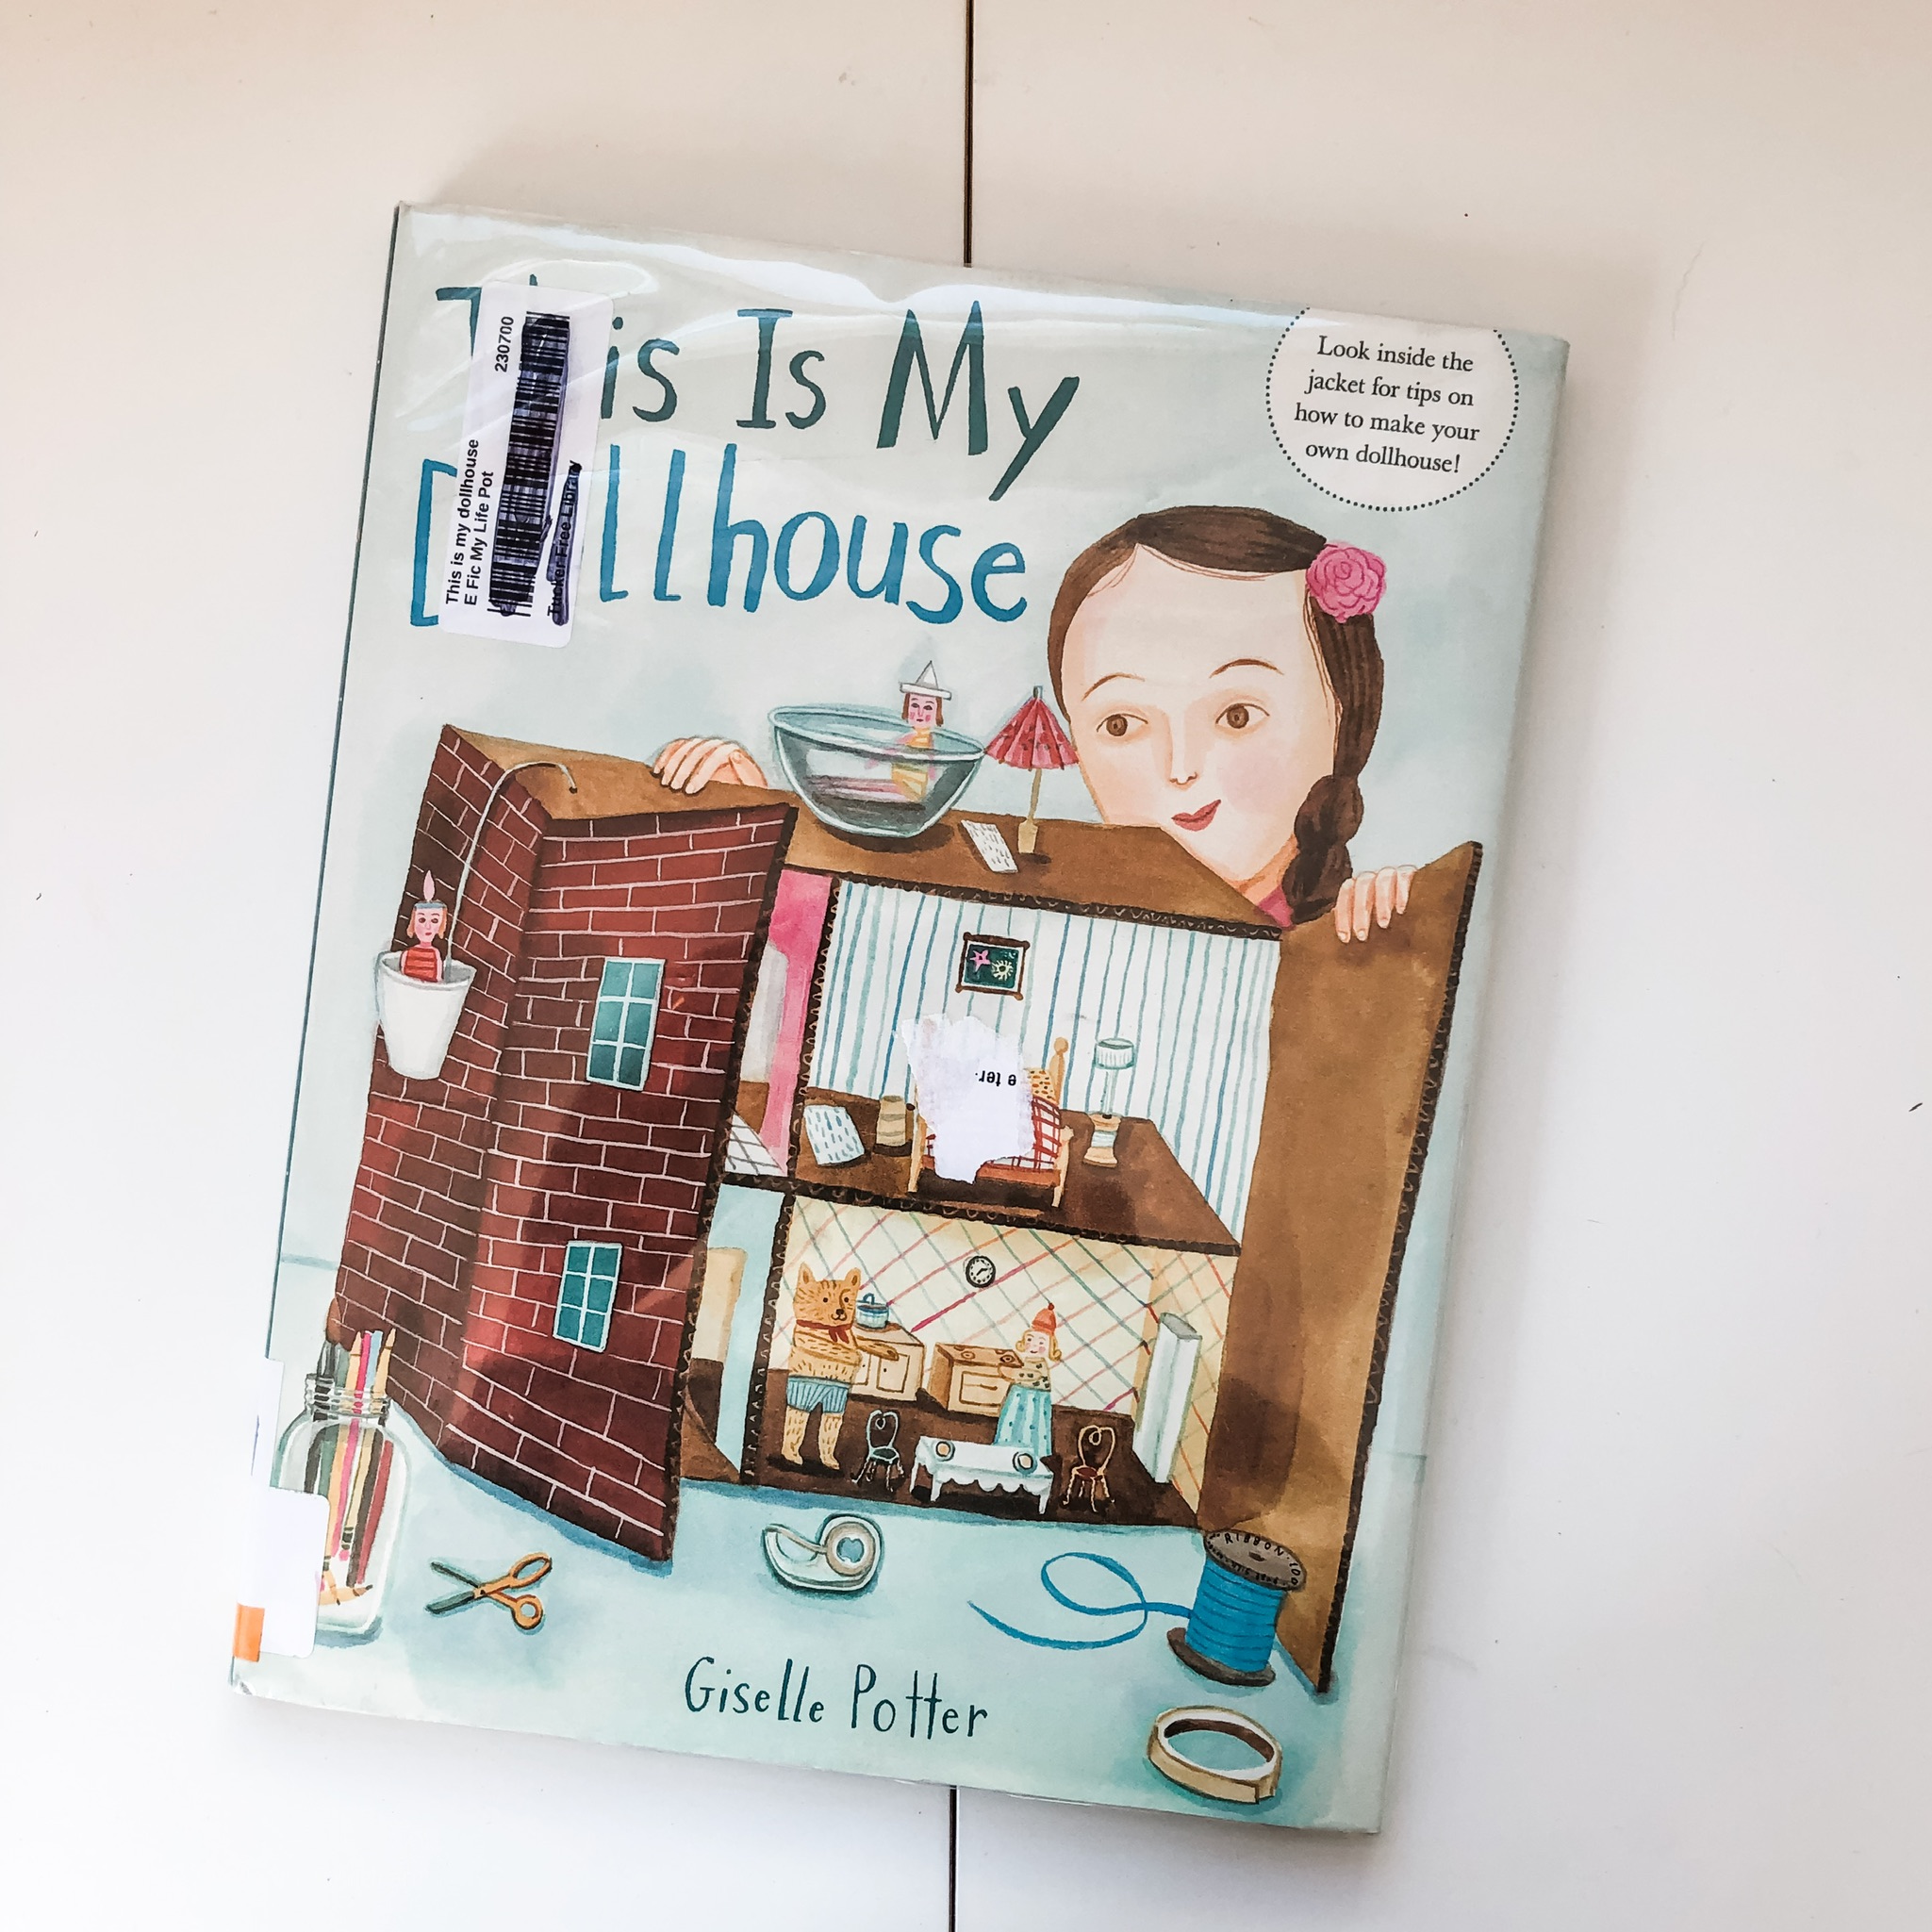
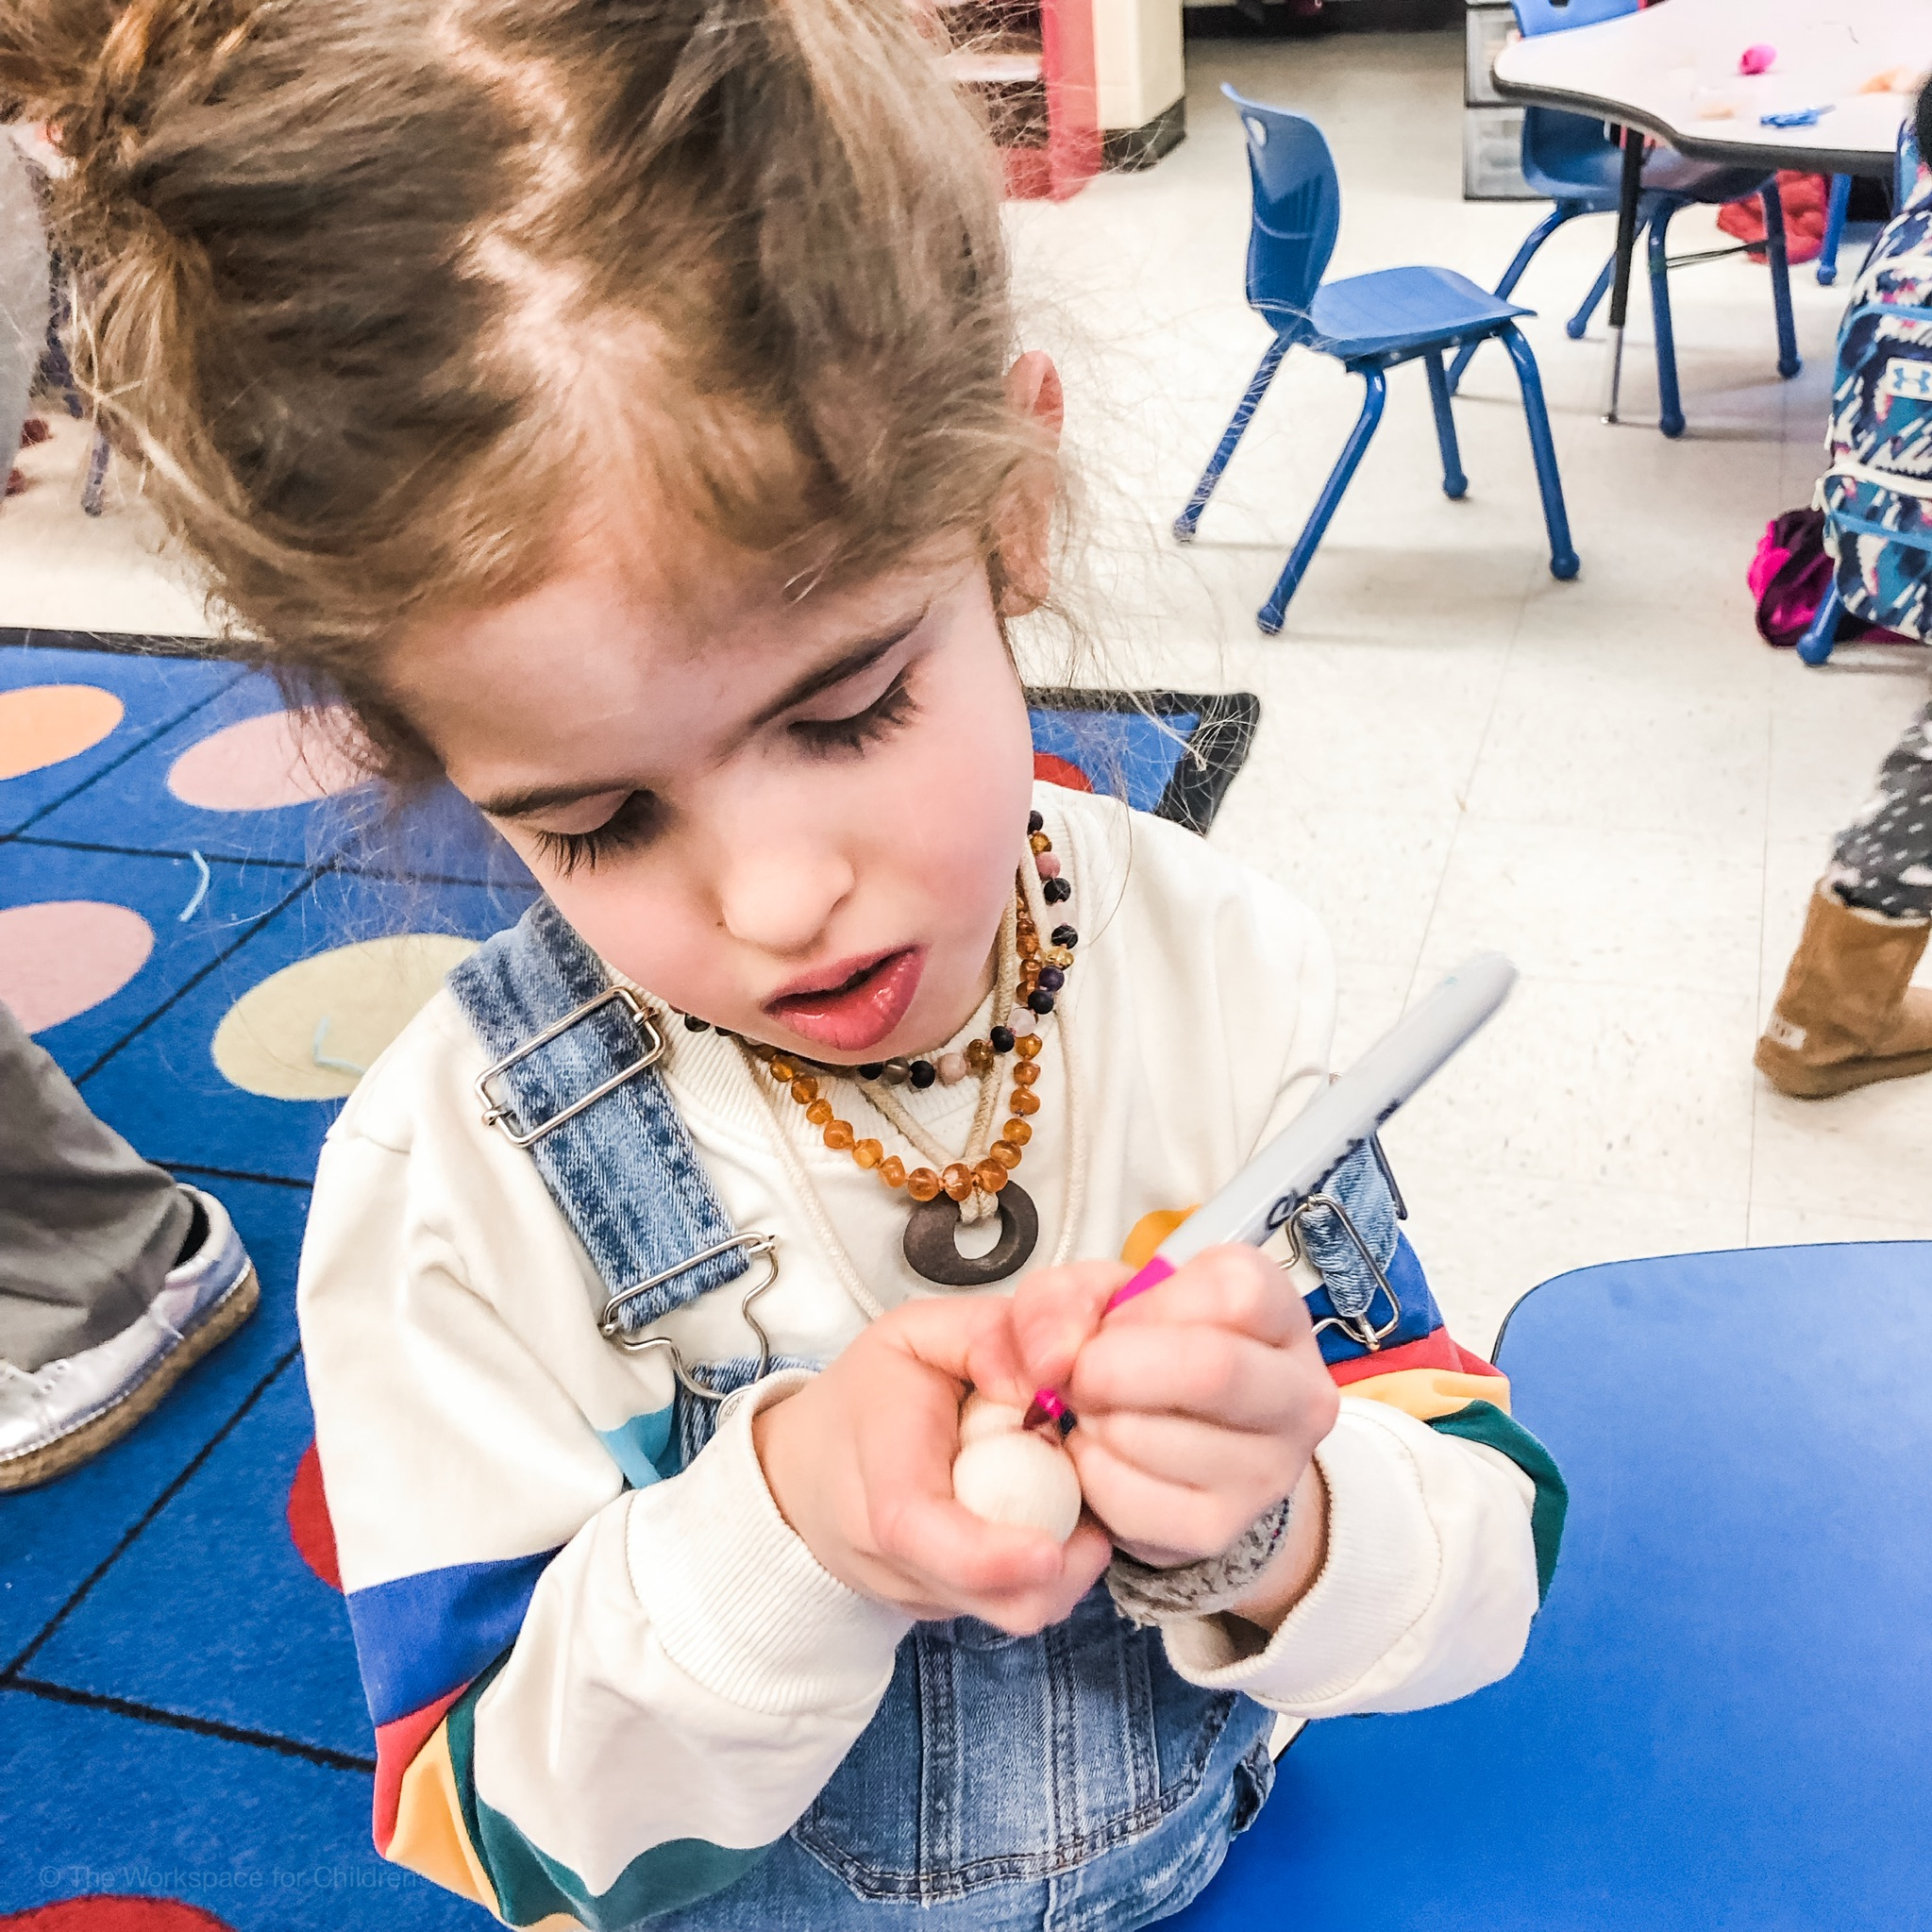
Today I am heading into her Kindergarten class to share her love peg people and dollhouse play with her classmates. We are going to read a favorite book of ours, This Is My Dollhouse, by Giselle Potter. I adore this book because it explores the joy and creativity involved in creating your own play materials. It also explores friendships and feelings, which I love.
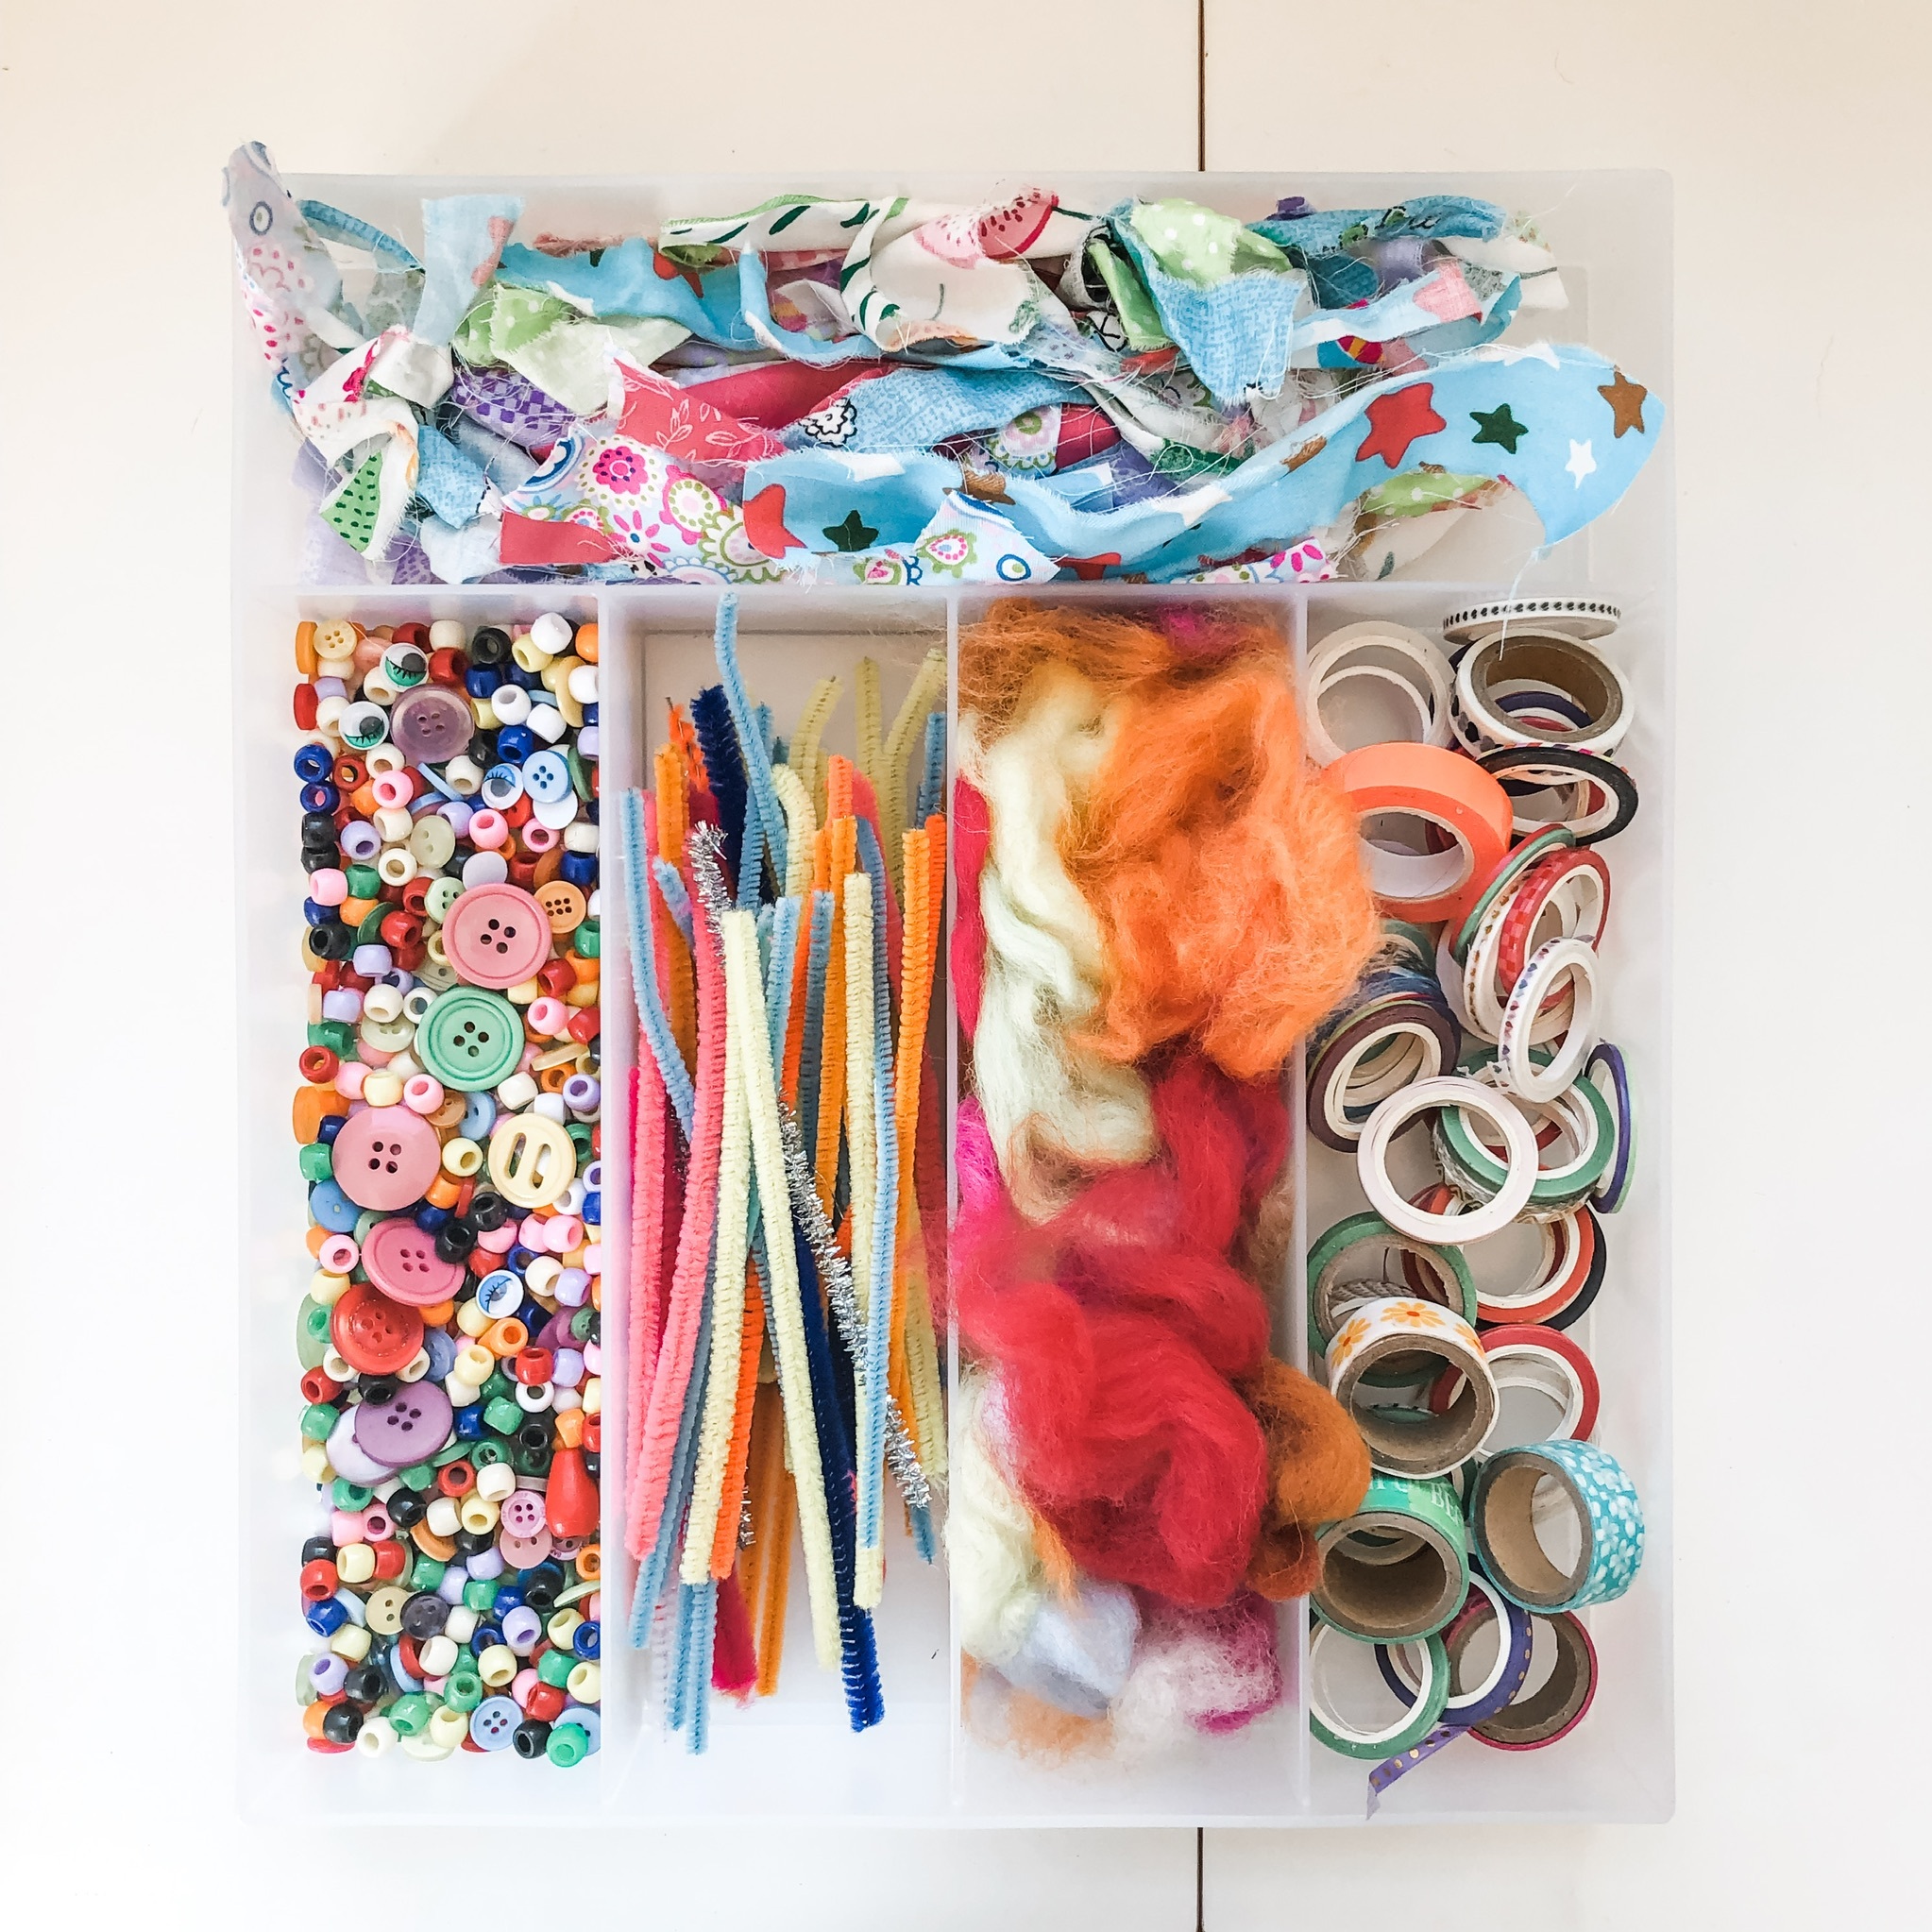
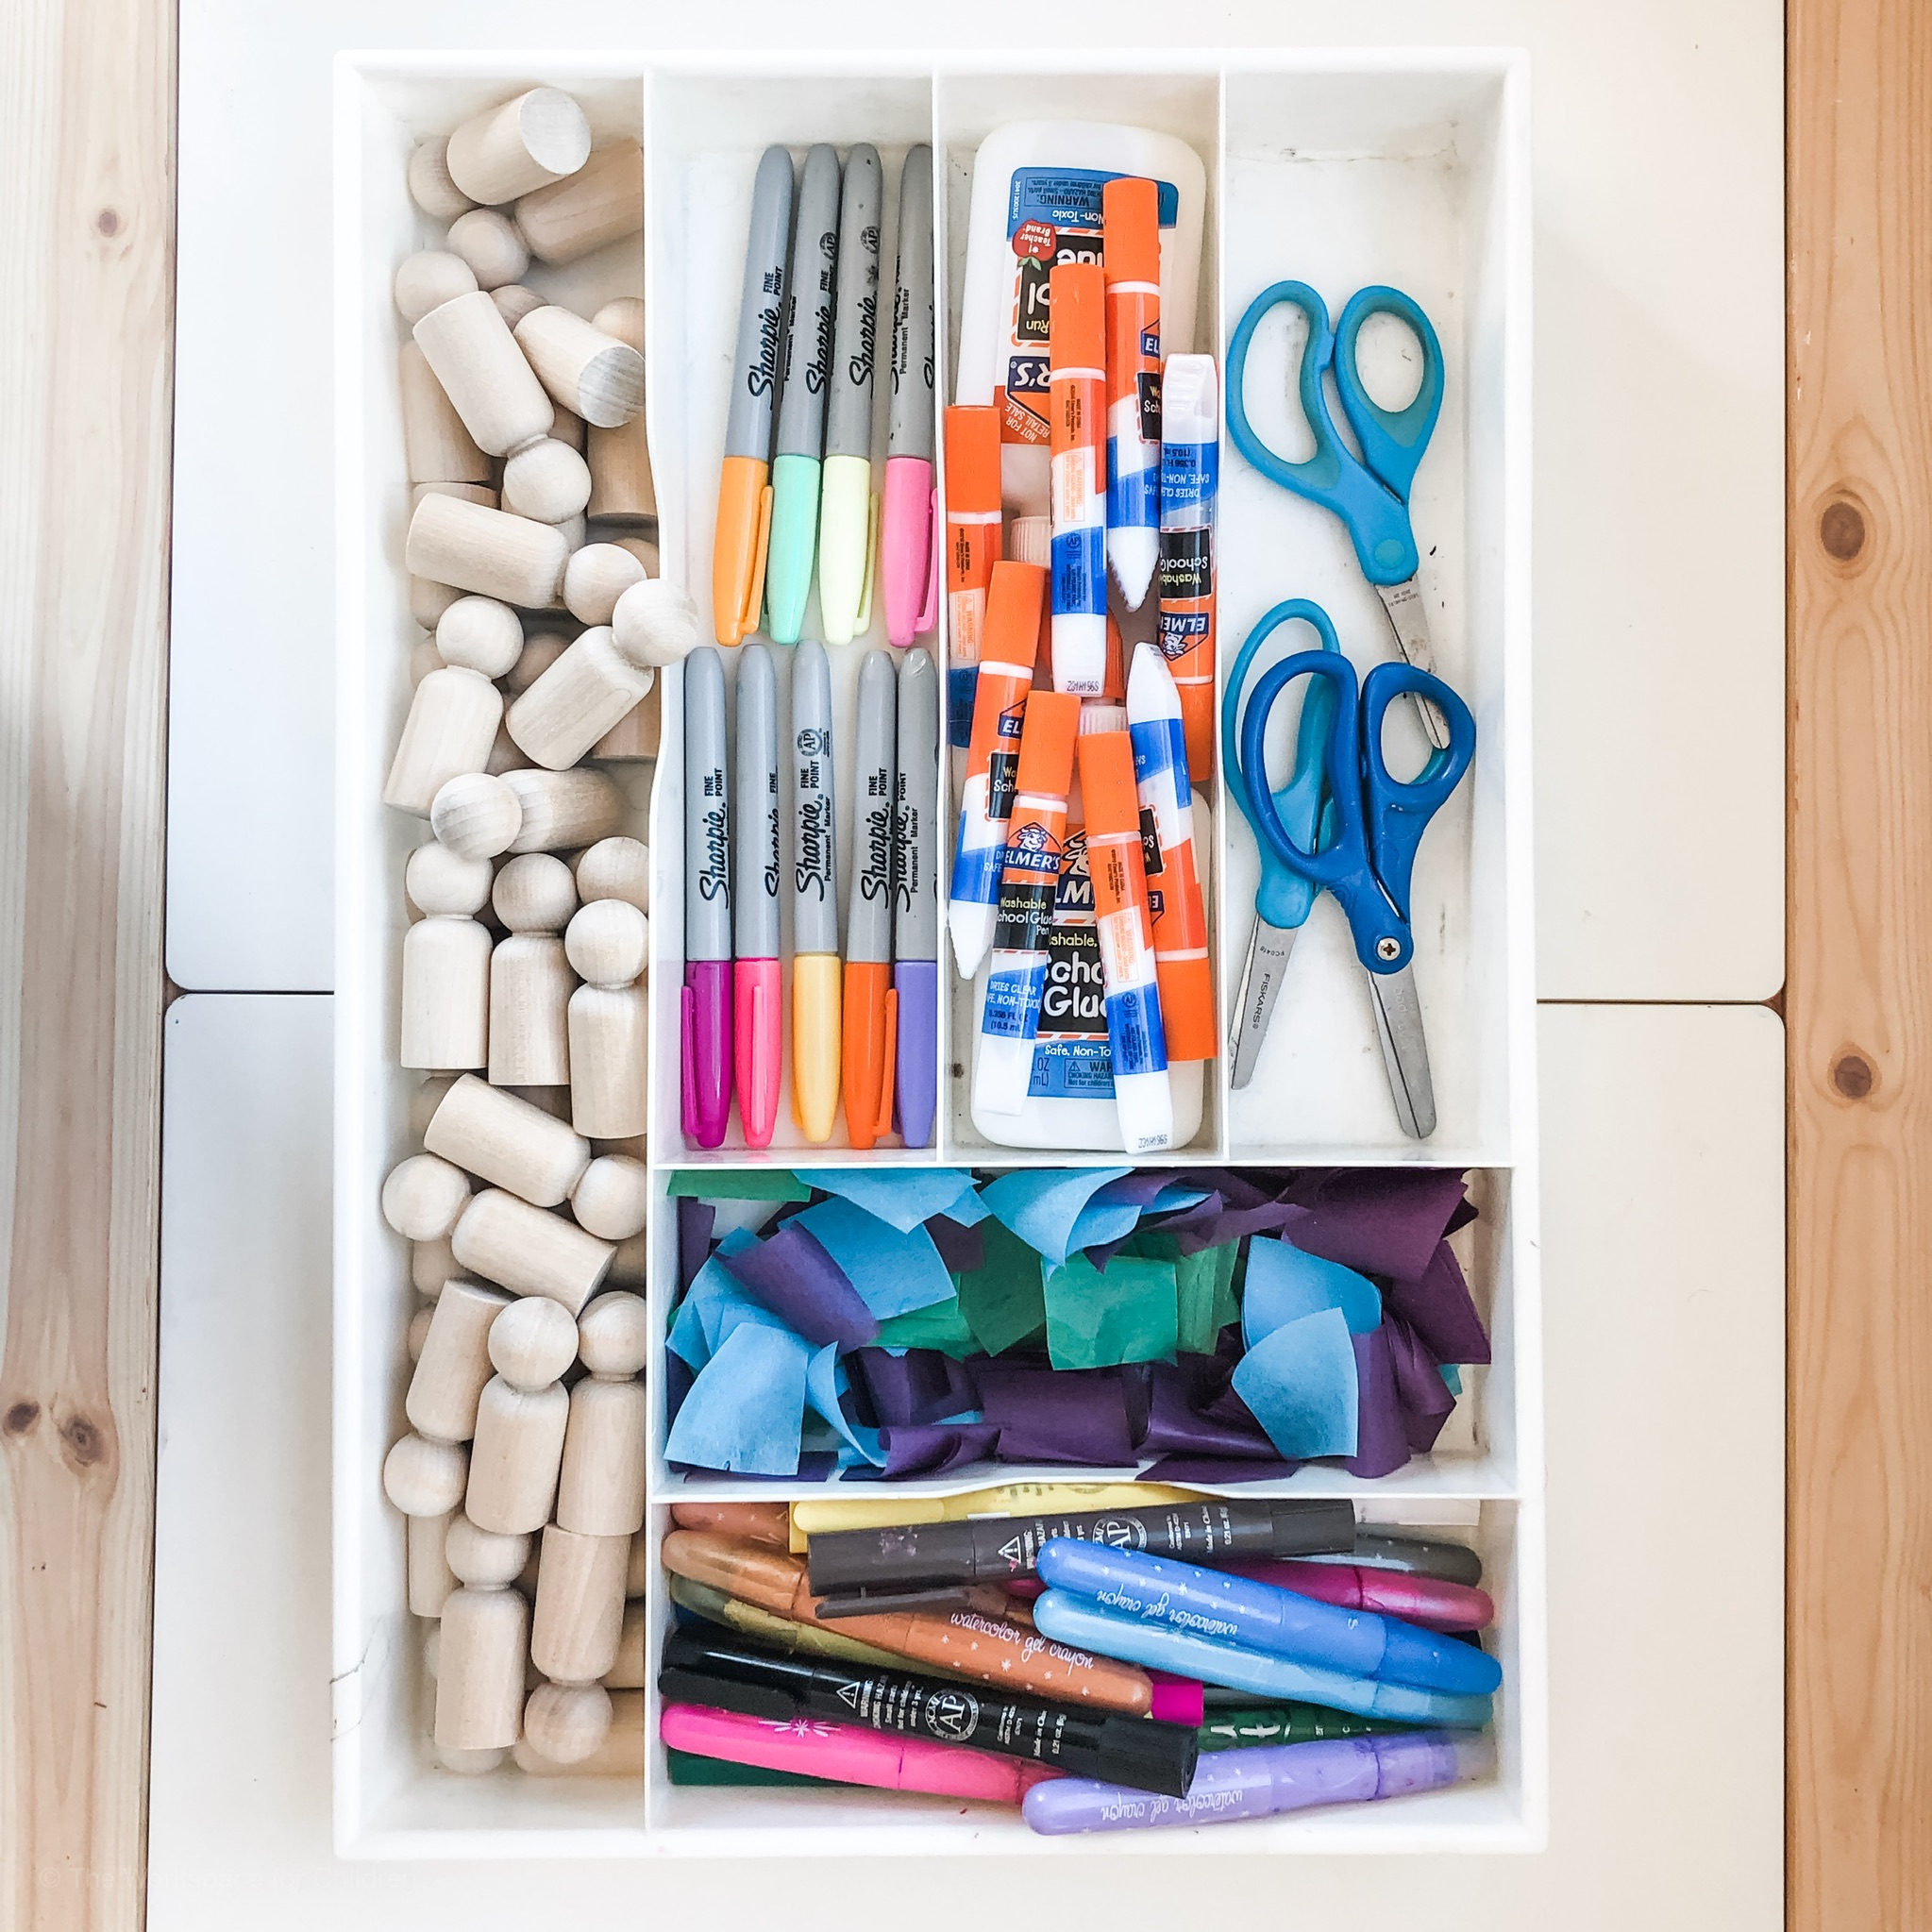
After the book, the children will have the opportunity to create their own peg doll. I scoured the art supplies that I already had on hand and created the tinker trays you see here. I encourage you to use what you already have, but I have also listed all of the materials that we used at the bottom of this post.
This project was inspired by my wonderful and brilliant friend, Bar Rucci. You can see her post here. Also, Sloane’s birthday party was held at our favorite local art studio, Oh Canary Art, where the children decorated dollhouses. You can read all about that party on my friend Natalie’s blog.
Have you done a project with your child’s class? How did it go? -Lizzie
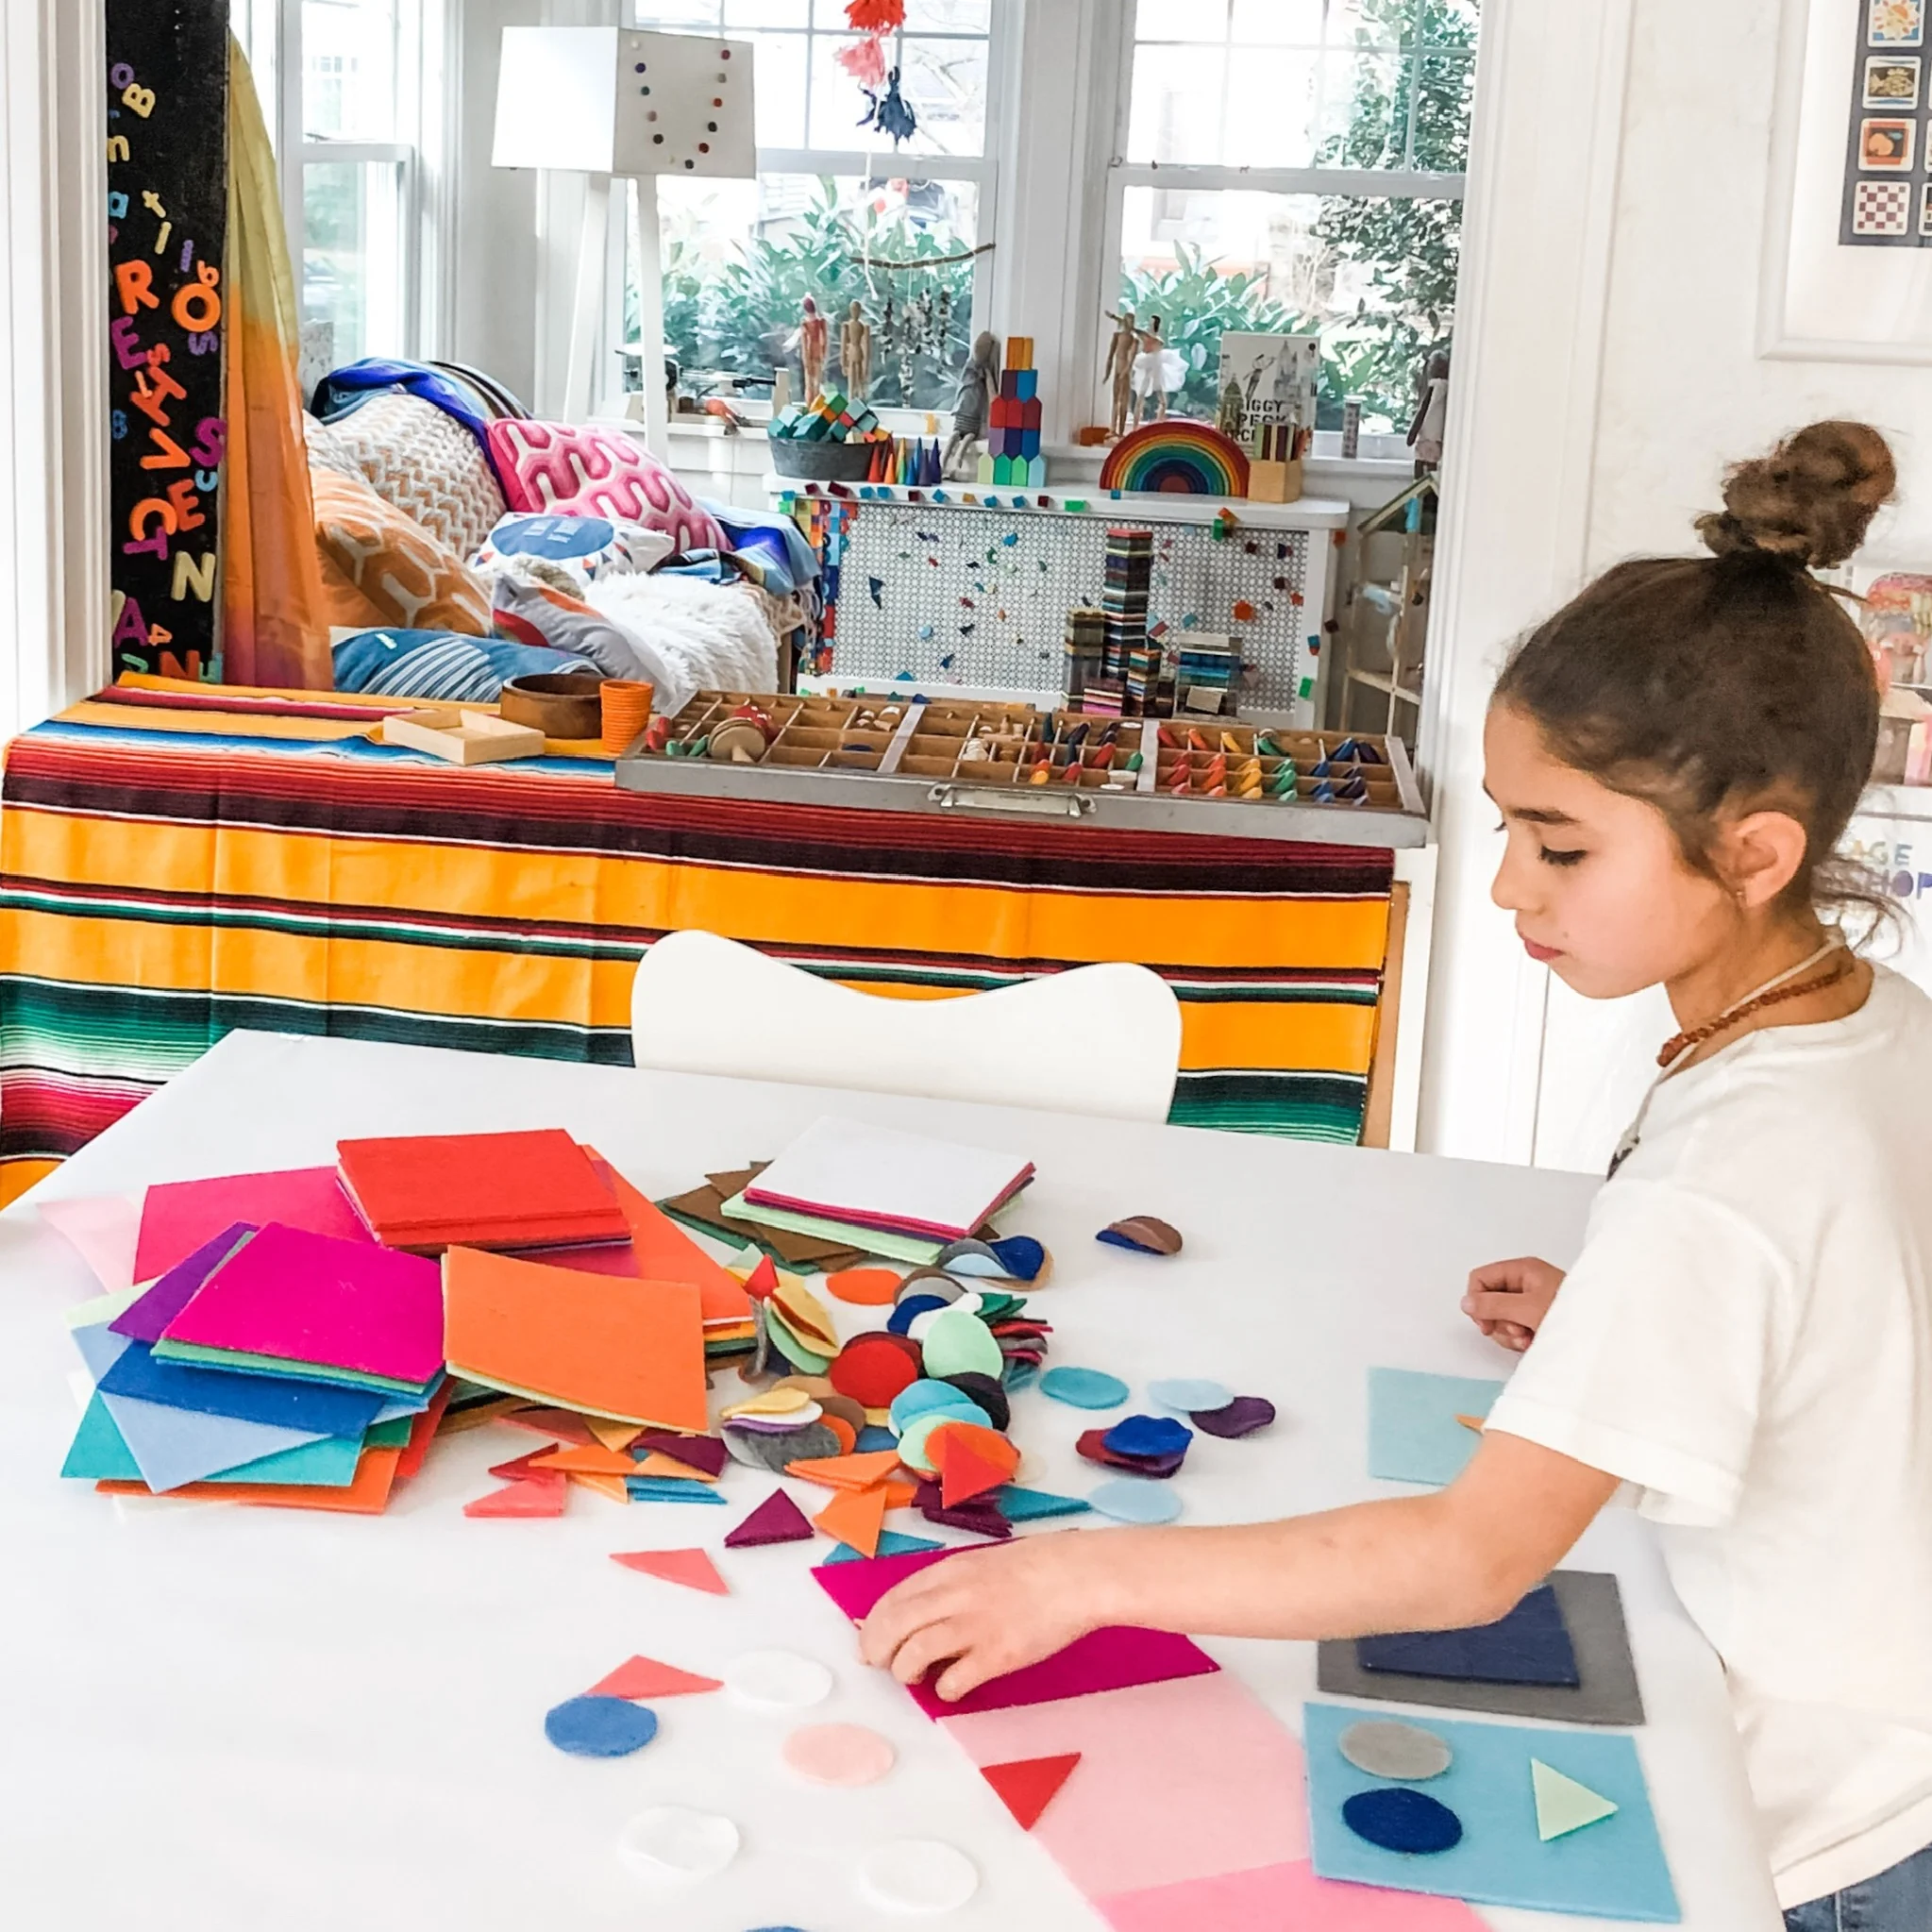
When you think of art with children, you probably think about a “craft”. With crafting, there are specific instructions, materials, and a desired outcome. There is a certain age range for a project and there is a beginning, middle and an end.
When I think about art for children, I think about the process. I think about materials that offer a range of experiences, and how children in different stages in their development will interact with the materials.
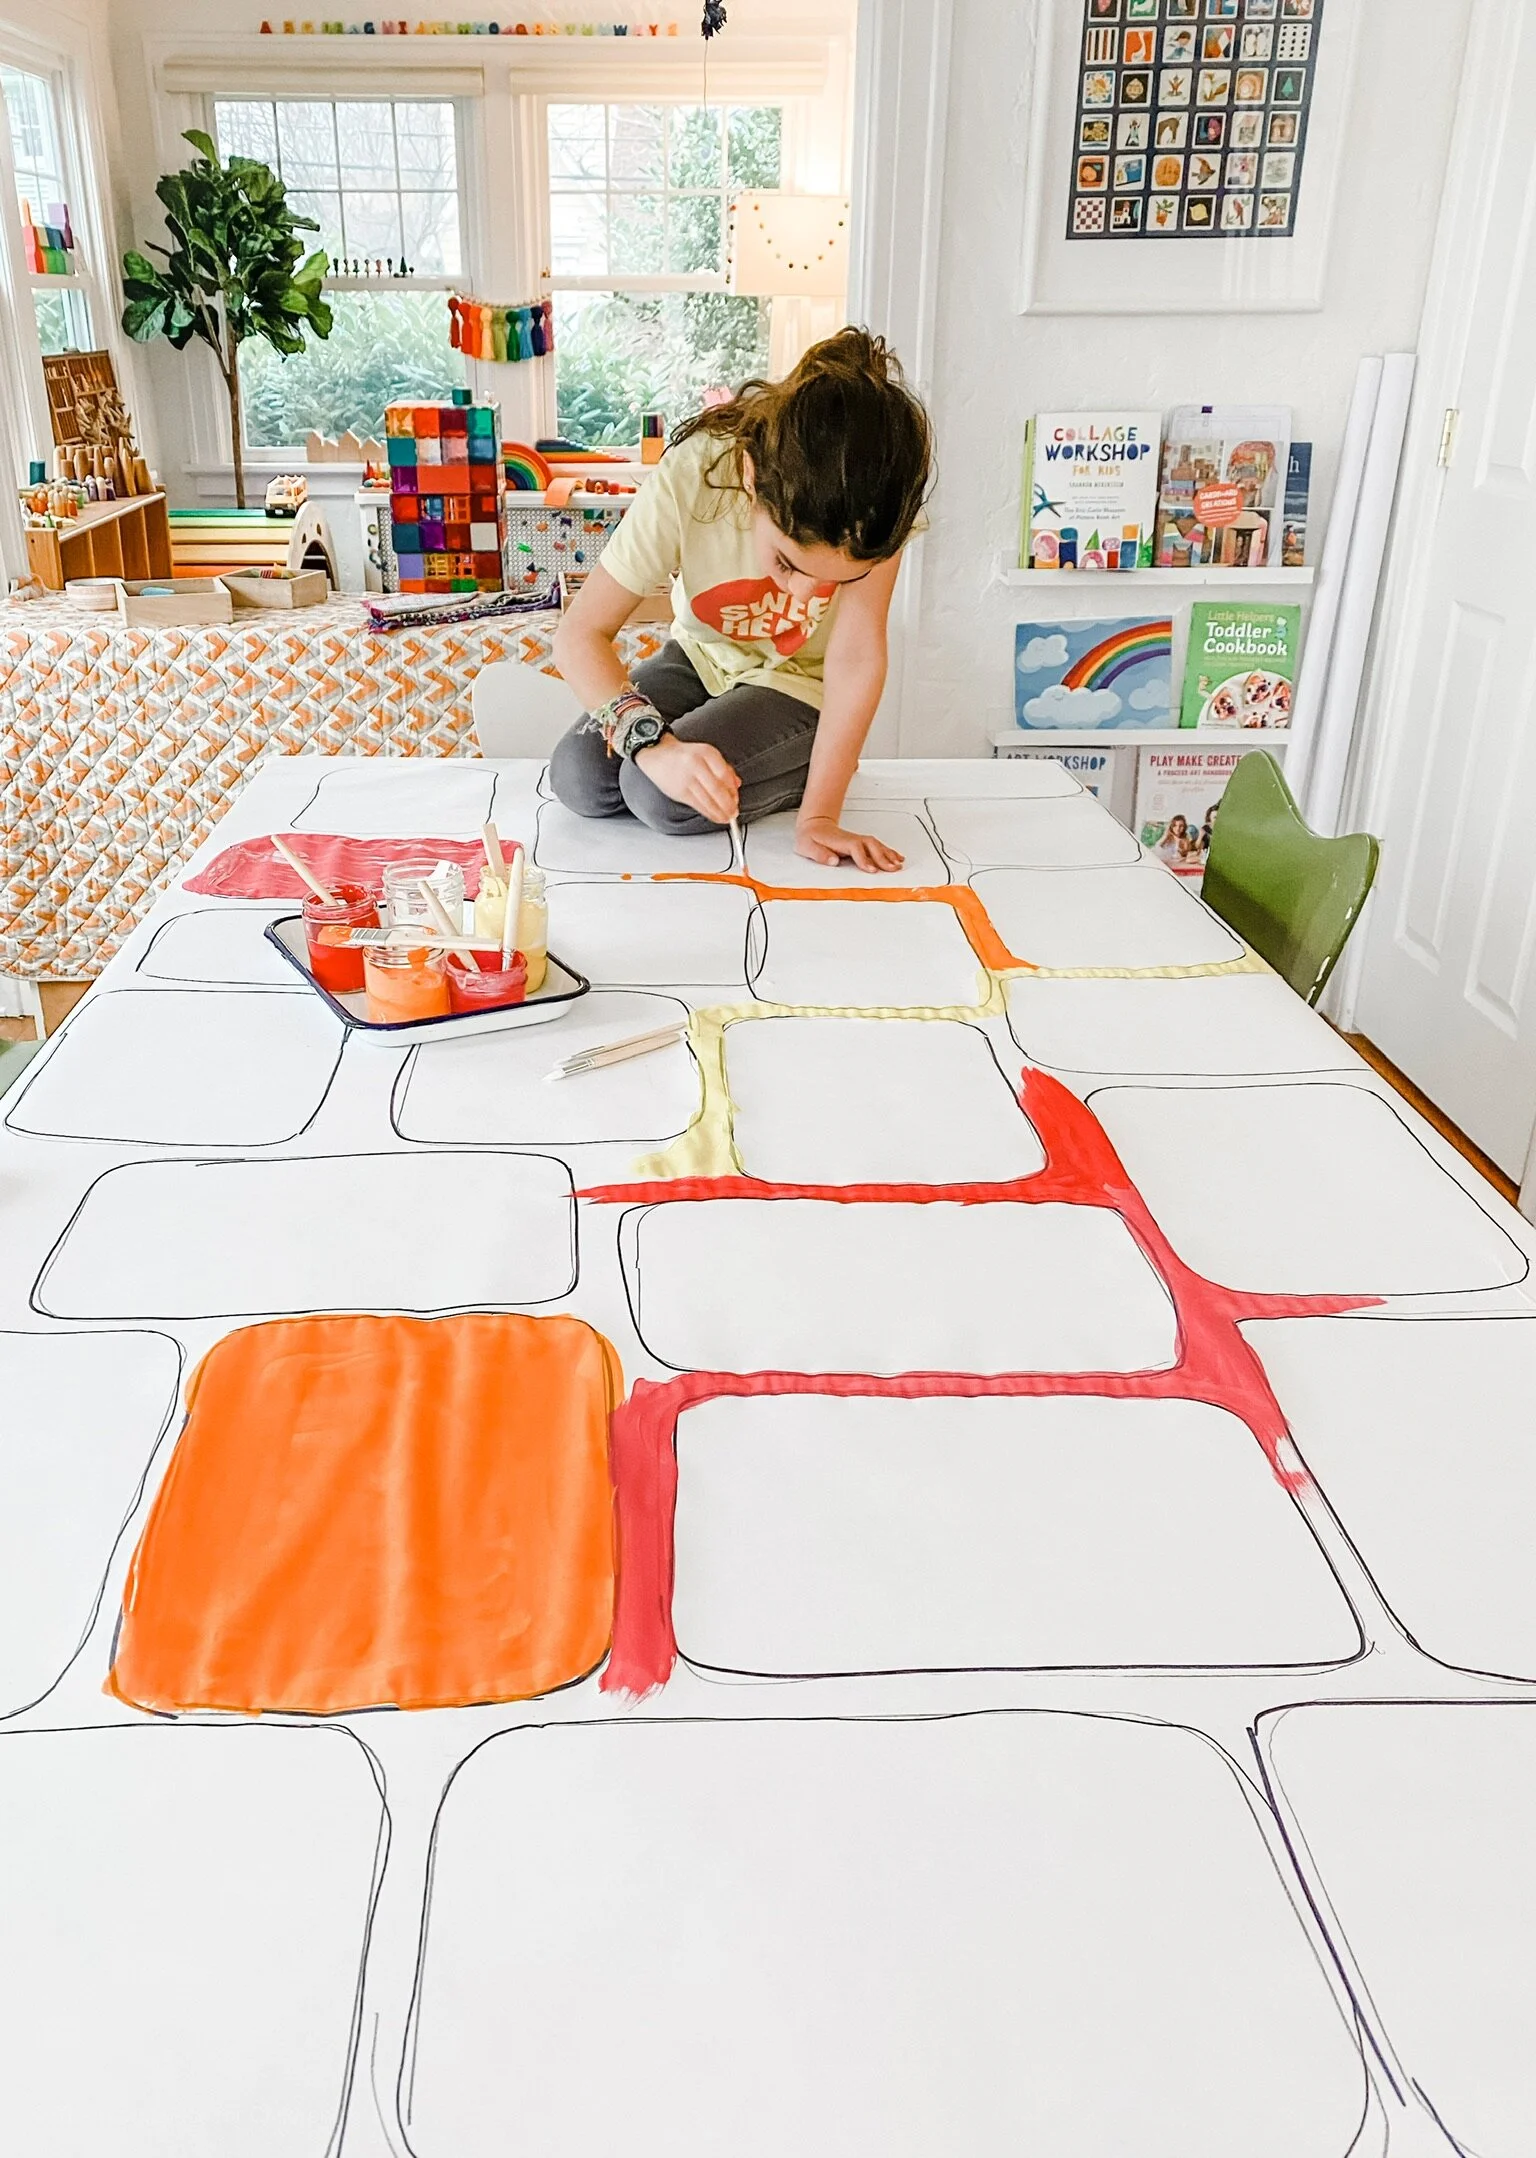
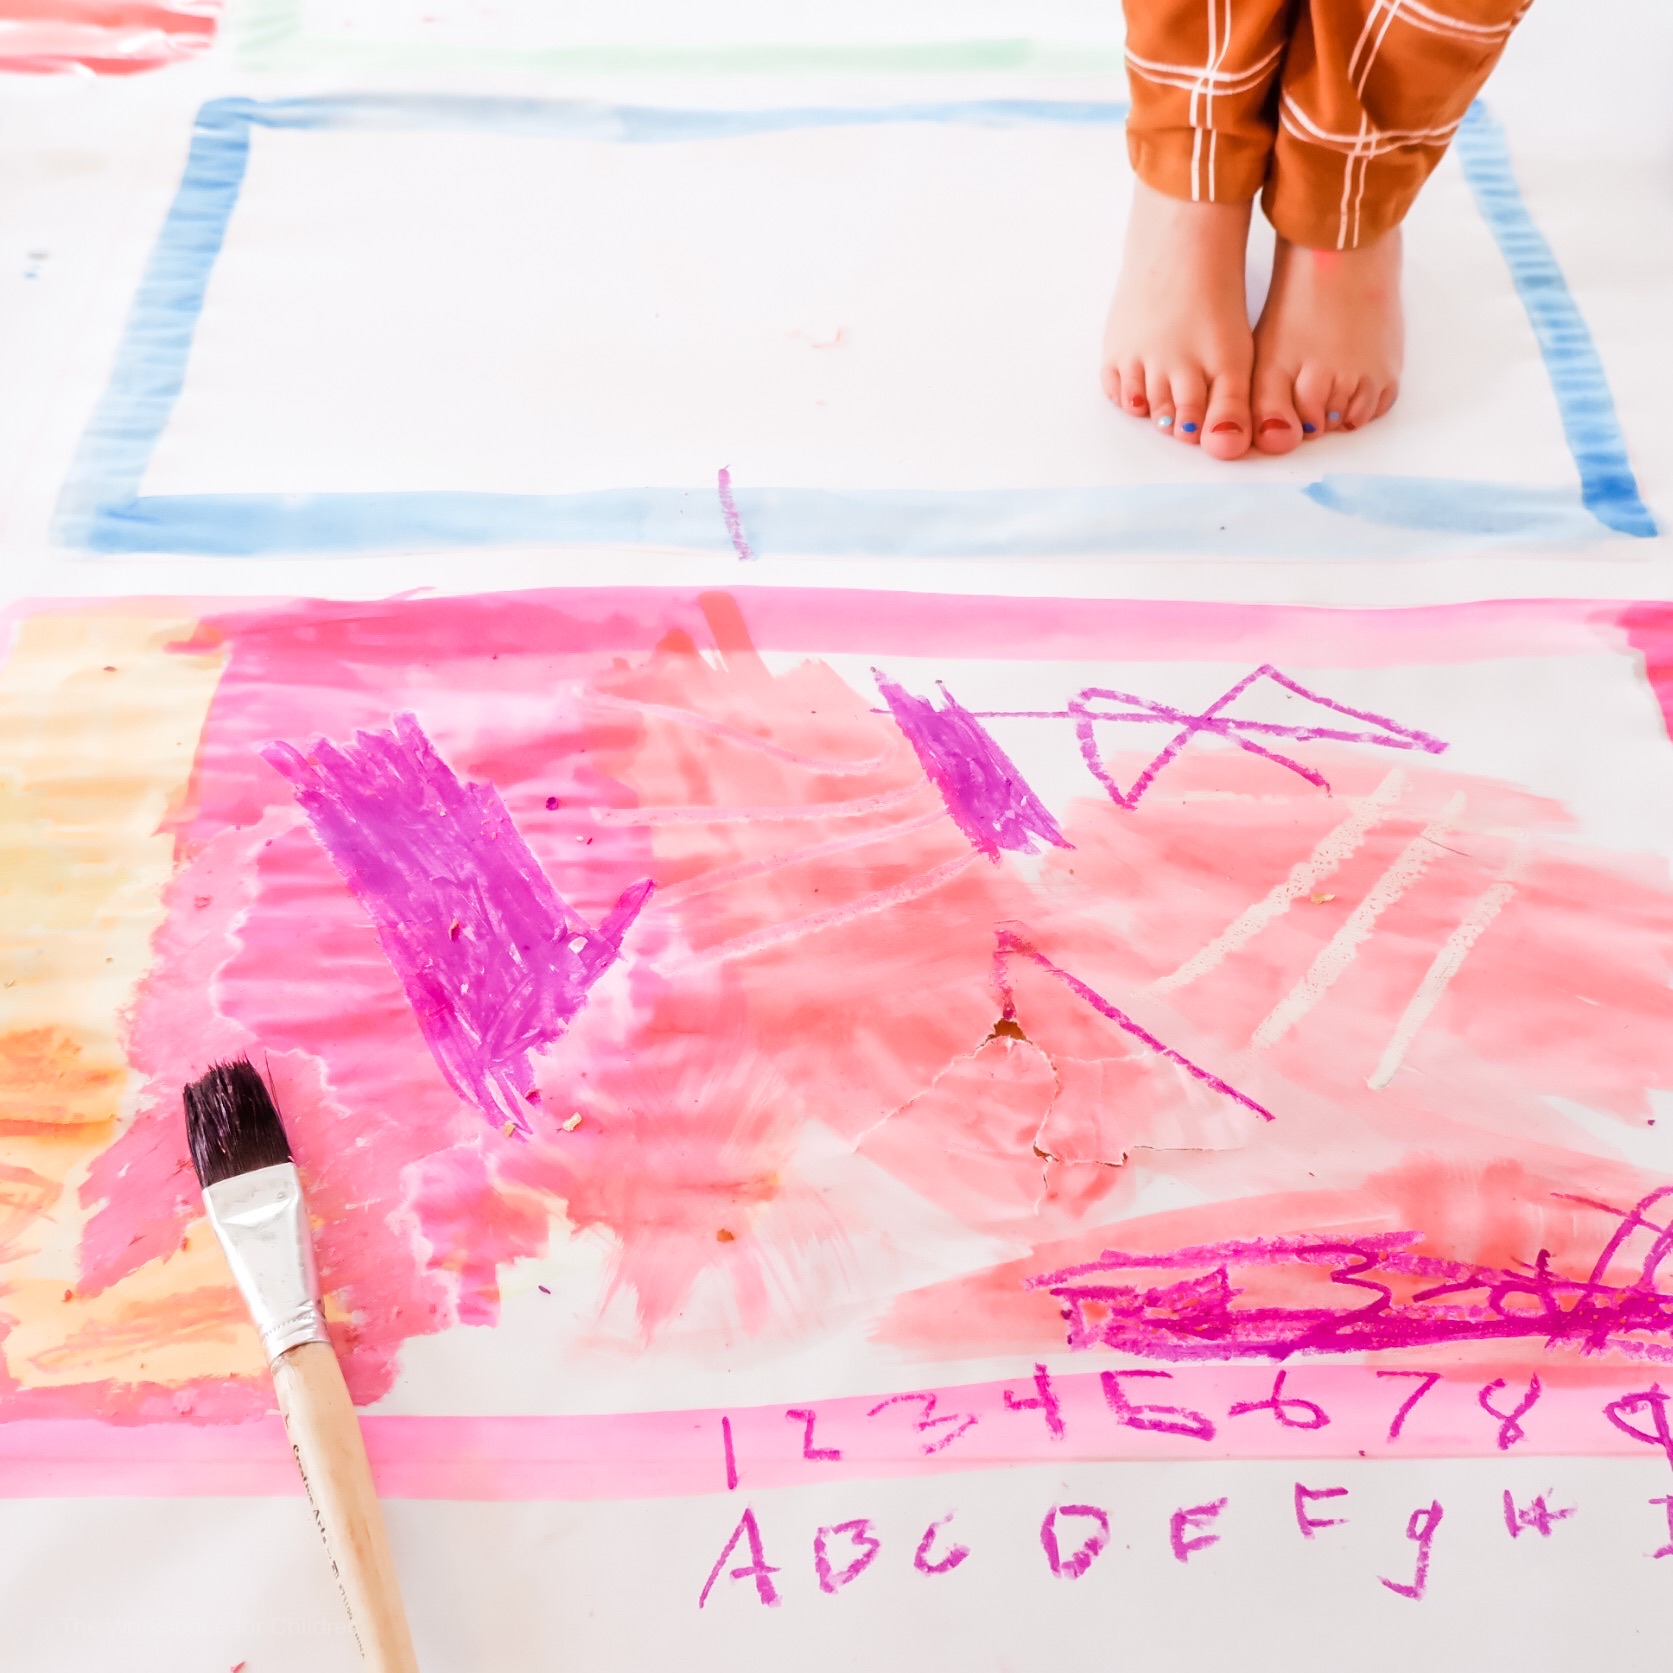
On most afternoons in our home, I set out a snack and a simple invitation to create. When the children arrive after school (often with friends in tow), I like to create an atmosphere where they can relax and unwind from a long day. Even if it is only for a few moments before we all rush off to the next thing, I want them to feel a moment of calm and connection . This simple activity takes only moments to set up, but provides hours of creating for a large age range of children. It is not messy and can be “grazed” on, as the children see fit. There are no directions. The children interact with the materials and create in any way they want.
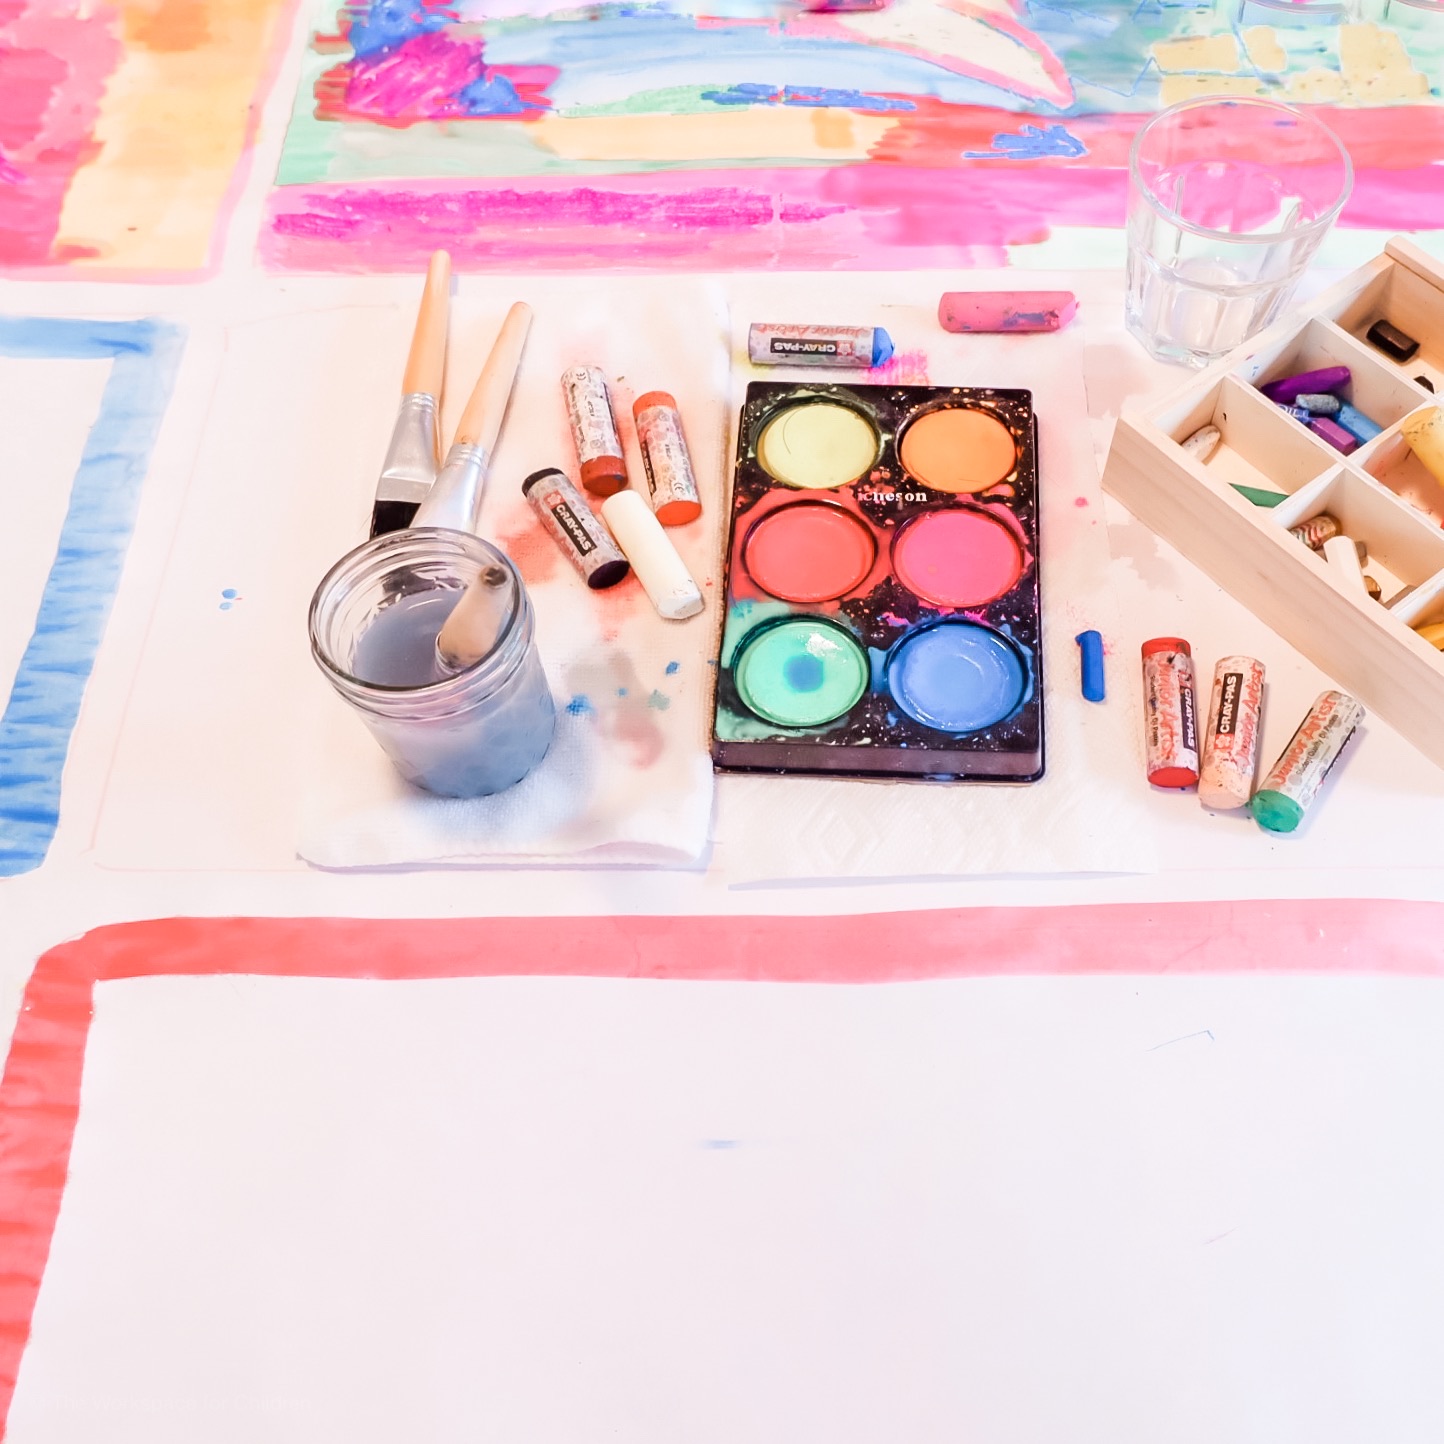

HOW TO SET UP:
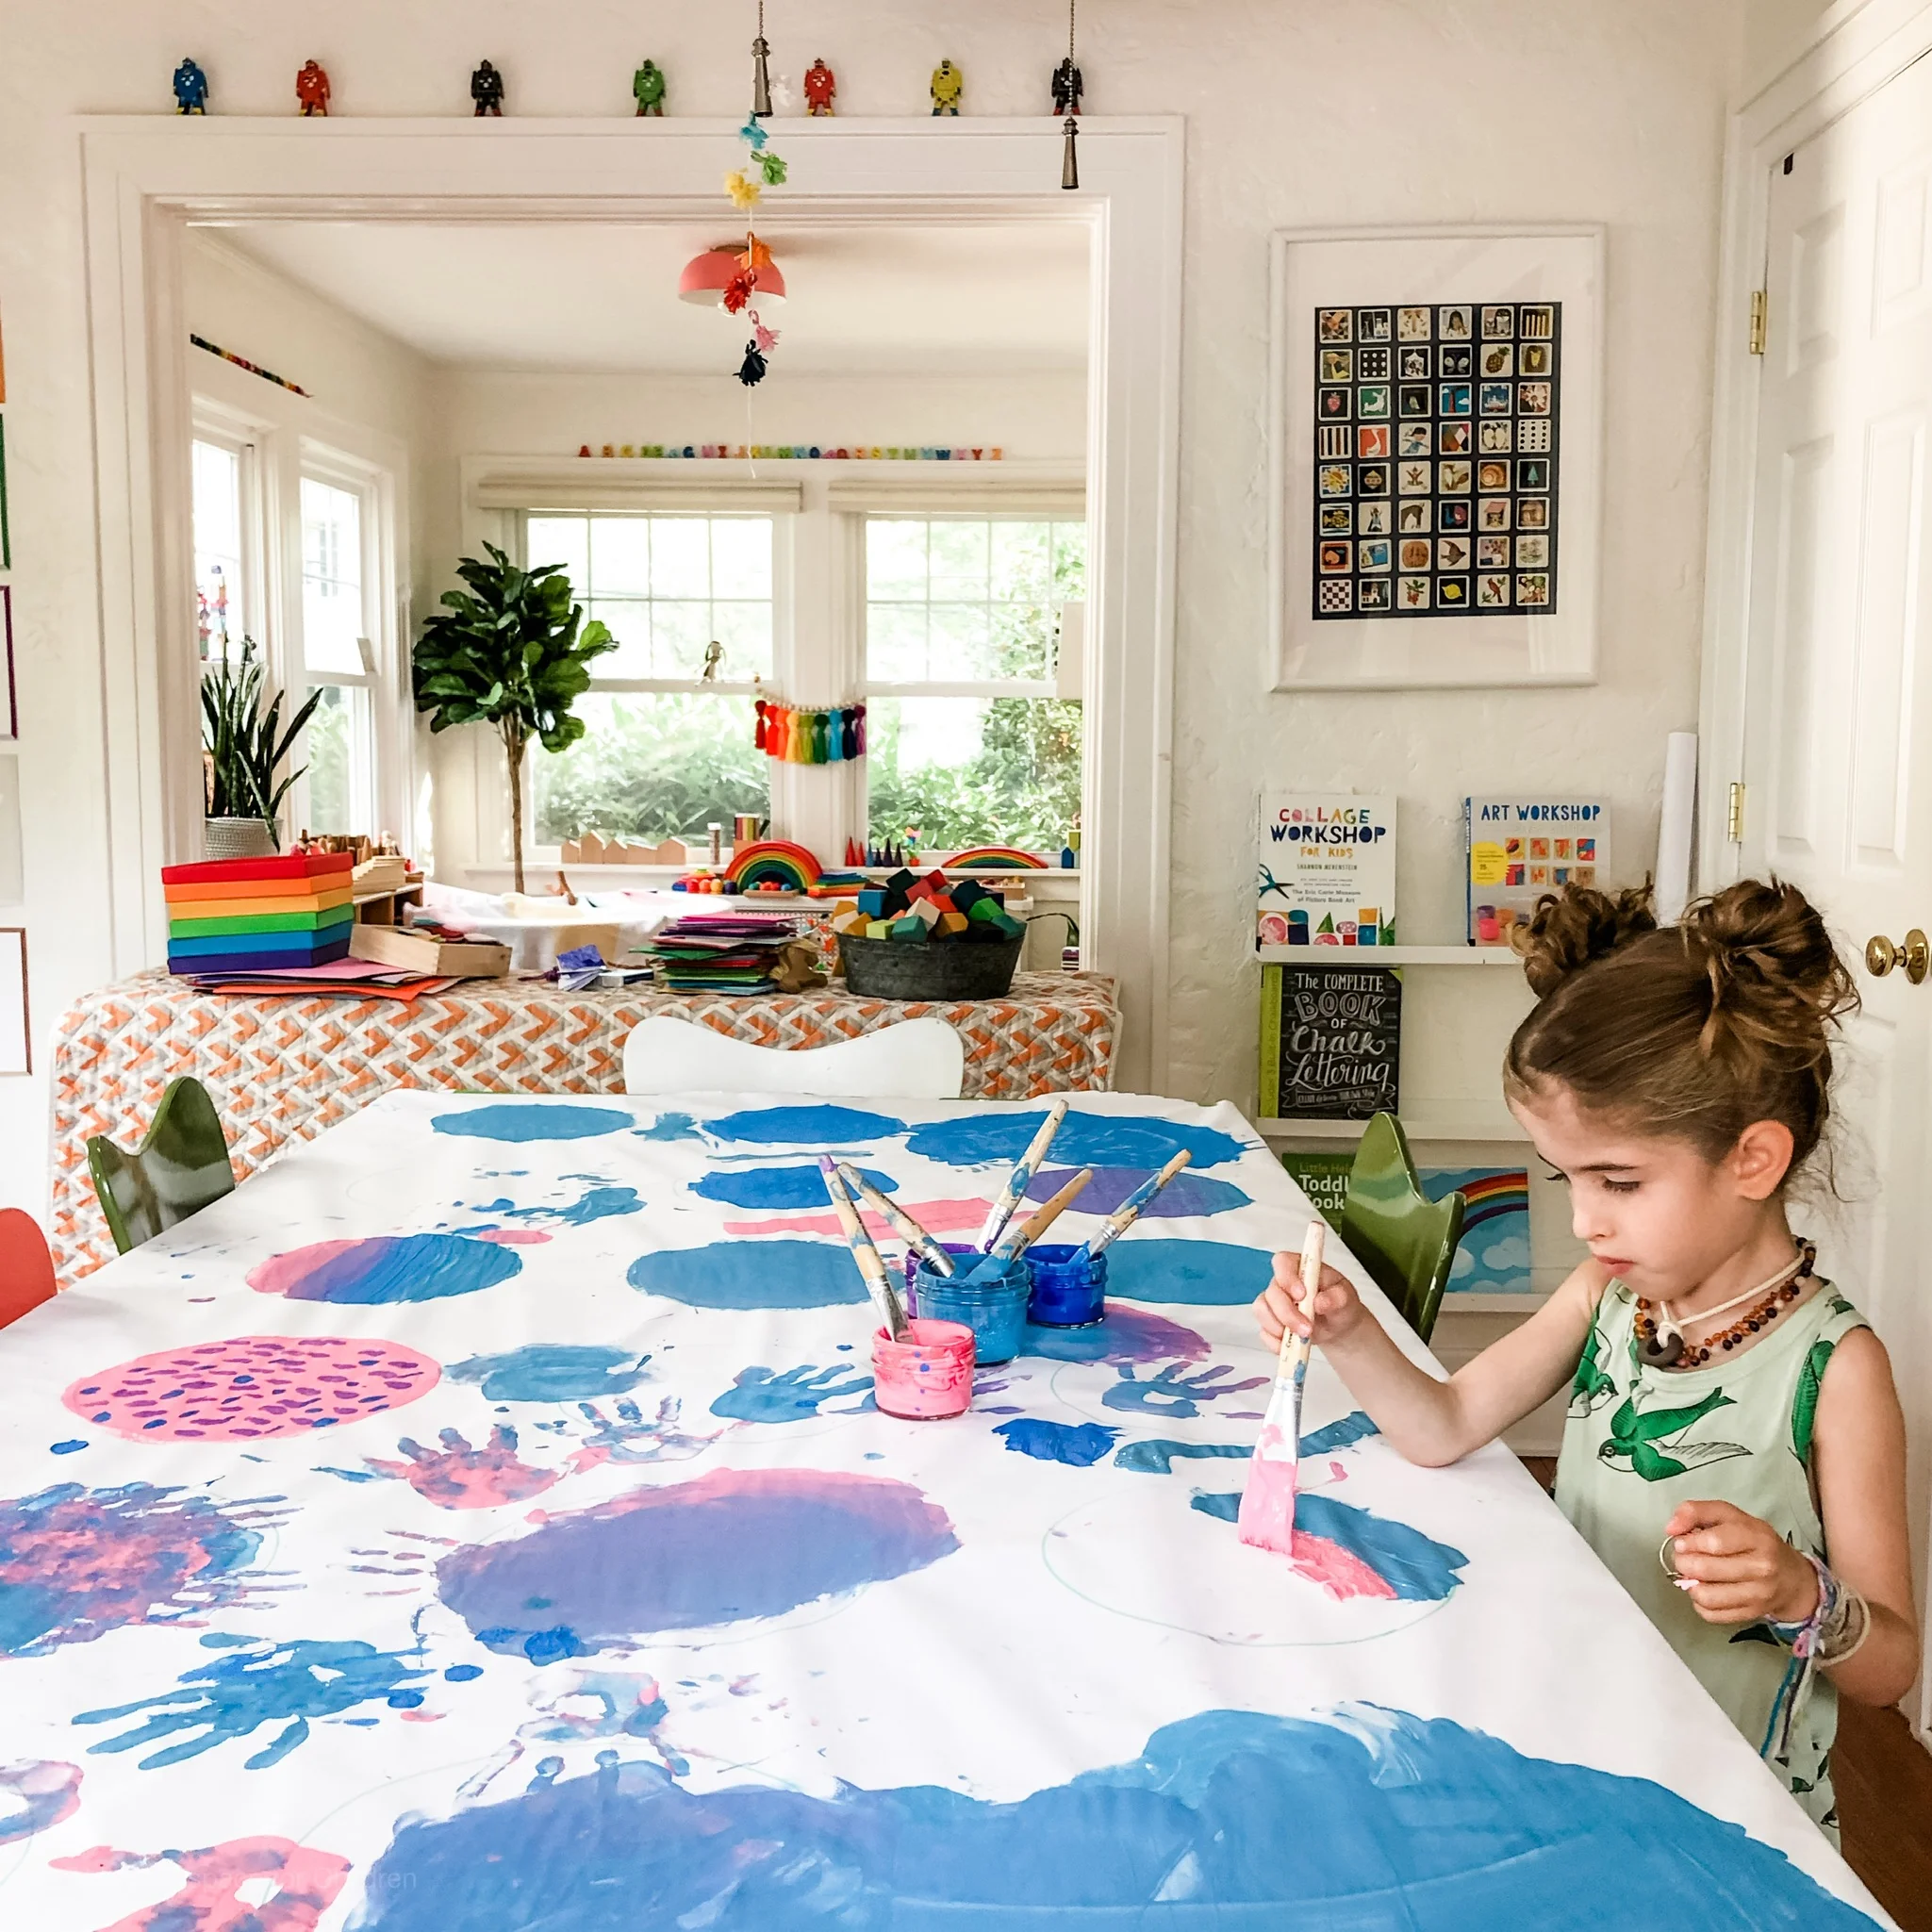
First roll out your butcher paper and cover the table. Tape it down for stability. Next, Find a large tray or book and trace rectangles onto the paper. Why? Sometimes a defined space is more welcoming for children to dive into than a large blank slate. It also just makes for a unique, open ended canvas for creating. Set out your paints and oil pastels and a jar of water and brushes. Keep a towel handy for any spills. Prime your paints by pouring water directly onto the tempra cakes. Allow your child to experiment with the materials. You do not need to give instructions or micro manage the work they are creating. In fact, claim a rectangle for yourself and get lost in the oil pastel. They are so satisfying to rub across the paper. Let your child discover the paint-resist on their own. You do not need to rush in and show them. They joy is in the discovery!
PRO TIPS:
Teach your child to swish their brush five times around the paint cake in order to get a rich and vibrant swash of paint.
Prime your paints by pouring water directly onto the cake prior to use
Put on some chill background music to set the mood. We love John Mayer, Amos Lee, Elizabeth Mitchell, Jack Johnson, and Ray LaMontagne.
Let your child work at his own pace. He might work for a few moments and wander away, then return again in a little while.
Use materials you already own. You can adapt this activity multiple ways to fit your needs. This does not need to be complicated to be engaging.
Read more posts like this one below:
I hope you found this post helpful. If you want to hear more from me, please be sure to join the conversation over on Instagram.
-Lizzie
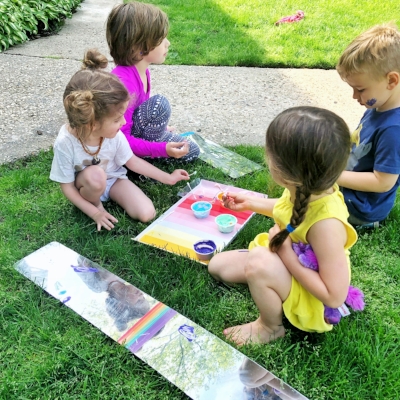
Do you want a simple, easy way to WOW your kids? This face painting activity is so much fun for an outdoor playdate or even a birthday party. It is so simple to throw together with a few supermarket ingredients that you probably already have on hand.
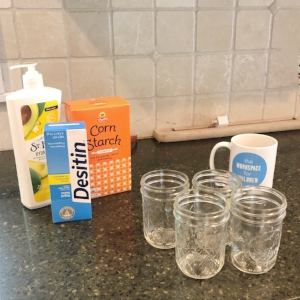
We used cornstarch, lotion, and diaper cream (zinc oxide). Mix it up until you get a thick, smooth consistency and add your food coloring! We used gel colors, but any coloring will do.

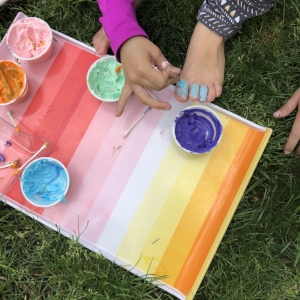
I loved that the white paste gave a beautiful pastel hue to the paint. I put our body paint in small containers with q-tips for application. Have some baby wipes nearby to wipe little hands. Put out acrylic mirrors (ours are from IKEA) and you are good to go for an afternoon of fun!
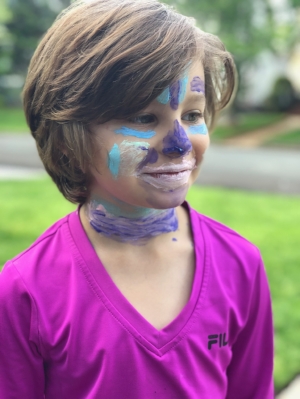
Have you tried this activity before? Do you plan to? Head over to Instagram and let me know if you have any questions or comments about this homemade body paint.
-Lizzie